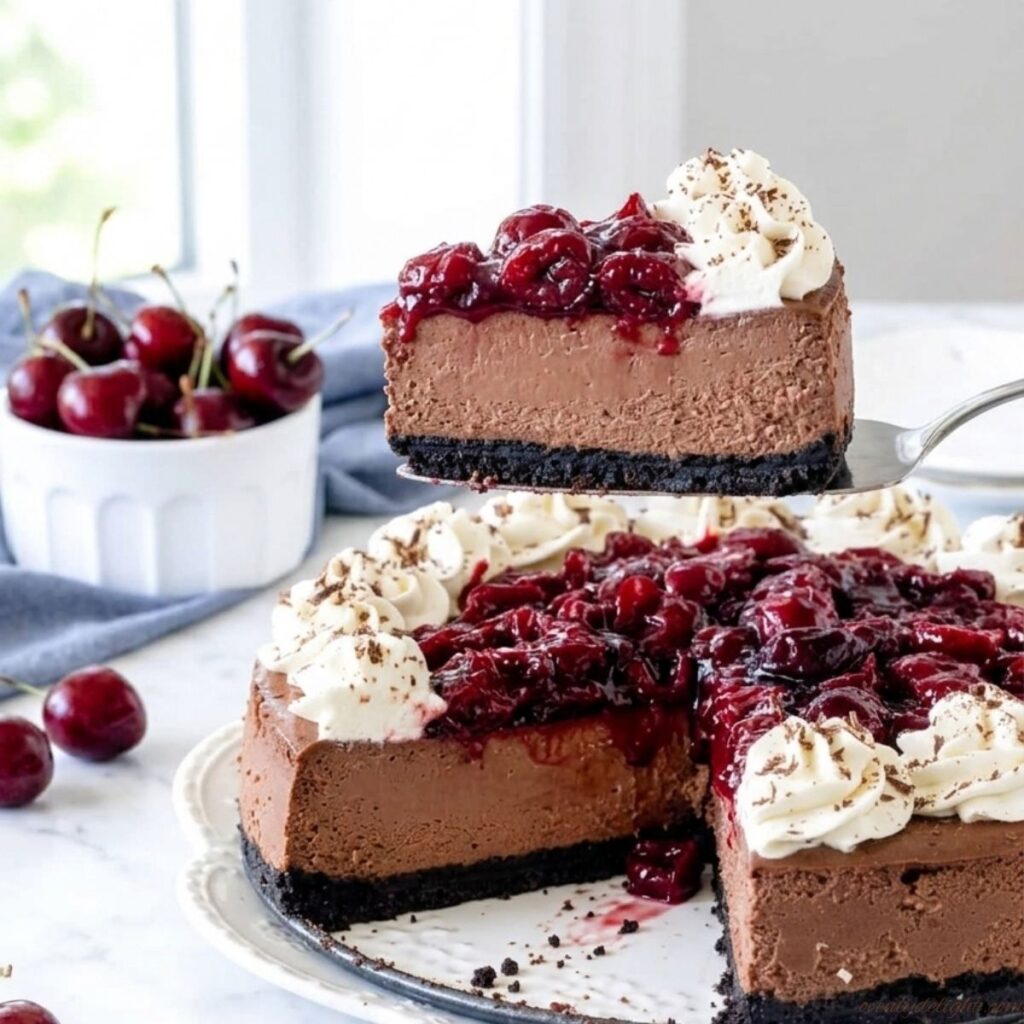
I’ve always loved the classic combination of rich chocolate and sweet cherries, so it was only a matter of time before I turned those flavors into a cheesecake. Instead of the traditional cake, this version has a buttery Oreo crust, a smooth chocolate filling, and a homemade cherry topping that makes every slice feel a little extra special.
Although it looks impressive, the recipe itself is surprisingly straightforward. The hardest part is waiting for it to chill long enough before slicing in. Once it’s fully set, you’re rewarded with a rich, creamy cheesecake that’s perfect for birthdays, holidays, dinner parties, or anytime you’re craving a chocolate dessert with a fruity twist.
Why You’ll Love This Black Forest Cheesecake
- Classic Black Forest flavors in every bite. Rich chocolate cheesecake, sweet cherries, fluffy whipped cream, and a crunchy Oreo crust come together for a dessert that tastes just like the traditional cake.
- Smooth, creamy texture. Baking the cheesecake in a water bath helps it bake evenly and creates a rich, velvety filling with fewer cracks.
- Great for special occasions. Whether it’s a birthday, holiday dinner, or family gathering, this cheesecake makes an impressive centerpiece.
- Made with simple ingredients. You don’t need anything fancy to create a bakery-style dessert at home.
- Easy to make ahead. Since the cheesecake needs time to chill, it’s an ideal dessert to prepare a day before serving.
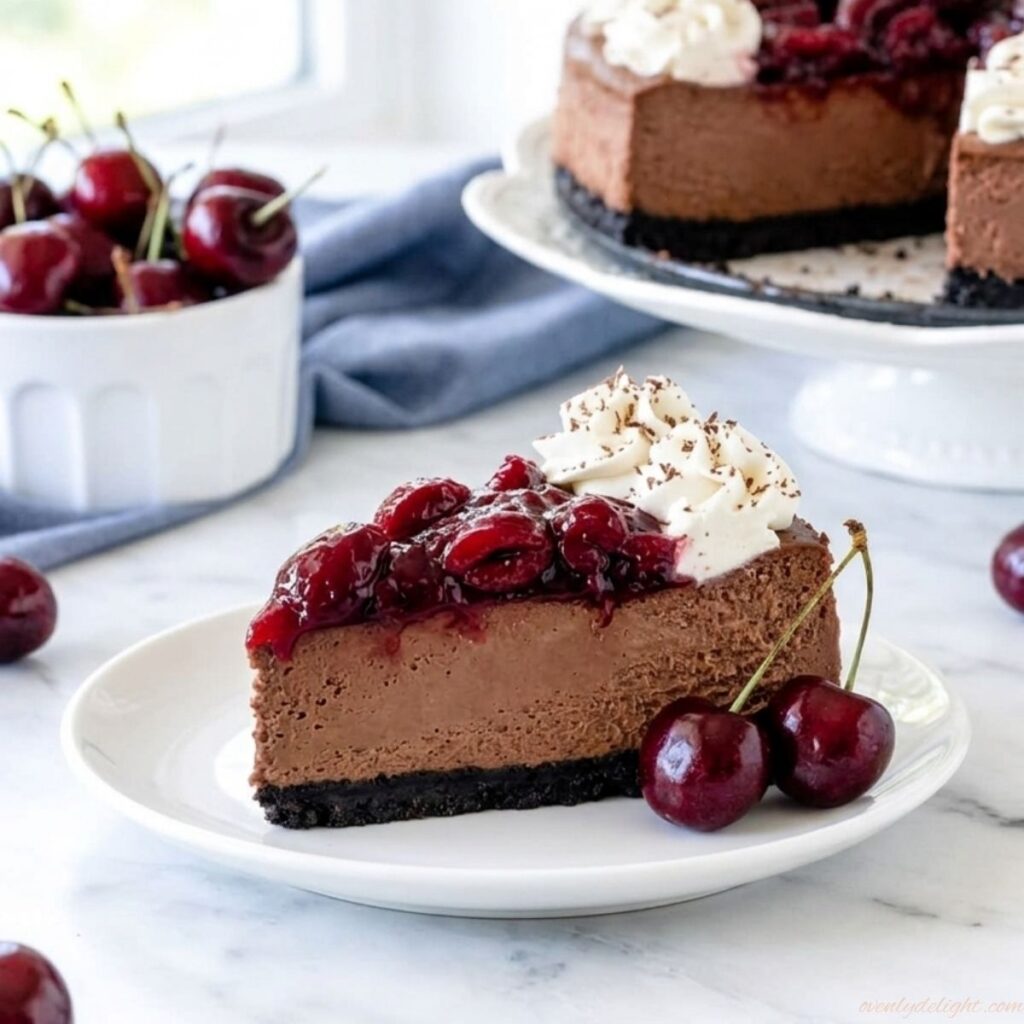
- Beautiful presentation. The chocolate curls, whipped cream, and cherries give it an elegant finish without requiring advanced decorating skills.
Ingredients for Black Forest Cheesecake
For the Oreo Crust
- 24 Oreo cookies (with the filling) – create a rich, chocolatey crust.
- 1/4 cup (57 g) unsalted butter, melted – binds the crumbs together.
For the Chocolate Cheesecake Filling
- 10 ounces (285 g) dark chocolate (50–70% cocoa), chopped – gives the filling a deep chocolate flavor.
- 24 ounces (680 g) full-fat brick-style cream cheese, softened – creates a smooth, creamy texture.
- 1 1/4 cups (250 g) granulated sugar – sweetens the cheesecake without overpowering the chocolate.
- 1 tablespoon unsweetened cocoa powder – intensifies the chocolate flavor.
- 2 tablespoons (30 ml) hot water – blooms the cocoa for a smoother mixture.
- 3/4 cup (180 g) full-fat sour cream, room temperature – adds richness and a subtle tang.
- 4 large eggs, room temperature – provide structure and a silky texture.
- Boiling water – helps the cheesecake bake gently in a water bath.
For the Cherry Topping
- 10 ounces (280 g) fresh sweet cherries, pitted and halved – add fresh, fruity sweetness.
- 1 tablespoon granulated sugar – enhances the cherries’ natural flavor.
- 2 tablespoons (30 ml) fresh lemon juice – balances the sweetness.
- 2 teaspoons cornstarch – thickens the cherry topping.
- 2 tablespoons (30 ml) water – creates a smooth cornstarch slurry.
For the Whipped Cream
- 1/2 cup (120 ml) heavy whipping cream – whips into a light, fluffy topping.
- 2 teaspoons powdered sugar – lightly sweetens the cream.
- Chocolate shavings (optional) – add a classic Black Forest finish.
How to Make Black Forest Cheesecake (Step by Step)
Step 1: Prepare the Pan
Preheat your oven to 325°F (160°C). Wrap the outside of a 9-inch springform pan with two layers of heavy-duty aluminum foil, making sure the foil comes well up the sides of the pan. This helps keep water from leaking into the crust during the water bath and ensures the cheesecake bakes evenly.
Step 2: Make the Oreo Crust
Place the Oreo cookies (filling included) in a food processor and pulse until they become fine, even crumbs. Pour in the melted butter and pulse again, or stir by hand, until every crumb is evenly coated and resembles wet sand.
Step 3: Bake the Crust
Transfer the crumb mixture to the prepared springform pan and press it firmly into an even layer across the bottom using the back of a measuring cup or glass. Bake for 10 minutes, then remove it from the oven and let it cool while you prepare the filling. This short bake helps create a sturdy crust that stays crisp.
Step 4: Melt the Chocolate
Place the chopped dark chocolate in a microwave-safe bowl and heat in 20-second intervals, stirring after each until completely smooth. Alternatively, melt it over a double boiler. Set the chocolate aside to cool slightly it should still be pourable but not hot enough to cook the eggs later.
Step 5: Mix the Cream Cheese and Sugar
In a large mixing bowl, beat the softened cream cheese and granulated sugar on medium speed until completely smooth and creamy, scraping down the sides and bottom of the bowl several times. Taking the time to remove all lumps now will give your cheesecake a silky texture.
Step 6: Add the Chocolate Mixture
Whisk the cocoa powder with the hot water until it forms a smooth paste with no dry spots. Add the cocoa paste, melted chocolate, and sour cream to the cream cheese mixture, then beat on low speed until everything is fully combined and evenly chocolatey. Scrape the bowl once more to make sure nothing is left unmixed.
Step 7: Add the Eggs
Add the eggs one at a time, mixing on low speed just until each egg is incorporated before adding the next. Avoid overmixing once the eggs are added, as too much air in the batter can cause the cheesecake to rise too much and crack while cooling.
Step 8: Assemble the Cheesecake
Pour the cheesecake batter over the cooled Oreo crust and smooth the top with a spatula. Place the springform pan inside a large roasting pan. Carefully pour boiling water into the roasting pan until it reaches about halfway up the sides of the cheesecake pan. The water bath creates gentle, even heat for a creamy texture.
Step 9: Bake and Cool Gradually
Bake for 60–70 minutes, or until the edges look set while the center still has a slight wobble when gently shaken. Turn off the oven, crack the oven door open a few inches, and leave the cheesecake inside for 1 hour. This gradual cooling helps reduce the chance of cracks.
Step 10: Chill the Cheesecake
Carefully remove the springform pan from the water bath and peel away the foil. Let the cheesecake cool to room temperature, then refrigerate it uncovered for at least 6 hours, or preferably overnight. Chilling allows the filling to fully set and makes slicing much easier.
Step 11: Cook the Cherry Topping
While the cheesecake chills, combine the fresh cherries, granulated sugar, and lemon juice in a saucepan over medium heat. Cook for 5–7 minutes, stirring occasionally, until the cherries soften and release their juices while still holding their shape.
Step 12: Thicken the Cherry Sauce
Stir the cornstarch and water together until smooth, then slowly pour the slurry into the simmering cherries while stirring continuously. Cook for 2–3 minutes, until the sauce becomes glossy and thick enough to coat a spoon. Remove it from the heat and let it cool completely before using.
Step 13: Decorate and Serve
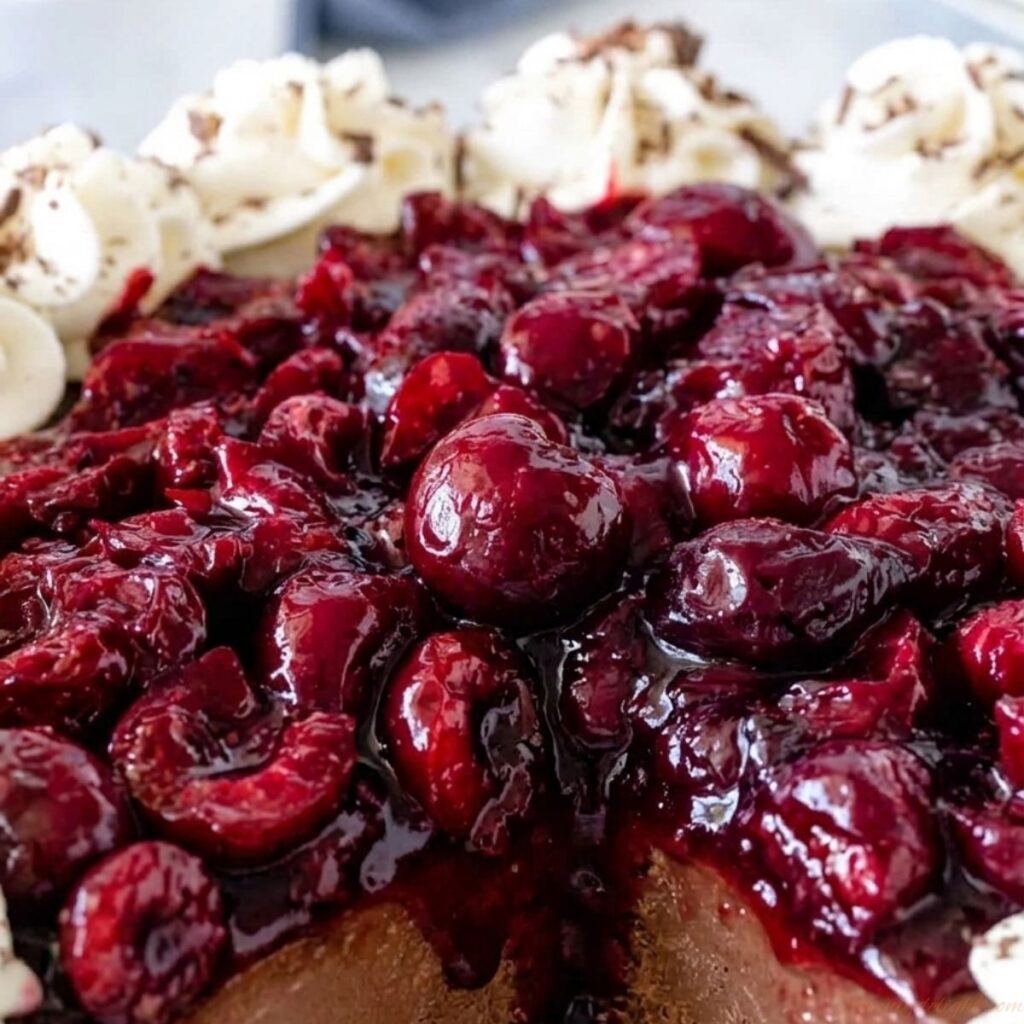
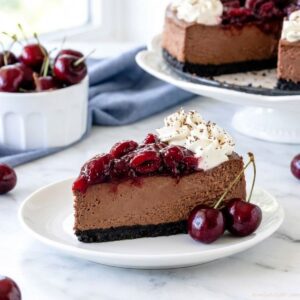
Beat the heavy whipping cream and powdered sugar until soft peaks form. Spoon the cooled cherry topping over the chilled cheesecake, then add swirls or dollops of whipped cream around the edges. Finish with chocolate shavings for the classic Black Forest look. Slice with a sharp knife dipped in hot water and wiped clean between cuts for neat, bakery-style slices.
Expert Tips for the Best Black Forest Cheesecake
Use Room-Temperature Ingredients
Bring the cream cheese, eggs, and sour cream to room temperature before mixing. They blend together more easily, creating a smooth batter without overmixing, which helps produce a creamy cheesecake.
Mix Gently After Adding the Eggs
Once the eggs are added, beat the batter on low speed and mix only until each egg is incorporated. Overmixing adds excess air, which can cause the cheesecake to puff up in the oven and crack as it cools.
Protect the Pan from Water Leaks
Wrap the outside of the springform pan with two layers of heavy-duty foil, or place the pan inside a slow cooker liner before setting it in the water bath. This helps keep water from seeping into the crust and making it soggy.
Cool the Cheesecake Slowly
After baking, turn off the oven and leave the cheesecake inside with the door slightly open for about 1 hour. Gradual cooling reduces the sudden temperature change that often leads to cracks or a sunken center.
Chill Before Decorating
Refrigerate the cheesecake for at least 6 hours, or preferably overnight, before adding the cherry topping and whipped cream. A fully chilled cheesecake slices more cleanly and holds its shape much better when served.
Ingredient Substitutions
Oreo Cookies
Chocolate wafer cookies or chocolate graham crackers can be used instead of Oreos. If using cookies without a cream filling, increase the melted butter slightly so the crust holds together.
Dark Chocolate
Semi-sweet chocolate works well if you prefer a sweeter cheesecake. Milk chocolate can also be used, but the filling will have a milder chocolate flavor.
Cream Cheese
Full-fat brick-style cream cheese gives the best texture. Avoid whipped or spreadable cream cheese, as they contain more moisture and can make the filling too soft.
Sour Cream
Full-fat Greek yogurt is a good substitute for sour cream. It adds a similar tang and keeps the cheesecake creamy.
Fresh Cherries
Frozen cherries work well when fresh cherries aren’t in season. Thaw and drain them before cooking to prevent the topping from becoming watery.
Lemon Juice
Fresh lemon juice provides the brightest flavor, but bottled lemon juice can be used if that’s what you have on hand.
Cornstarch
Arrowroot powder can be substituted in equal amounts to thicken the cherry topping.
Heavy Whipping Cream
Heavy cream or heavy whipping cream can be used interchangeably. For the best results, make sure it’s well chilled before whipping.
Chocolate Shavings
If you don’t have chocolate shavings, garnish the cheesecake with chocolate curls, mini chocolate chips, or a light dusting of cocoa powder for a similar finish.
How to Store Black Forest Cheesecake
Refrigerator
Cover the cheesecake tightly with plastic wrap or store it in an airtight container. It will stay fresh in the refrigerator for up to 5 days. For the best texture, keep the whipped cream and cherry topping on the cheesecake or add them just before serving.
Freezer
For longer storage, freeze the cheesecake without the whipped cream topping if possible. Wrap the whole cheesecake or individual slices tightly in plastic wrap, then a layer of aluminum foil, and place them in a freezer-safe container. Freeze for up to 2 months.
Thawing
Transfer the cheesecake to the refrigerator and let it thaw overnight. If frozen without the toppings, add the whipped cream and cherry topping after the cheesecake has fully thawed for the freshest presentation.
More No-Bake Cheesecake Recipes
Frequently Asked Questions
Why does Black Forest Cheesecake need a water bath?
A water bath helps the cheesecake bake slowly and evenly by creating gentle, moist heat in the oven. This reduces the risk of cracks, prevents the edges from overbaking, and gives the filling a smooth, creamy texture.
Can I make this cheesecake without a springform pan?
A springform pan is the best choice because it allows you to remove the cheesecake easily without damaging the sides. If you don’t have one, you can use a deep cake pan lined with parchment paper, but you’ll likely need to serve the cheesecake directly from the pan.
Why did my cheesecake crack on top?
Cracks are usually caused by overmixing the batter after adding the eggs, overbaking, or cooling the cheesecake too quickly. Mix on low speed, bake just until the center slightly jiggles, and let it cool gradually in the turned-off oven.
Can I use frozen cherries for the topping?
Yes. Thaw the cherries completely and drain any excess liquid before cooking them. This helps the topping thicken properly and prevents it from becoming watery.
What’s the best way to slice cheesecake cleanly?
Dip a sharp knife in hot water, wipe it dry, and slice the cheesecake. Clean and reheat the knife between each cut to create smooth, neat slices.
Can I use milk chocolate instead of dark chocolate?
Yes, but the cheesecake will be sweeter and have a milder chocolate flavor. If you’re using milk chocolate, you may want to reduce the granulated sugar slightly to keep the flavors balanced.
Can I make this cheesecake ahead of time?
Absolutely. It actually tastes even better after chilling overnight, making it an ideal make-ahead dessert for holidays and celebrations.
Final Thoughts
Whether you’re making this Black Forest Cheesecake for a birthday, a holiday gathering, or simply because you’re craving chocolate and cherries, I hope it brings a little extra joy to your table. The rich chocolate filling, buttery Oreo crust, and homemade cherry topping make every slice feel like a special occasion.
If you make this recipe, I’d love to know how it turned out. Leave a comment, share your rating, or tell me if you added your own personal twist. Happy baking!
Black Forest Cheesecake

Ingredients
Crust
- 24 Oreo cookies wafers and filling
- 1/4 cup 57 g unsalted butter, melted
For the Chocolate Cheesecake Filling
- 10 ounces 285 g dark chocolate (50–70%), chopped
- 24 ounces 680 g full-fat brick-style cream cheese, softened
- 1 1/4 cups 250 g granulated sugar
- 1 tablespoon unsweetened cocoa powder
- 2 tablespoons 30 ml hot water
- 3/4 cup 180 g full-fat sour cream, room temperature
- 4 large eggs room temperature
- Boiling water for the water bath
For the Cherry Topping
- 10 ounces 280 g fresh sweet cherries, pitted and halved
- 1 tablespoon granulated sugar
- 2 tablespoons 30 ml fresh lemon juice
- 2 teaspoons cornstarch
- 2 tablespoons 30 ml water
For the Whipped Cream
- 1/2 cup 120 ml heavy whipping cream
- 2 teaspoons powdered sugar
- Chocolate shavings optional
Instructions
- Preheat the oven to 325°F (160°C). Wrap a 9-inch springform pan with two layers of heavy-duty foil.
- Pulse the Oreo cookies into fine crumbs. Mix with the melted butter until evenly coated, then firmly press into the bottom of the prepared pan.
- Bake the crust for 10 minutes and let it cool.
- Melt the dark chocolate until smooth and allow it to cool slightly.
- Beat the cream cheese and sugar until smooth. Mix in the cocoa paste (made by whisking the cocoa powder with hot water), melted chocolate, and sour cream.
- Add the eggs one at a time, mixing on low speed just until combined.
- Pour the batter over the cooled crust and smooth the top.
- Place the springform pan into a roasting pan and carefully pour boiling water into the roasting pan until it reaches halfway up the sides.
- Bake for 60–70 minutes, until the edges are set and the center still jiggles slightly.
- Turn off the oven, crack the door open, and let the cheesecake cool inside for 1 hour.
- Remove from the water bath and refrigerate for at least 6 hours, preferably overnight.
- For the topping, cook the cherries with the sugar and lemon juice until softened. Stir in the cornstarch slurry and simmer until thickened. Cool completely.
- Whip the heavy cream with the powdered sugar until soft peaks form. Spoon the cherry topping over the chilled cheesecake, decorate with whipped cream and chocolate shavings, then serve.
Notes
- Use room-temperature ingredients for the smoothest cheesecake batter.
- Mix gently after adding the eggs to avoid cracks.
- Don’t skip the water bath it helps create a creamy texture and even bake.
- Chill the cheesecake overnight for the cleanest slices and best flavor.
- Allow the cherry topping to cool completely before spreading it over the cheesecake.
- Store leftovers covered in the refrigerator for up to 5 days or freeze the plain cheesecake for up to 2 months.