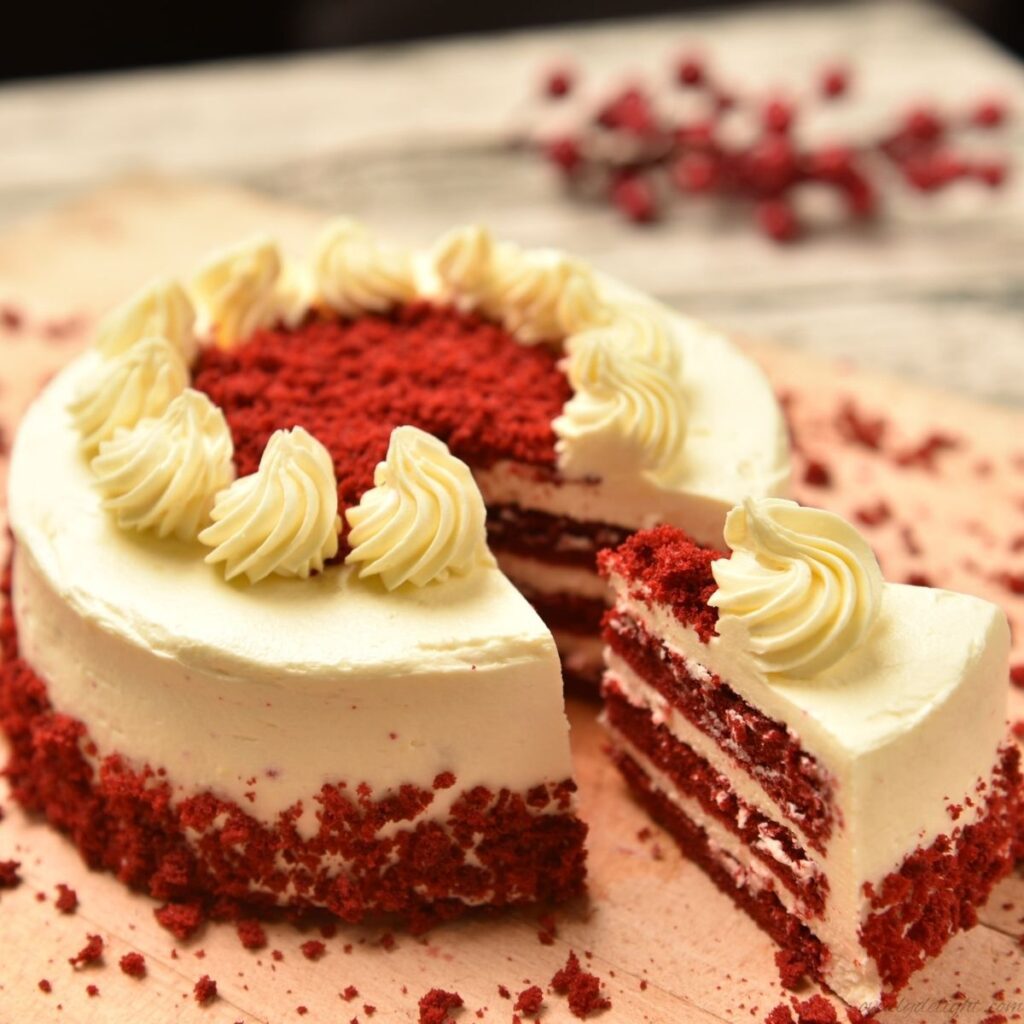
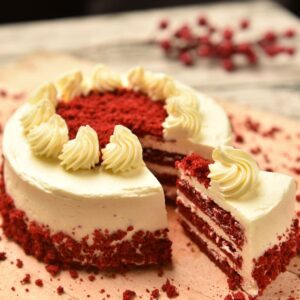
I first made this red velvet cake for my sister’s birthday when I wanted a dessert that looked special but still felt homemade. I remember cutting into the soft red layers after dinner and seeing everyone reach for a second slice. The cake was moist, lightly chocolatey, and perfectly balanced with tangy cream cheese frosting.
This easy red velvet cake recipe is soft, fluffy, and full of classic flavor, making it perfect for birthdays, holidays, Valentine’s Day, or any special occasion.
Why You’ll Love This Red Velvet Cake
This red velvet cake is soft, moist, and fluffy with a light cocoa flavor that is not too rich or overpowering. The buttermilk keeps every cake layer tender, while the vinegar gives it that classic red velvet taste.
The smooth cream cheese frosting adds the perfect tangy sweetness and makes every slice feel extra special. It is a beautiful homemade cake for birthdays, Valentine’s Day, Christmas, or whenever you want an easy dessert that looks impressive.
Ingredients for Red Velvet Cake
Dry Ingredients
- 3 cups (360g) cake flour, spooned and leveled
- 1 tsp baking soda
- 2 Tbsp (10g) natural unsweetened cocoa powder
- ½ tsp salt
Wet Ingredients
- ½ cup (113g) unsalted butter, softened
- 2 cups (400g) granulated sugar
- 1 cup (240ml) canola or vegetable oil
- 4 large eggs, room temperature and separated
- 1 Tbsp pure vanilla extract
- 1½ tsp distilled white vinegar
- 1½–2 Tbsp liquid red food coloring, or 1–2 tsp gel food coloring
- 1 cup (240ml) buttermilk, room temperature
Cream Cheese Frosting
- 16 oz (452g) full-fat brick cream cheese, softened
- ¾ cup (170g) unsalted butter, softened
- 5 cups (600g) confectioners’ sugar, sifted
- 1½ tsp pure vanilla extract
- Pinch of salt
How to Make Red Velvet Cake
Step 1: Prepare the Cake Pans
Preheat your oven to 350°F (177°C). Grease and flour two 9-inch round cake pans, then line the bottoms with parchment paper rounds. Place the oven rack in the center position.
Step 2: Combine the Dry Ingredients
In a medium bowl, whisk together the cake flour, baking soda, natural cocoa powder, and salt. Sift the mixture once if possible for a smoother, lighter cake crumb. Set aside.
Step 3: Cream the Butter and Sugar
In a large mixing bowl, beat the softened butter and granulated sugar on medium speed for about 3 minutes, until light and fluffy. Scrape down the sides of the bowl, then add the egg yolks one at a time, mixing well after each addition. Mix in the vanilla extract and white vinegar.
Step 4: Add the Oil and Red Food Coloring
Pour in the oil and beat until the batter looks smooth and glossy. Add the red food coloring and mix until the color is evenly distributed. Start with a small amount and add more until you reach your desired deep red shade.
Step 5: Add the Buttermilk and Dry Ingredients
Add the dry ingredients and buttermilk in alternating additions, beginning and ending with the dry ingredients. Mix on low speed just until combined after each addition. Do not overmix the batter.
Step 6: Fold in the Whipped Egg Whites
In a separate clean bowl, beat the egg whites until stiff peaks form. Gently fold the whipped egg whites into the cake batter in two additions using a spatula. Fold carefully to keep the batter light and airy.
Step 7: Bake the Cake Layers
Divide the batter evenly between the prepared cake pans. Bake for 28–32 minutes, or until a toothpick inserted into the center comes out clean or with a few moist crumbs. Avoid opening the oven door during the first 25 minutes of baking.
Step 8: Cool the Cake Layers
Let the cakes cool in their pans for 15 minutes, then carefully turn them out onto a wire rack. Allow the layers to cool completely for at least 2 hours before frosting.
Step 9: Make the Cream Cheese Frosting
Beat the softened cream cheese and butter together on medium-high speed for about 3 minutes, until completely smooth. Add the confectioners’ sugar one cup at a time on low speed. Add the vanilla extract and salt, then beat for another 2 minutes until light and fluffy.
Step 10: Assemble and Frost the Cake
Place one completely cooled cake layer on a cake stand or serving plate. If the top is domed, use a serrated knife to gently level it first so the cake sits evenly. Add about 1 cup of cream cheese frosting to the center, then spread it evenly all the way to the edges using an offset spatula or the back of a spoon.
Add a Crumb Coat and Decorate
Place the second cake layer on top with the flat bottom facing up for a smooth, even finish. Spread a thin layer of frosting over the top and sides to trap any crumbs, then chill the cake for 15–20 minutes. This quick crumb coat makes the final frosting layer much cleaner.
Add the remaining cream cheese frosting and smooth it over the top and sides. For an easy decoration, crumble a small piece of trimmed cake layer and sprinkle the red velvet crumbs around the top edge or over the center of the cake. Chill the frosted red velvet cake for at least 30 minutes before slicing so the layers set neatly.
Expert Tips for Perfect Red Velvet Cake
Use Gel Food Coloring
Use gel food coloring instead of liquid food coloring for a deep, vibrant red velvet cake. Gel coloring is more concentrated, so it gives a richer color without thinning the cake batter.
Separate the Eggs While Cold
Separate the eggs straight from the fridge because the yolks and whites separate more cleanly when cold. Then let them sit at room temperature before using so the yolks blend smoothly into the batter and the egg whites whip properly.
Measure Cake Flour Correctly
To measure ingredients properly, spoon the cake flour into your measuring cup and level it with a knife instead of scooping directly from the bag. Scooping can add too much flour, which may make your red velvet cake dry, dense, and less tender.
Use Room-Temperature Ingredients
Set out the butter, eggs, and buttermilk about 45 minutes before baking. Room-temperature ingredients mix together more evenly and help create a soft, smooth cake batter.
Do Not Skip the Vinegar
White vinegar reacts with the baking soda to give the cake a little lift. It also works with the natural cocoa powder to help create the classic red velvet color and flavor.
Use Full-Fat Brick Cream Cheese
For stable, thick cream cheese frosting, use full-fat brick-style cream cheese. Tub-style or reduced-fat cream cheese contains extra moisture and can make the frosting too soft.
Chill the Cake Before Slicing
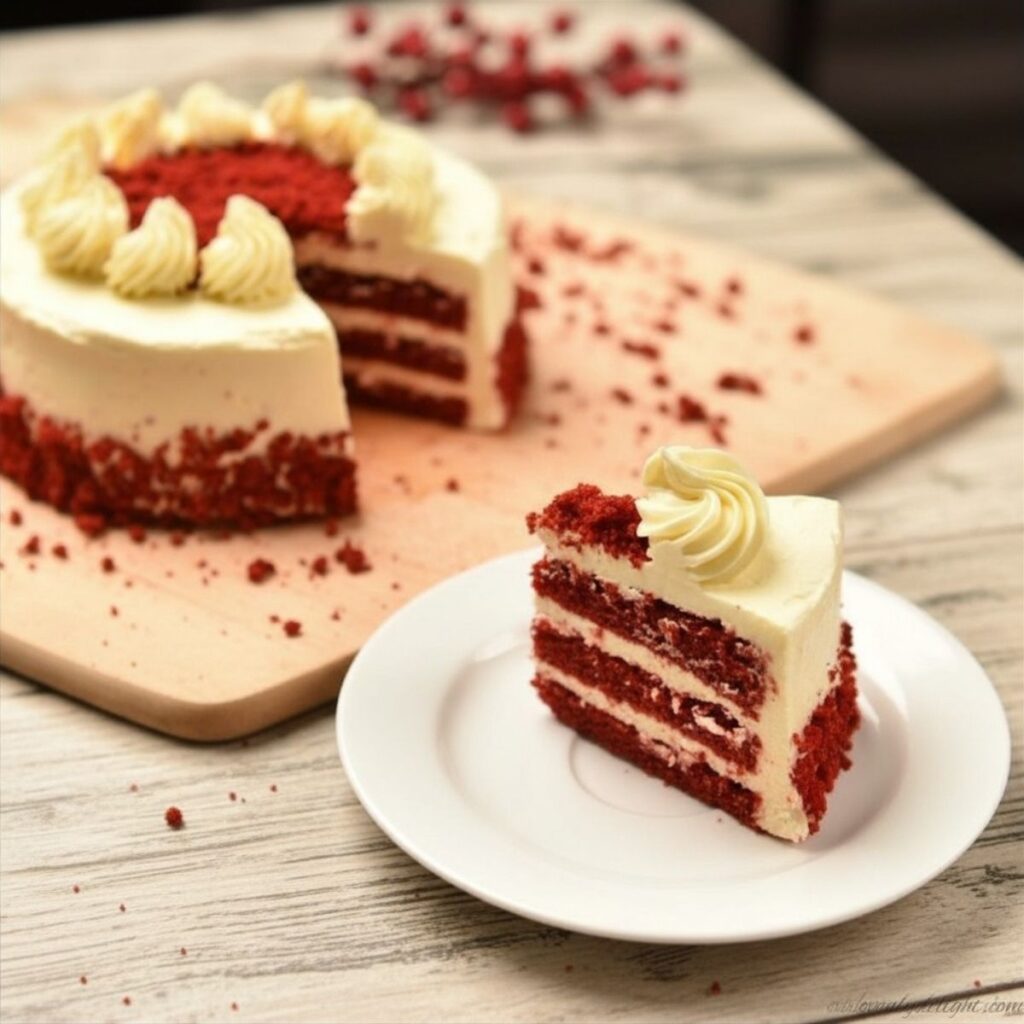
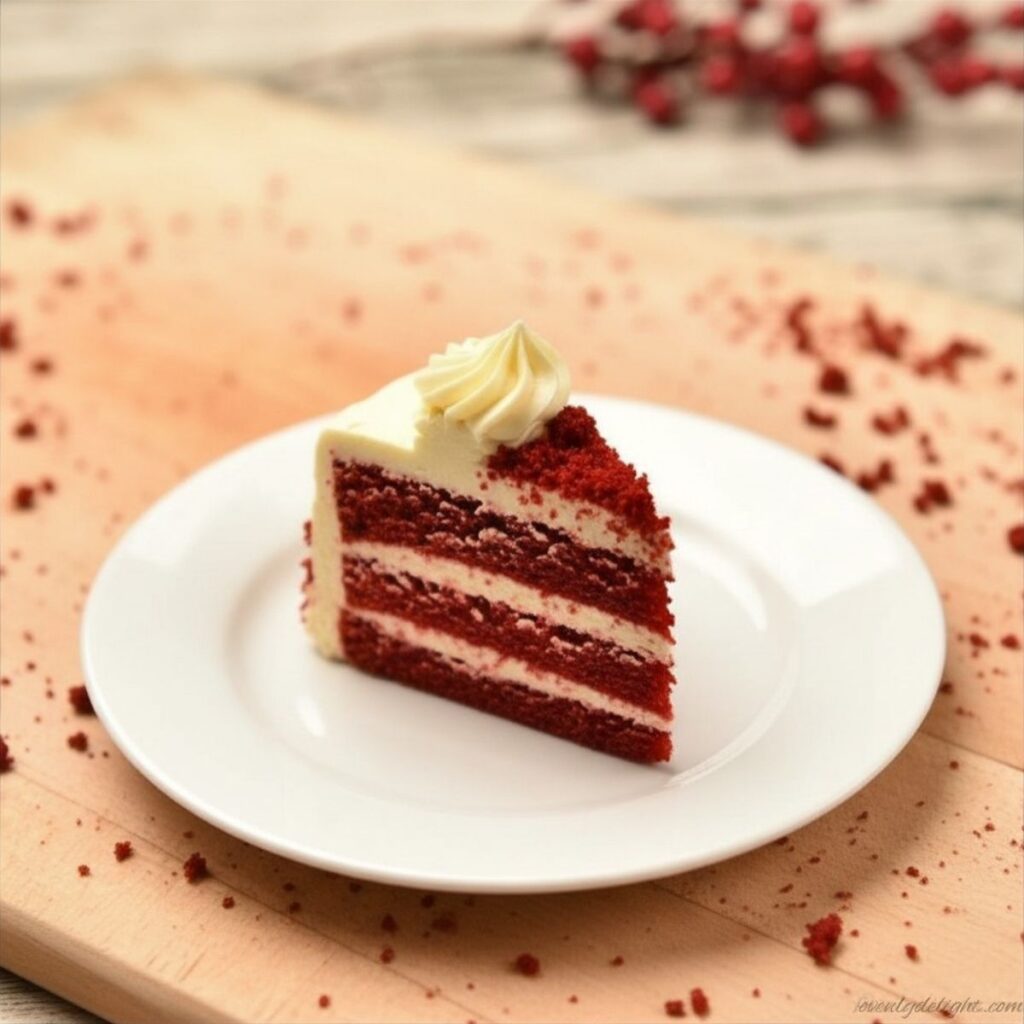
After frosting, chill the red velvet cake for at least 30 minutes before cutting. This helps the frosting set and gives you neat slices with beautiful red layers and clean white frosting.
Ingredient Substitutions
Cake Flour Substitute
If you do not have cake flour, use all-purpose flour instead. For every 1 cup of flour, remove 2 tablespoons of all-purpose flour and replace it with 2 tablespoons of cornstarch. Whisk well before measuring. The cake will still be soft, although the crumb may not be quite as delicate.
Buttermilk Substitute
To make a quick buttermilk substitute, mix 1 cup of whole milk with 1 tablespoon of white vinegar or lemon juice. Stir and let it sit for 5 minutes before adding it to the batter.
Oil Substitute
You can use vegetable oil or light-flavored coconut oil instead of canola oil. Avoid olive oil because its strong flavor can change the taste of the red velvet cake.
Dairy-Free Option
For a dairy-free red velvet cake, use vegan butter, full-fat coconut milk in place of buttermilk, and dairy-free cream cheese for the frosting. Choose unsweetened coconut milk for the best flavor.
Natural Red Food Coloring
If you prefer natural food coloring, use 1–2 tablespoons of beet powder instead of gel food coloring. Keep in mind that the cake will have a softer, more muted red color.
Egg-Free Option
For an egg-free version, replace each egg with one flax egg. Mix 1 tablespoon of ground flaxseed with 3 tablespoons of water and let it rest for 5 minutes before using. The finished cake may be slightly denser, but it will still be moist and delicious.
How to Store Red Velvet Cake
Store Unfrosted Cake at Room Temperature
An unfrosted red velvet cake can be kept covered at room temperature for up to 2 days. Wrap the cake layers tightly or store them in an airtight container to keep them soft and moist.
Store Frosted Cake in the Refrigerator
Because this red velvet cake uses cream cheese frosting, the frosted cake should be stored in the refrigerator. Keep it covered in an airtight cake container or loosely covered with plastic wrap for up to 5 days.
For the best texture, take individual slices out of the fridge 20–30 minutes before serving. This gives the cake time to soften and makes the cream cheese frosting extra creamy.
Freeze Red Velvet Cake Layers
To freeze unfrosted cake layers, wrap each completely cooled layer tightly in plastic wrap, then cover with foil. Freeze for up to 3 months. Thaw the layers overnight in the refrigerator before frosting.
Freeze Frosted Cake Slices
You can also freeze individual frosted red velvet cake slices. Wrap each slice tightly in plastic wrap and place them in a freezer-safe zip-top bag for up to 2 months. Thaw at room temperature for about 1 hour before serving.
Make-Ahead Tip
Bake the red velvet cake layers one day ahead, wrap them tightly, and refrigerate overnight. Make the cream cheese frosting and assemble the cake the next day. This makes the recipe much easier when preparing it for birthdays or special occasions.
Try More Red Velvet Recipes
Frequently Asked Questions
Can I make red velvet cake without food coloring?
Yes, you can skip food coloring completely. The cake will turn a deep brownish-red due to the cocoa and vinegar reaction. If you prefer a natural option, beet powder works well start with 1 tablespoon and adjust as needed.
Why did my red velvet cake turn out dry?
Dry red velvet cake is usually caused by too much flour or overbaking. Always measure flour properly using the spoon-and-level method and avoid packing it. Also, make sure not to skip the oil, as it keeps the cake moist for days.
Can I make this as a sheet cake instead of layers?
Yes, you can bake it in a 9×13-inch pan. Bake at 350°F (177°C) for 35–40 minutes, or until a toothpick comes out clean. Let it cool completely, then frost directly in the pan.
Why is my cream cheese frosting too runny?
This usually happens if the cream cheese or butter is too soft, or if tub-style cream cheese is used. Always use full-fat brick cream cheese. If it becomes too soft, chill it for 15–20 minutes and then whip again.
Can I make red velvet cake without buttermilk?
Yes, you can use a quick substitute by mixing 1 cup milk with 1 tablespoon vinegar or lemon juice. Let it sit for 5 minutes before using. It gives the same tangy effect as buttermilk.
Why is my red velvet cake not red?
This usually happens when you use Dutch-process cocoa or not enough food coloring. Always use natural cocoa powder and gel food coloring for the best red color.
Why does red velvet cake need vinegar?
Vinegar reacts with baking soda to help the cake rise and also enhances the red color and soft texture. It is an important part of the classic recipe.
Can I make red velvet cake ahead of time for birthdays?
Yes, you can bake the layers 1–2 days in advance and store them wrapped. Assemble and frost the cake on the day of serving for the best texture.
Final Thoughts
Red velvet cake is one of those bakes that feels a bit special every time you make it, even if you’ve done it before. It’s simple ingredients, but the little details really do make a difference like mixing at the right time and not rushing the steps.
For me, it’s always about that moment when the cake comes out of the oven and you can already tell it turned out soft and light just by looking at it. Take your time with it, enjoy the process, and you’ll end up with a cake that feels homemade in the best way.
Red Velvet Cake

Ingredients
Dry Ingredients
- 3 cups 360g cake flour, spooned and leveled
- 1 tsp baking soda
- 2 Tbsp 10g natural unsweetened cocoa powder
- ½ tsp salt
Wet Ingredients
- ½ cup 113g unsalted butter, softened
- 2 cups 400g granulated sugar
- 1 cup 240ml vegetable or canola oil
- 4 large eggs room temperature and separated
- 1 Tbsp vanilla extract
- 1½ tsp white vinegar
- 1 –2 Tbsp red food coloring gel preferred
- 1 cup 240ml buttermilk, room temperature
Cream Cheese Frosting
- 16 oz 452g full-fat cream cheese, softened
- ¾ cup 170g unsalted butter, softened
- 5 cups 600g powdered sugar, sifted
- 1½ tsp vanilla extract
- Pinch of salt
Instructions
- Preheat oven to 350°F (177°C). Grease and line two 9-inch cake pans with parchment paper.
- Whisk flour, baking soda, cocoa powder, and salt in a bowl. Set aside.
- Beat butter and sugar until light and fluffy. Add egg yolks one by one, then mix in vanilla and vinegar.
- Add oil and mix until smooth. Add red food coloring and blend well.
- Add dry ingredients and buttermilk alternately, starting and ending with dry ingredients. Do not overmix.
- Whip egg whites to stiff peaks and gently fold into batter.
- Divide batter into pans and bake for 28–32 minutes or until a toothpick comes out clean.
- Cool in pans for 15 minutes, then transfer to a rack and cool completely.
- Make frosting by beating cream cheese and butter until smooth. Add sugar, vanilla, and salt and beat until fluffy.
- Assemble cake, frost evenly, chill for 30 minutes, then slice and serve.
Notes
- Always use room-temperature ingredients for a smooth batter.
- Do not skip vinegar it helps with rise and texture.
- Use gel food coloring for a deep red color without thinning the batter.
- Do not overbake or the cake will turn dry.
- Chill before slicing for clean, bakery-style layers.
- Cake tastes even better the next day after flavors settle.