
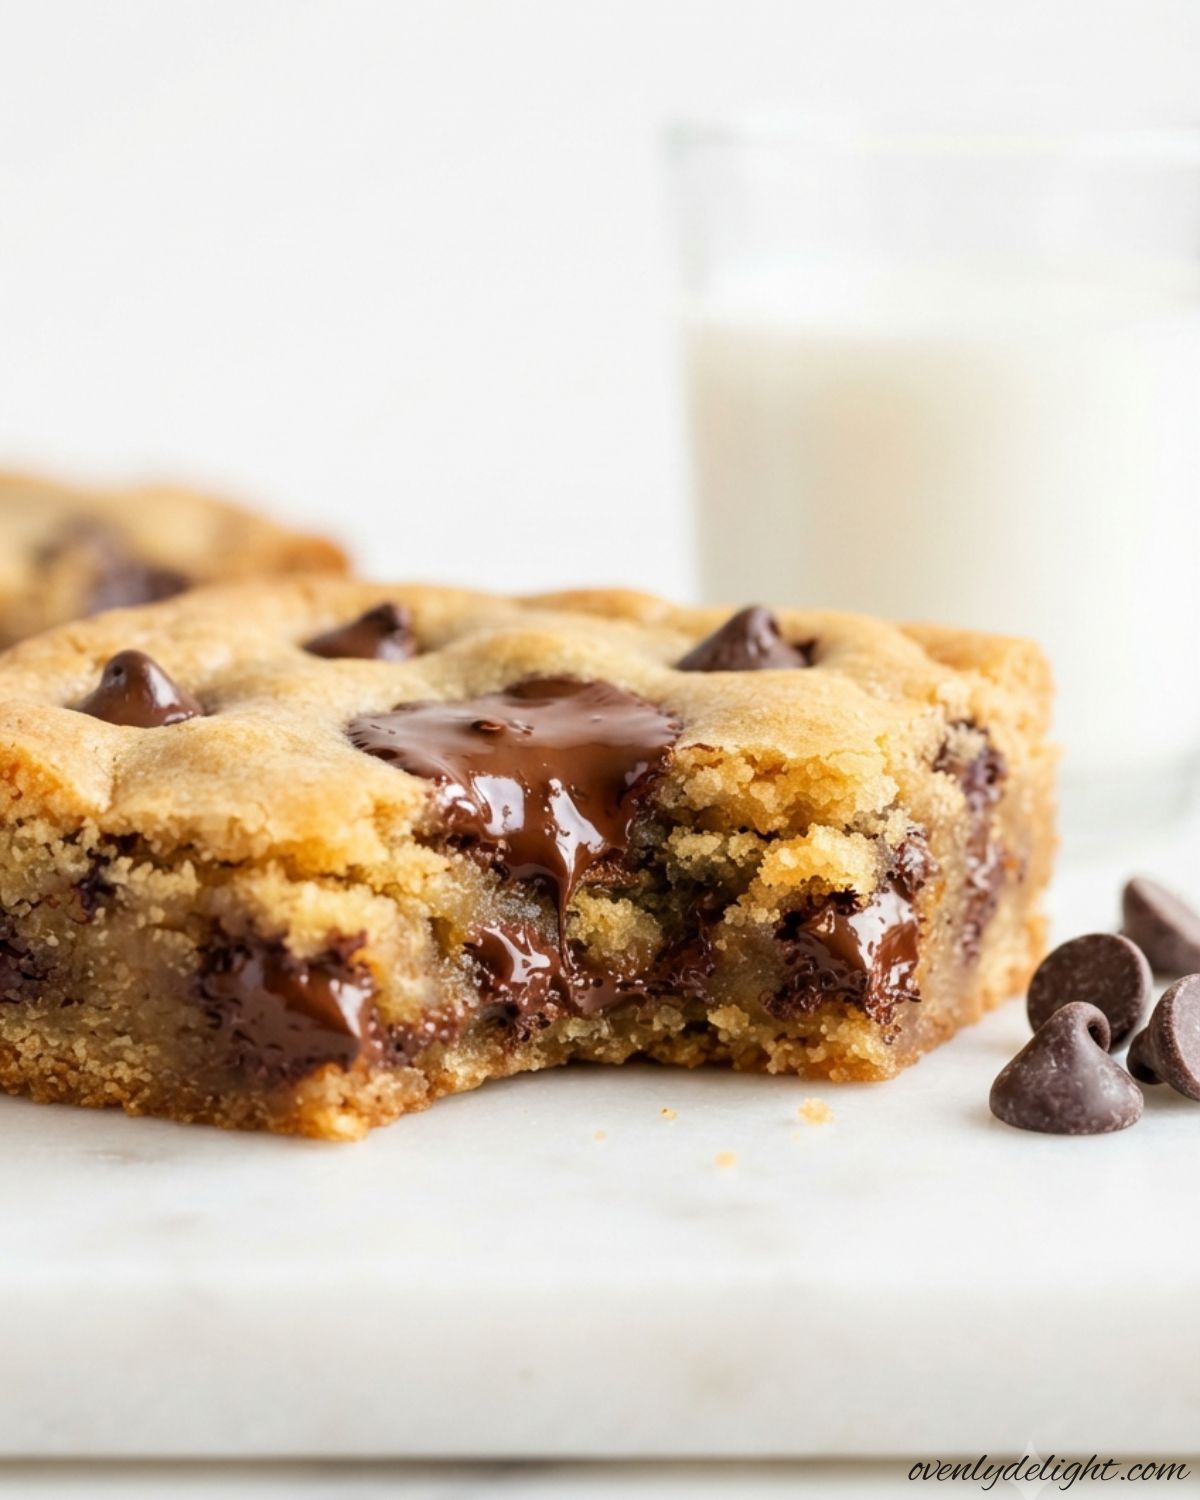
I love making these Brown Butter Chocolate Chunk Blondies whenever I want a dessert that feels simple yet extra special. Browning the butter adds a rich, nutty flavor that makes every bite taste warm and comforting, while the melty chocolate chunks create the perfect balance of sweetness. They come together with everyday ingredients, making them ideal for weekend baking, holiday gatherings, or whenever I’m craving an easy homemade treat. If you love soft, chewy blondies with deep caramel-like flavor and plenty of chocolate, this recipe is one you’ll want to make again and again. Why You’ll Love These Brown Butter Blondies Ingredients for Brown Butter Blondies How to Make Brown Butter Blondies (Step by Step) 1. Prepare the pan Preheat your oven to 350°F (175°C). Line an 8×8-inch baking pan with parchment paper, leaving some overhang on the sides so the brown butter blondies can be lifted out easily after baking. 2. Brown the butter Melt the butter in a light-colored saucepan over medium heat, stirring or swirling often. Continue cooking until you see golden brown bits at the bottom and notice a rich, nutty aroma. This usually takes about 5–6 minutes. Be careful not to let it burn. 3. Cool the browned butter Immediately pour the browned butter into a mixing bowl, making sure to scrape in all those flavorful brown bits from the pan. Let it cool for about 5 minutes before adding the other ingredients. 4. Mix the sugars and flavorings Whisk the brown sugar, granulated sugar, vanilla extract, and salt into the cooled butter until the mixture becomes smooth and glossy. This step helps create the rich caramel flavor and crackly top of these chocolate chunk blondies. 5. Add the egg Add the egg and whisk vigorously for about 30 seconds until the mixture looks slightly lighter and well combined. This helps create the soft texture and shiny surface that makes homemade blondies so irresistible. 6. Add the flour Gently fold in the flour using a spatula until just combined. Avoid overmixing the batter, as too much stirring can make the brown butter blondies dense instead of soft and chewy. 7. Fold in the chocolate Add the chopped dark chocolate and gently mix until evenly distributed. Reserve a small handful of chocolate pieces to sprinkle on top before baking for extra gooey chocolate pockets. 8. Fill the pan Spread the batter evenly into the prepared pan and smooth the top with a spatula. Press the reserved chocolate pieces over the surface for a bakery-style finish. 9. Bake Bake on the middle rack for 20–22 minutes, or until the edges are set and the center looks slightly soft. Avoid overbaking so the chocolate chunk blondies stay chewy and fudgy. 10. Cool and slice Let the blondies cool in the pan for at least 20 minutes before lifting them out using the parchment paper. For the cleanest slices, allow them to cool completely, then cut into squares and enjoy. Expert Tips for Perfect Brown Butter Blondies Ingredient Substitutions for Brown Butter Blondies How to Store Brown Butter Blondies Room Temperature Storage Store the Brown Butter Chocolate Chunk Blondies in an airtight container at room temperature for up to 4 days. Place parchment paper between layers to prevent the tops from sticking together and to keep the chocolate from making the bars messy. Keeping them tightly covered helps lock in moisture and preserves their soft, chewy centers. Refrigerator Storage For longer freshness, store the chocolate chunk blondies in the refrigerator for up to 8 days. The cold temperature will make the texture slightly firmer, which is completely normal. Let the blondies sit at room temperature for about 10–15 minutes before serving so they soften again, or warm them briefly in the microwave for a more gooey texture. Freezing Instructions These brown butter blondies freeze beautifully for up to 3 months. Wrap individual squares tightly in plastic wrap, then place them in a freezer-safe bag or airtight container to protect them from freezer burn. When you’re ready to enjoy them, thaw at room temperature for about an hour or overnight in the refrigerator. A quick 15–20 second microwave warm-up will bring back their soft texture and melty chocolate flavor, making them taste almost freshly baked. More Delicious Dessert Recipes to Try Frequently Asked Questions Final Thoughts These Brown Butter Chocolate Chunk Blondies are a simple yet special dessert with rich brown butter flavor, chewy texture, and plenty of gooey chocolate in every bite. They’re perfect for sharing with family, bringing to gatherings, or enjoying as a homemade treat whenever you’re craving something sweet. just a few simple ingredients and the right baking tips, you can create soft, bakery-style brown butter blondies that everyone will love.
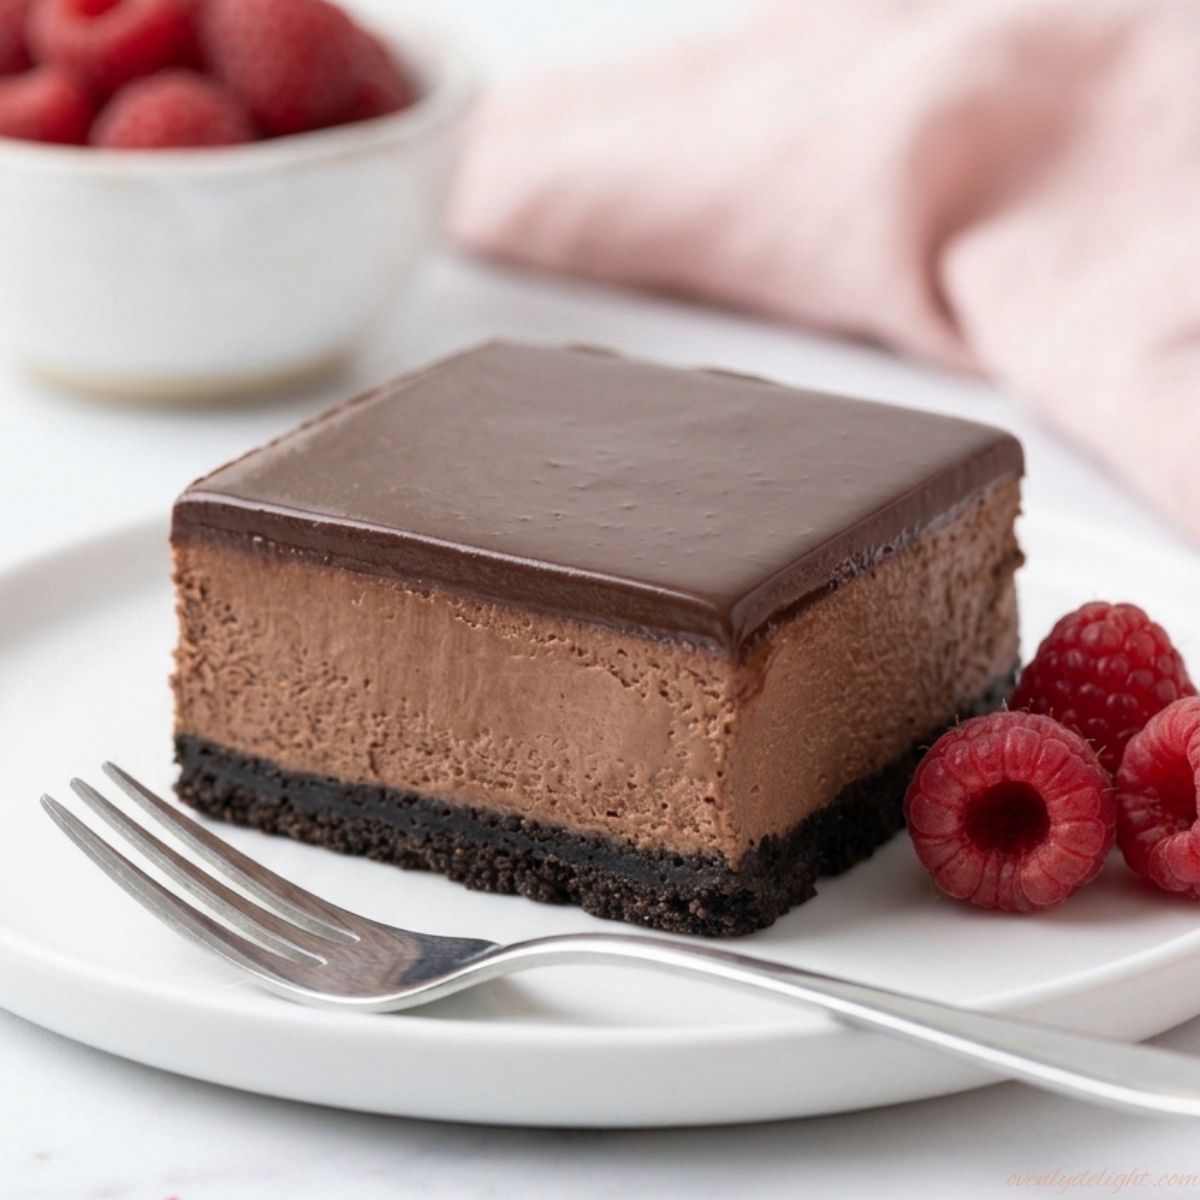
The Best Chocolate Cheesecake Bars Ever (Super Creamy & Decadent)
I first made these chocolate cheesecake bars for a family get-together, and they quickly became a favorite. I was looking for a dessert that was simple to make but still felt impressive, and these bars were the perfect choice. The rich chocolate flavor, creamy cheesecake layer, and smooth texture create a deliciously decadent treat that everyone loves. They’re easy enough for a weekend bake and special enough for holidays, celebrations, or sharing with family and friends. Why You’ll Love These Cheesecake Bars Ingredients for These Cheesecake Bars Oreo Crust Chocolate Cheesecake Filling Chocolate Ganache Topping How to Make These Cheesecake Bars (Step by Step) Preheat the Oven and Line the Pan Preheat your oven to 325°F (163°C) and prepare a 9×13-inch baking pan by lining it with parchment paper. Leave a little extra paper hanging over the sides so you can easily lift the chilled bars out of the pan later. This simple step makes slicing and serving much easier. Crush the Oreo Cookies into Fine Crumbs Add the whole Oreo cookies, including the cream filling, to a food processor and pulse until they become fine crumbs. The cream filling helps bind the crust and adds extra chocolate flavor. If you don’t have a food processor, place the cookies in a sealed bag and crush them with a rolling pin. Combine the Crumbs with Melted Butter Pour the melted butter over the Oreo crumbs and mix until the texture resembles wet sand. The butter helps hold the crust together and creates a firm base that won’t fall apart when you slice the cheesecake bars. Press the Crust into the Pan Transfer the Oreo mixture into the prepared pan and press it firmly into an even layer. Use the bottom of a measuring cup or a flat glass to compact the crust tightly. A well-packed crust gives you clean, sturdy slices after chilling. Make the Chocolate Cheesecake Filling Melt the Dark Chocolate Melt the dark chocolate in short microwave intervals, stirring well between each one until smooth and completely melted. Let the chocolate cool for a few minutes before adding it to the cheesecake mixture. This prevents the warm chocolate from affecting the texture of the filling. Beat the Cream Cheese and Sugar Until Smooth In a large mixing bowl, beat the softened cream cheese and granulated sugar together until smooth, creamy, and free of lumps. Make sure your cream cheese is at room temperature because cold cream cheese can create a bumpy filling that won’t blend properly. Add the Flavoring Ingredients Add the cornstarch and vanilla extract, then mix until combined. Next, add the sour cream and melted chocolate, mixing just until the filling becomes smooth and evenly chocolatey. Avoid mixing longer than needed to keep the cheesecake texture creamy. Add the Eggs Slowly Add the eggs one at a time, mixing on low speed after each addition until just incorporated. Overmixing after adding the eggs can add too much air into the batter, which may cause cracks as the cheesecake cools. Bake and Chill the Cheesecake Bars Pour the Filling Over the Crust Pour the chocolate cheesecake batter over the prepared Oreo crust and spread the top evenly with a spatula. Make sure the surface is smooth so the finished bars have a neat, bakery-style appearance. Bake Until Set Place the pan on the middle rack and bake for about 35 minutes. The edges should look set while the center should still have a slight jiggle when you gently move the pan. This means the cheesecake will stay creamy instead of becoming dry. Cool Slowly to Prevent Cracks Turn off the oven and leave the door slightly open. Allow the bars to cool inside the oven for about 30 minutes. This gradual temperature change helps prevent the cheesecake surface from cracking. Chill Completely Before Cutting Remove the pan from the oven and refrigerate the cheesecake bars uncovered for at least 4 hours, or preferably overnight. Chilling allows the filling to fully set and makes it easier to get clean, beautiful slices. Add the Chocolate Ganache Topping Make the Chocolate Ganache Heat the heavy cream until it is steaming but not boiling. Pour it over the chopped chocolate and let it sit for about 2 minutes. Stir slowly until the mixture becomes smooth, shiny, and completely combined. Spread the Ganache Over the Cheesecake Pour the prepared ganache over the chilled cheesecake layer and gently tilt the pan or use a spatula to spread it into an even layer. The glossy chocolate topping adds extra richness and makes these bars look bakery-worthy. Chill and Slice the Bars Place the pan back in the refrigerator for another 30 minutes to allow the ganache to set. Use the parchment paper overhang to lift the bars out of the pan, then slice into 15 even pieces using a sharp knife for clean edges. Expert Tips for Perfect Cheesecake Bars Cool the Bars Slowly to Prevent Cracks After my first batch cracked right down the middle, I realized the problem was temperature shock. Letting the bars cool gradually in the turned-off oven with the door slightly open helps the cheesecake adjust slowly and keeps the surface smooth. Use Room Temperature Ingredients I used to mix in cream cheese straight from the fridge to save time, but the filling always turned out slightly lumpy. Softened cream cheese blends much better, so let it sit at room temperature for at least an hour along with the eggs before starting. Bring Sour Cream to Room Temperature Room-temperature sour cream helps create a silky, smooth filling. Cold sour cream can make the melted chocolate tighten up and leave small chocolate flecks instead of blending evenly into the batter. Choose a Chocolate Bar Instead of Chips I once tested this recipe with chocolate chips, and the texture wasn’t as smooth. A good-quality chopped chocolate bar melts more evenly and gives the cheesecake filling a richer, silkier consistency. Chill Before Adding the Ganache Make sure the cheesecake layer is completely