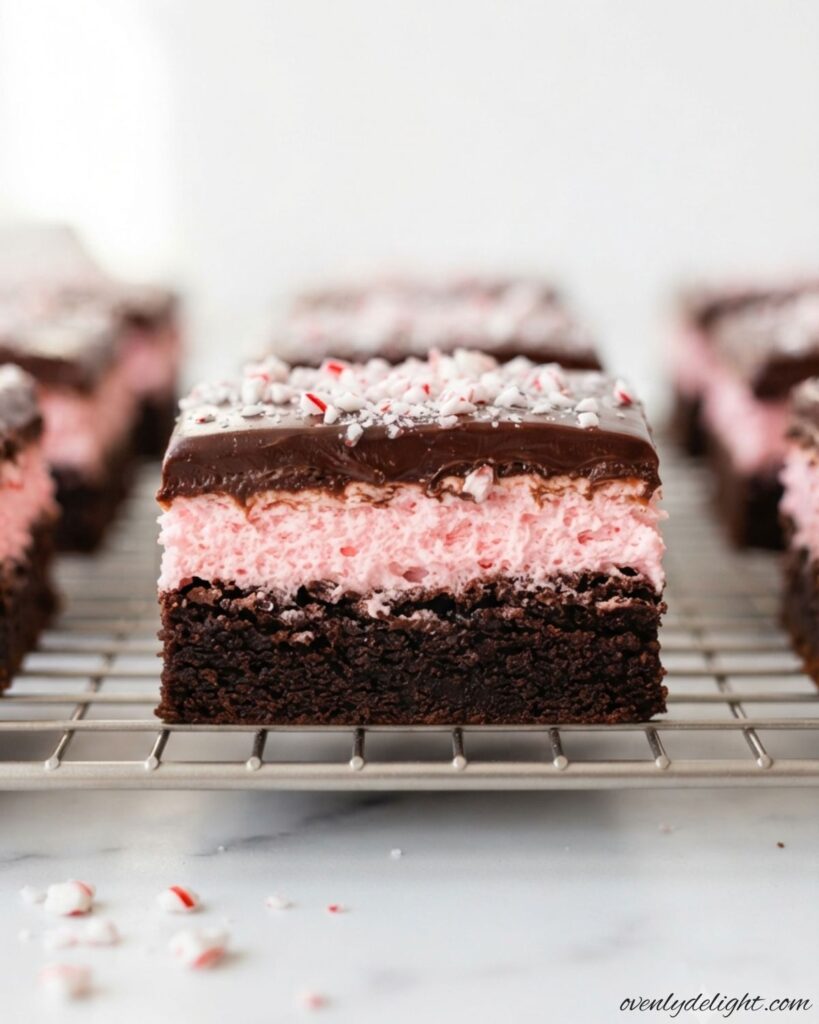
I always enjoy making these Candy Cane Brownies during the holiday season because they’re simple, festive, and always a hit with family and friends. The rich chocolate and refreshing peppermint create the perfect Christmas dessert. These fudgy brownies are topped with crushed candy canes for a delicious blend of chocolate and mint in every bite, making them ideal for holiday parties, cookie trays, or homemade gifts.
Why You’ll Love This Easy Holiday Brownie Recipe
Rich Fudgy Texture
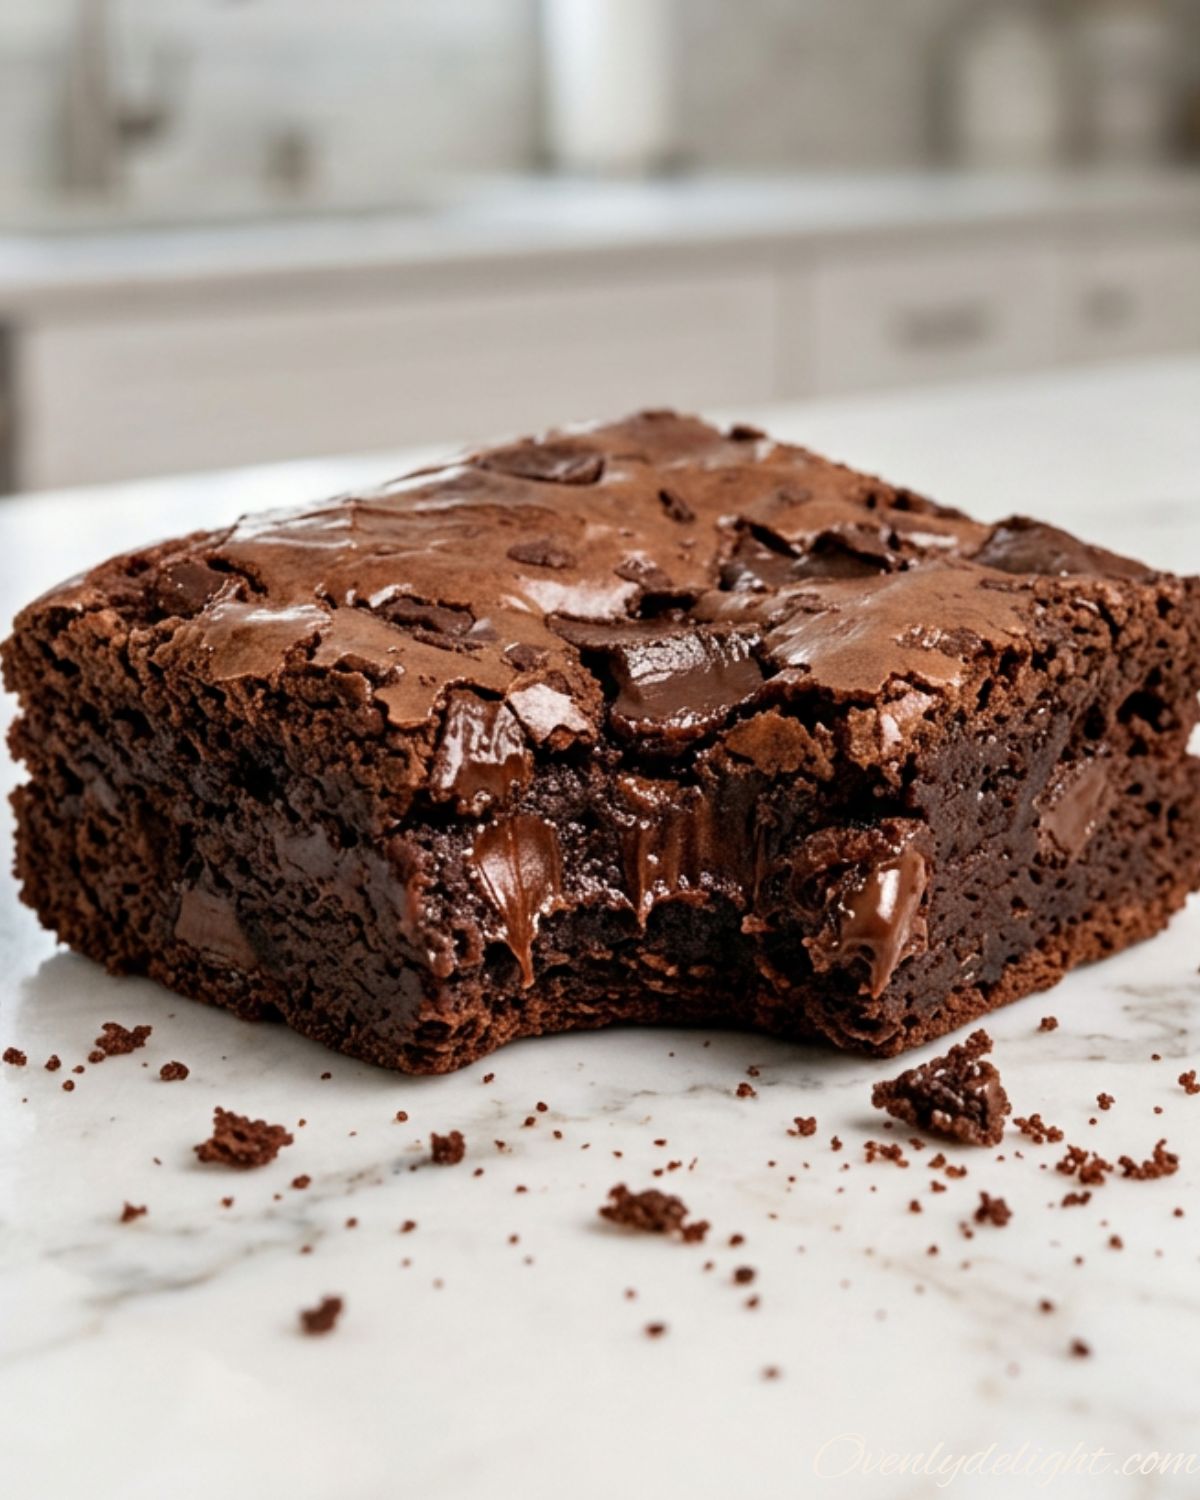
Every bite is soft, dense, and perfectly fudgy with a deep chocolate flavor that stays moist for days. The smooth brownie base pairs beautifully with the crunchy peppermint topping.
Perfect Holiday Dessert
These festive brownies are an easy choice for Christmas parties, cookie exchanges, holiday dessert platters, and family gatherings. Their colorful candy cane topping makes them look as good as they taste.
Easy Homemade Brownie Recipe
This recipe uses simple pantry ingredients and comes together without complicated techniques. It’s beginner-friendly while delivering bakery-style results every time.
Delicious Chocolate and Peppermint Flavor
The combination of rich chocolate and cool peppermint creates a balanced flavor that’s sweet, refreshing, and perfect for the holiday season without being overpowering.
Great for Make-Ahead Baking
These brownies can be prepared in advance and stay fresh for several days, making holiday baking less stressful. They’re easy to slice, store, and serve whenever you need a festive treat.
Perfect for Sharing and Gifting
Whether you’re filling a Christmas cookie box, bringing dessert to a holiday gathering, or wrapping homemade treats as gifts, these peppermint brownies travel well and are always a crowd-pleasing favorite.
Ingredients You’ll Need for holiday brownies
For the Brownies
- ½ cup (112g) melted butter: Adds rich flavor and creates a soft, fudgy texture. You can use salted or unsalted butter. If using salted butter, reduce the added salt slightly.
- 2 teaspoons (10ml) vegetable oil: Helps keep the brownies moist and tender for several days. Even though it’s a small amount, it makes a noticeable difference.
- 1 cup (200g) granulated sugar: Sweetens the brownies while helping create the signature shiny, crackly top.
- 2 large eggs (room temperature): Provide structure, moisture, and richness. Room-temperature eggs blend more easily into the batter.
- 1 teaspoon vanilla extract: Enhances the chocolate flavor and adds warmth to the overall taste.
- ½ cup (50g) unsweetened cocoa powder, sifted: Gives the brownies a rich chocolate flavor. Sifting removes lumps for a smooth batter.
- ½ cup (63g) all-purpose flour: Adds structure while keeping the brownies soft. Spoon the flour into the measuring cup and level it off instead of scooping directly.
- ¼ teaspoon salt: Balances the sweetness and enhances the chocolate flavor.
For the Peppermint Filling
- ⅓ cup (75g) unsalted butter, softened: Creates a smooth, creamy filling. The butter should be soft but not melted for the best consistency.
- 1½–2 cups (165–220g) powdered sugar: Sweetens and thickens the filling. Start with 1½ cups (165g) and add more if you want a firmer texture.
- 1–1½ teaspoons peppermint extract: Adds refreshing peppermint flavor. Begin with 1 teaspoon, then add more to taste since different brands vary in strength.
- Red food coloring (optional): Gives the filling a festive pink color without affecting the flavor.
- 1–2 tablespoons whipping cream: Makes the filling smooth and spreadable. Add 1 tablespoon first, then add more only if needed.
For the Chocolate Ganache Topping
- 4 ounces (113g) semi-sweet chocolate, chopped: Melts into a smooth, glossy ganache. You can also use dark chocolate (50–70% cocoa) for a richer flavor. (Note: 4 oz equals 113g, not 56g.)
- 6 tablespoons (90ml) whipping cream: Creates a silky ganache that sets firmly enough for clean slices. Use cream with about 33–35% milk fat.
- 2–3 candy canes, crushed: Sprinkle over the ganache for festive color, peppermint flavor, and a crunchy finish. Crush them just before using to keep them crisp.
How to Make Christmas brownies Step by Step
Prepare the Baking Pan
Preheat your oven to 350°F (177°C). Line an 8×8-inch baking pan with parchment paper, leaving extra paper hanging over two sides so you can easily lift the brownies out after baking. Place the oven rack in the center position for even baking.
Mix the Wet Ingredients
In a large mixing bowl, whisk together the melted butter and vegetable oil until fully combined. Add the granulated sugar and whisk for about 1 minute until the mixture looks smooth and slightly glossy. This simple step helps create the shiny, crackly brownie top.
Add the Eggs and Vanilla
Add the eggs one at a time, then mix in the vanilla extract until the batter becomes smooth and well blended. Room-temperature eggs mix more evenly and create a better texture.
Fold in the Dry Ingredients
Sift the cocoa powder into the bowl, then add the all-purpose flour and salt. Gently fold everything together with a spatula until no dry streaks remain. Avoid overmixing, as it can make the brownies firm instead of soft and fudgy.
Bake the Brownies
Spread the batter evenly into the prepared pan and bake for 22–24 minutes. The edges should look set, while a toothpick inserted into the center should come out with a few moist crumbs. Let the brownies cool completely in the pan for about 45 minutes before adding the filling.
Make the Peppermint Filling
Beat the softened butter until creamy, about 1 minute. Add the powdered sugar, peppermint extract, and a drop of red food coloring if desired. Continue beating until the filling becomes light and fluffy.
Adjust the Filling Consistency
Add the whipping cream one tablespoon at a time until the filling is smooth and easy to spread while still holding its shape. Spread it evenly over the cooled brownie layer, then refrigerate for 20–30 minutes until firm.
Prepare the Chocolate Ganache
Place the chopped semi-sweet chocolate in a heatproof bowl. Heat the whipping cream until it just begins to simmer, then pour it over the chocolate. Let it sit for 2 minutes before stirring until completely smooth and glossy.
Add the Candy Cane Topping
Pour the ganache over the chilled peppermint filling and spread it evenly across the surface. Immediately sprinkle the crushed candy canes over the top while the ganache is still soft so they stick properly.
Chill and Slice
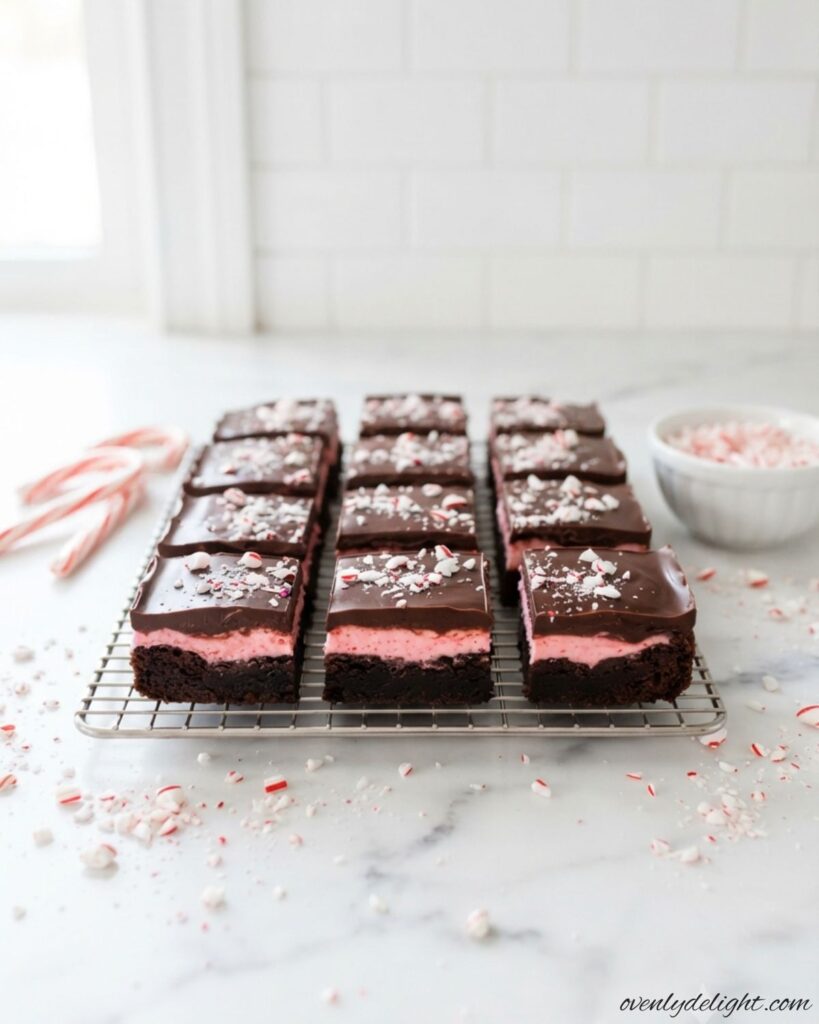
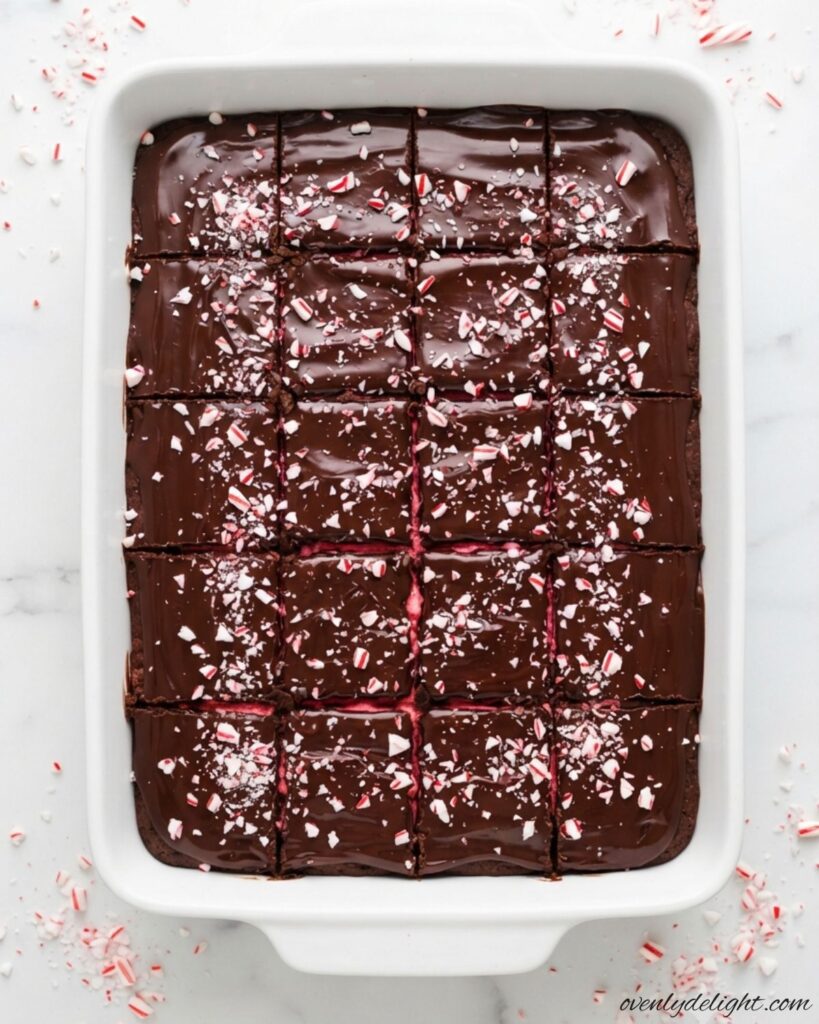
Refrigerate the brownies for at least 1 hour, or until the ganache is fully set. Lift the brownies out of the pan using the parchment paper and slice them into 16 squares with a warm, dry knife. Wipe the knife clean after each cut to keep every slice neat and professional.
Expert Tips for the Best fudgy peppermint brownies
Measure the Flour Correctly
For soft, fudgy brownies, spoon the flour into your measuring cup and level it off with a knife instead of scooping directly from the bag. Too much flour can make the brownies dry and cakey.
Use Room-Temperature Eggs
Room-temperature eggs blend more easily into the batter, creating a smoother mixture and helping develop that beautiful shiny, crackly top.
Don’t Skip the Vegetable Oil
Even though the recipe only calls for a small amount, vegetable oil helps keep the brownies moist and tender for several days without affecting the rich chocolate flavor.
Crush the Candy Canes Just Before Using
Crush the candy canes right before sprinkling them over the ganache. This keeps them crisp and prevents them from becoming sticky by absorbing moisture from the air.
Chill the Peppermint Filling if Needed
If the peppermint filling feels too soft to spread smoothly, refrigerate it for about 10 minutes. A slightly firmer filling spreads more evenly without pulling up the brownie layer.
Slice with a Warm Knife
For clean, bakery-style squares, run a knife under hot water, dry it completely, and wipe the blade clean after every cut. This keeps the ganache and filling looking neat.
Adjust the Peppermint Flavor Carefully
Peppermint extracts vary in strength, so start with a smaller amount and taste before adding more. This helps achieve a refreshing mint flavor without overpowering the rich chocolate brownies.
Ingredient Substitutions for festive brownie recipe
Use Dark Chocolate Instead of Semi-Sweet Chocolate
If you prefer a richer chocolate flavor, replace the semi-sweet chocolate in the ganache with 60–70% dark chocolate. The ganache will be slightly less sweet while still setting beautifully.
Make It Dairy-Free
For a dairy-free version, substitute the butter with a plant-based stick butter and replace the whipping cream with full-fat coconut cream in both the peppermint filling and chocolate ganache. You’ll still get a creamy texture and refreshing peppermint flavor.
Swap for Gluten-Free Flour
To make these brownies gluten-free, use a 1:1 gluten-free all-purpose flour blend in place of regular flour. Since this recipe uses a small amount of flour, the brownies will remain soft and fudgy.
Replace the Candy Canes
If you don’t have candy canes, use crushed peppermint starlight mints or chopped peppermint bark instead. Both add the same festive peppermint flavor and a delicious crunchy topping.
How to Store Candy Cane Brownies
Refrigerate for Freshness
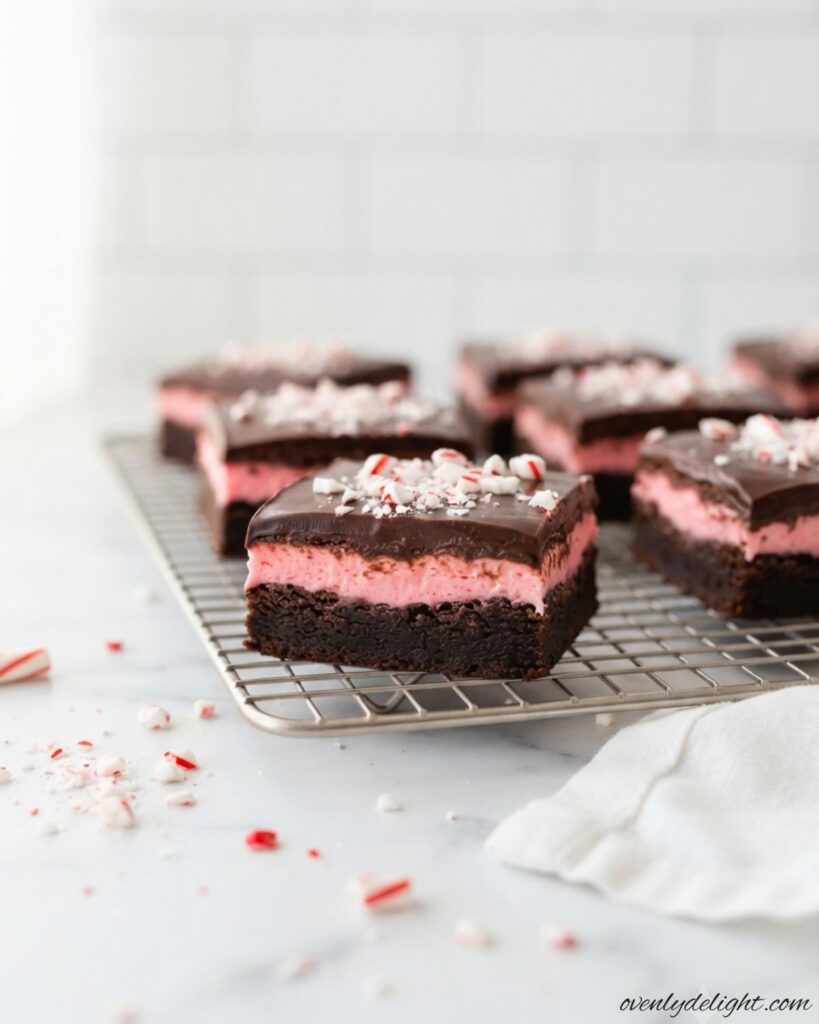
Store leftover Candy Cane Brownies in an airtight container in the refrigerator for up to 5 days. Chilling keeps the peppermint filling and chocolate ganache fresh while maintaining the rich, fudgy texture. Before serving, let the brownies sit at room temperature for about 10 minutes so they soften slightly.
Freeze for Longer Storage
Wrap each brownie square tightly in plastic wrap, then place them in a freezer-safe bag or airtight container. Freeze for up to 2 months. When you’re ready to enjoy them, thaw the brownies overnight in the refrigerator before serving.
Enjoy Without Reheating
These brownies are delicious straight from the refrigerator, but if you prefer a softer texture, microwave one brownie for about 10 seconds. This removes the chill without melting the chocolate ganache or peppermint layer.
More Holiday Desserts to Try
Frequently Asked Questions
Can I make Candy Cane Brownies ahead of time?
Yes! You can prepare Candy Cane Brownies up to 2 days in advance and store them covered in the refrigerator. Chilling allows the chocolate and peppermint flavors to blend together, making them an excellent make-ahead holiday dessert.
Why are my Candy Cane Brownies dry instead of fudgy?
Dry brownies are usually caused by overbaking or measuring too much flour. Bake only until a toothpick comes out with a few moist crumbs, and always spoon and level the flour for accurate measuring.
Can I freeze Candy Cane Brownies?
Yes. Wrap each brownie individually in plastic wrap and place them in a freezer-safe container or bag. Freeze for up to 2 months, then thaw overnight in the refrigerator before serving.
Can I use peppermint extract instead of crushed candy canes?
Peppermint extract adds mint flavor to the filling, but it won’t replace the crunchy texture and festive appearance of crushed candy canes. If needed, you can substitute crushed peppermint candies or peppermint bark for the topping.
How do I get clean slices when cutting Candy Cane Brownies?
For neat, bakery-style slices, chill the brownies until the ganache is fully set. Use a sharp knife dipped in hot water, dry it completely, and wipe the blade clean after each cut.
Can I make these Candy Cane Brownies without food coloring?
Absolutely! The food coloring is completely optional and only adds a festive pink color to the peppermint filling. Leaving it out won’t change the flavor or texture of the brownies.
Final Thoughts
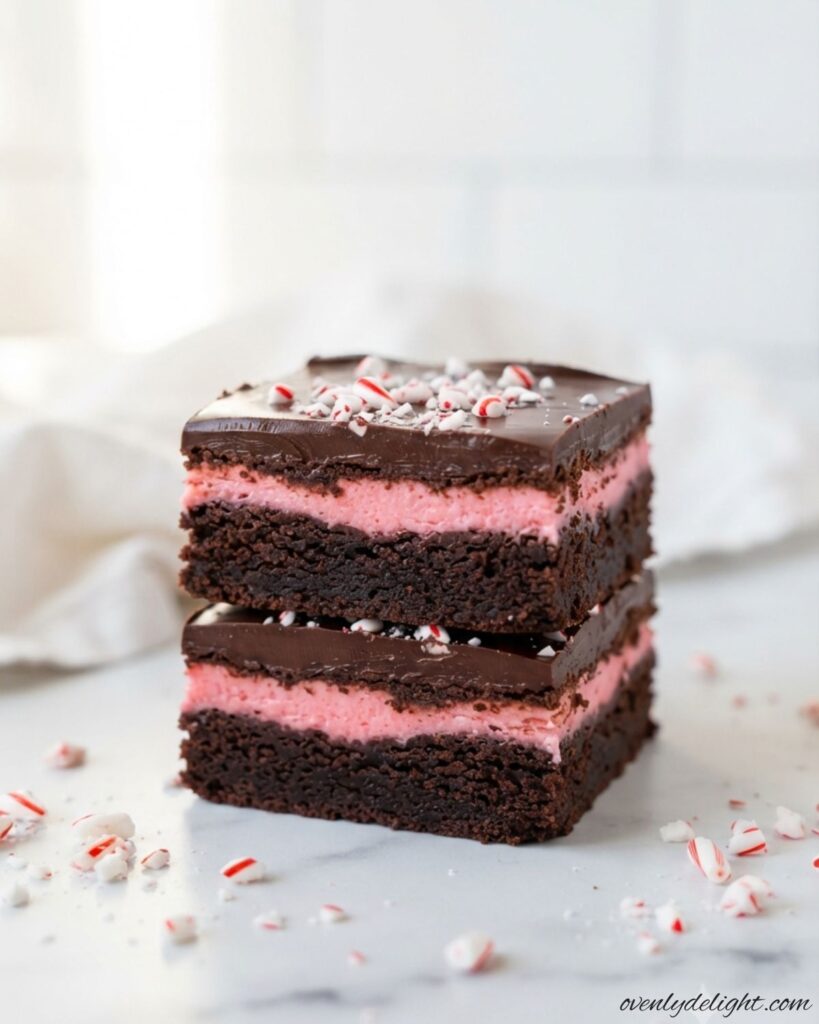
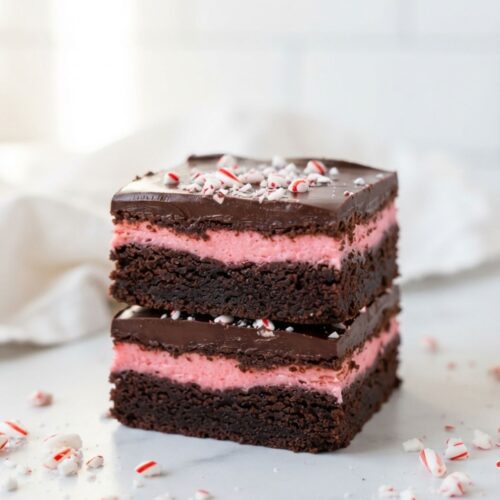
If you’re looking for a festive dessert that’s easy to make and always impresses, these Candy Cane Brownies are a perfect choice. The rich fudgy brownie base, creamy peppermint filling, and smooth chocolate ganache come together to create a delicious holiday treat that’s great for Christmas parties, cookie trays, or sharing with family and friends. I hope you enjoy making this recipe as much as I do. If you give these homemade Candy Cane Brownies a try, I’d love to hear how they turned out for you.
Candy Cane Brownies

Ingredients
Brownie Layer
- ½ cup 112g butter, melted
- 2 teaspoons 10ml vegetable oil
- 1 cup 200g granulated sugar
- 2 large eggs
- 1 teaspoon vanilla extract
- ½ cup 50g unsweetened cocoa powder, sifted
- ½ cup 63g all-purpose flour
- ¼ teaspoon salt
Peppermint Filling
- ⅓ cup 75g unsalted butter, softened
- 1½ –2 cups 165–220g powdered sugar
- 1 –1½ teaspoons peppermint extract
- Red food coloring optional
- 1 –2 tablespoons whipping cream
Chocolate Ganache Topping
- 4 ounces 113g semi-sweet chocolate, chopped
- 6 tablespoons 90ml whipping cream
- 2 –3 candy canes crushed
Instructions
- Preheat the oven to 350°F (177°C). Line an 8×8-inch baking pan with parchment paper, leaving an overhang for easy removal.
- In a large bowl, whisk together the melted butter, vegetable oil, and granulated sugar until smooth and glossy.
- Add the eggs and vanilla extract, then whisk until fully combined.
- Sift in the cocoa powder, then gently fold in the flour and salt until no dry streaks remain.
- Spread the batter evenly into the prepared pan and bake for 22–24 minutes, or until a toothpick inserted into the center comes out with a few moist crumbs. Cool completely in the pan for about 45 minutes.
- Beat the softened butter until creamy. Add the powdered sugar, peppermint extract, and food coloring (if using). Mix until fluffy, then add the whipping cream a little at a time until smooth and spreadable.
- Spread the peppermint filling evenly over the cooled brownies and refrigerate for 20–30 minutes.
- Place the chopped chocolate in a heatproof bowl. Heat the whipping cream until it just begins to simmer, then pour it over the chocolate. Let stand for 2 minutes before stirring until smooth.
- Pour the ganache over the chilled peppermint layer and spread evenly. Immediately sprinkle the crushed candy canes over the top.
- Refrigerate for at least 1 hour, or until the ganache is fully set. Lift the brownies from the pan and cut into 16 squares using a warm, dry knife.