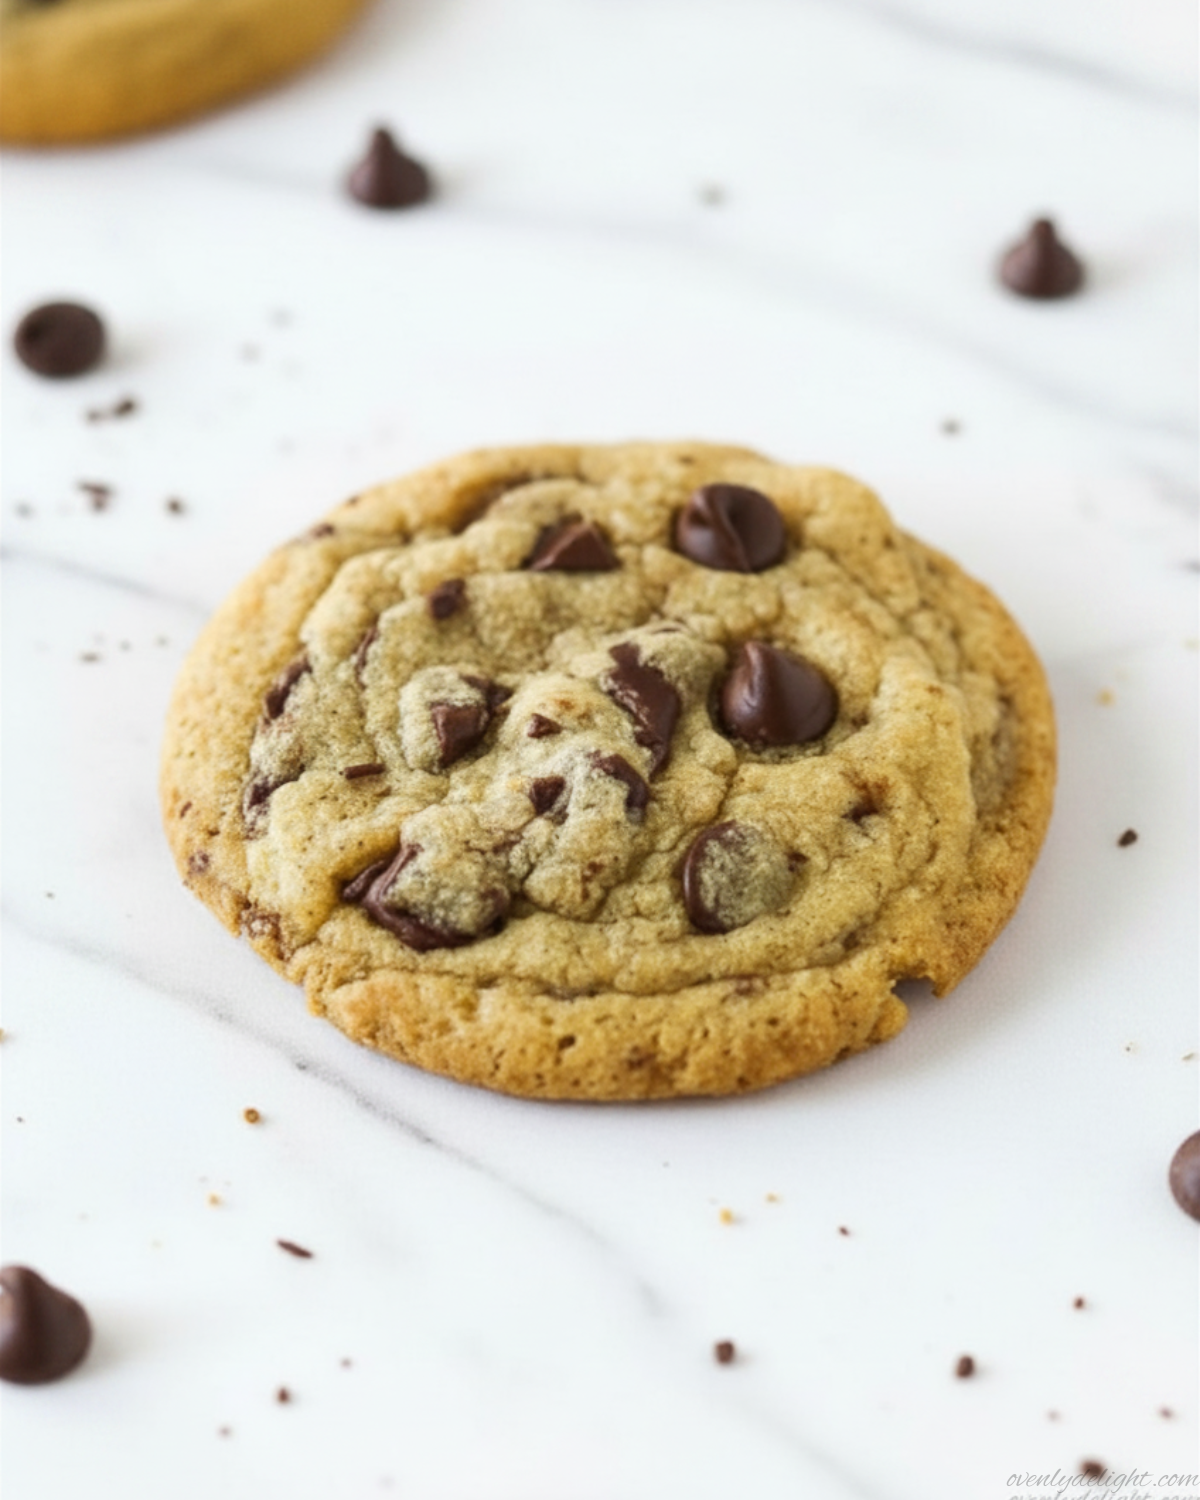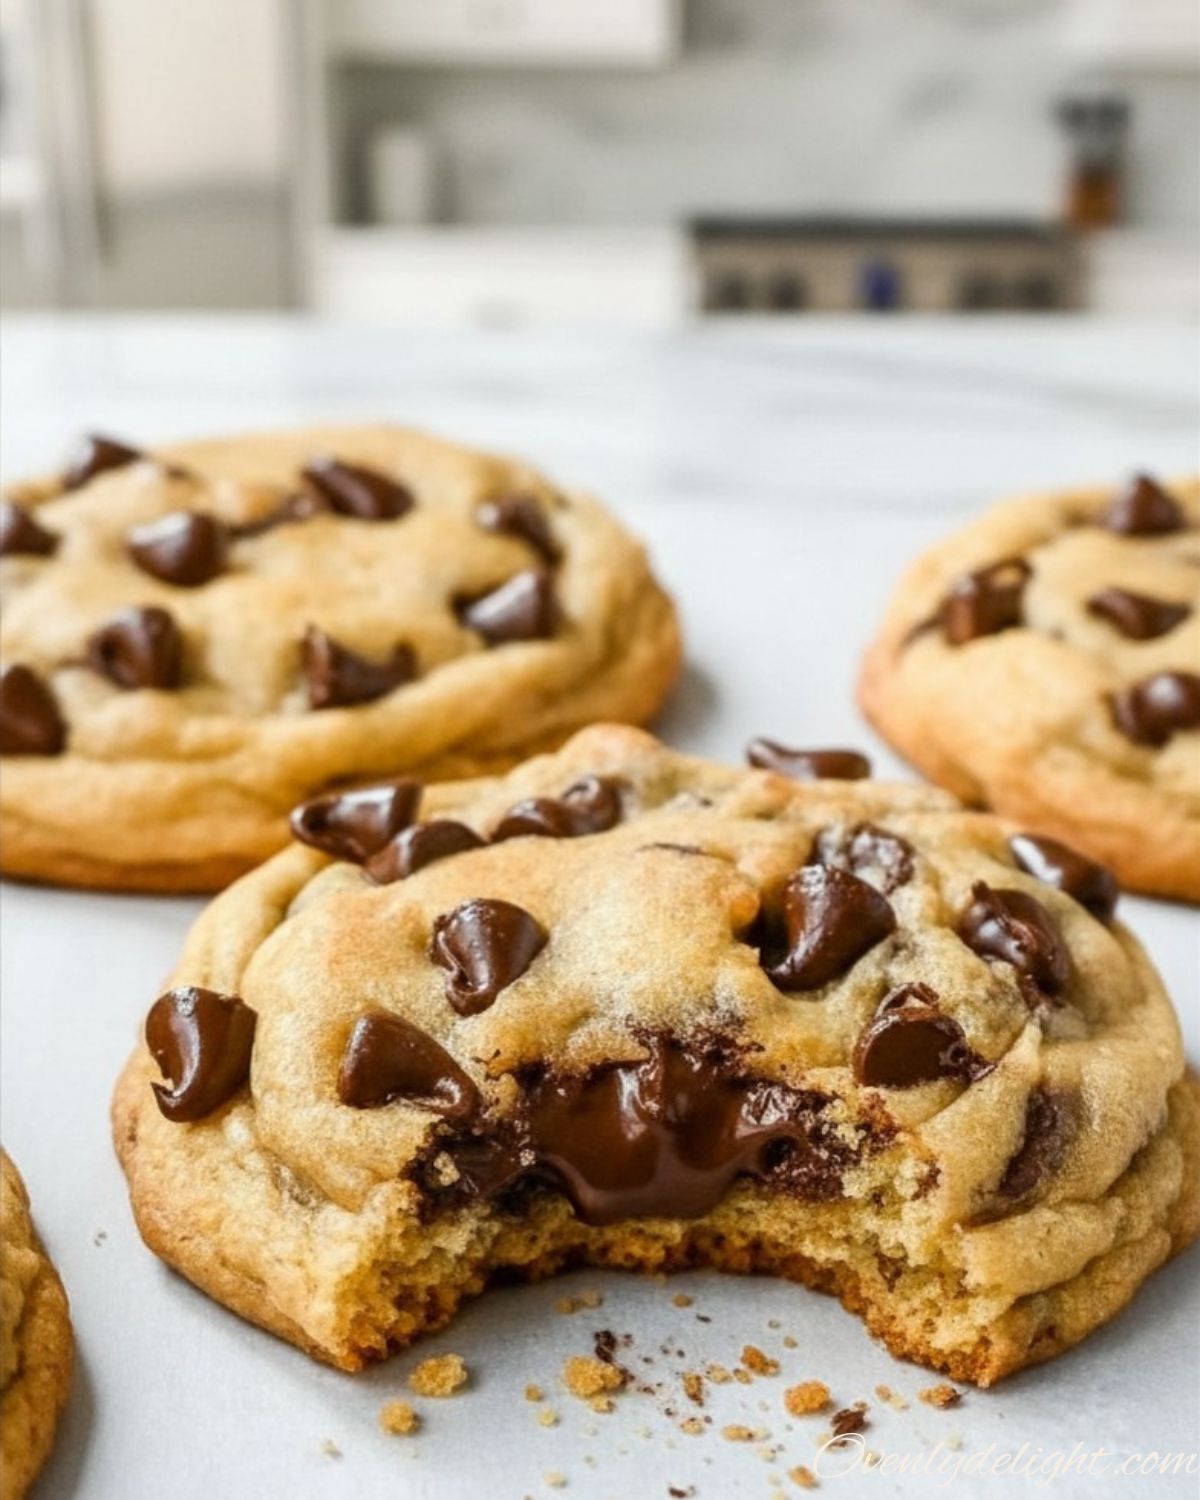
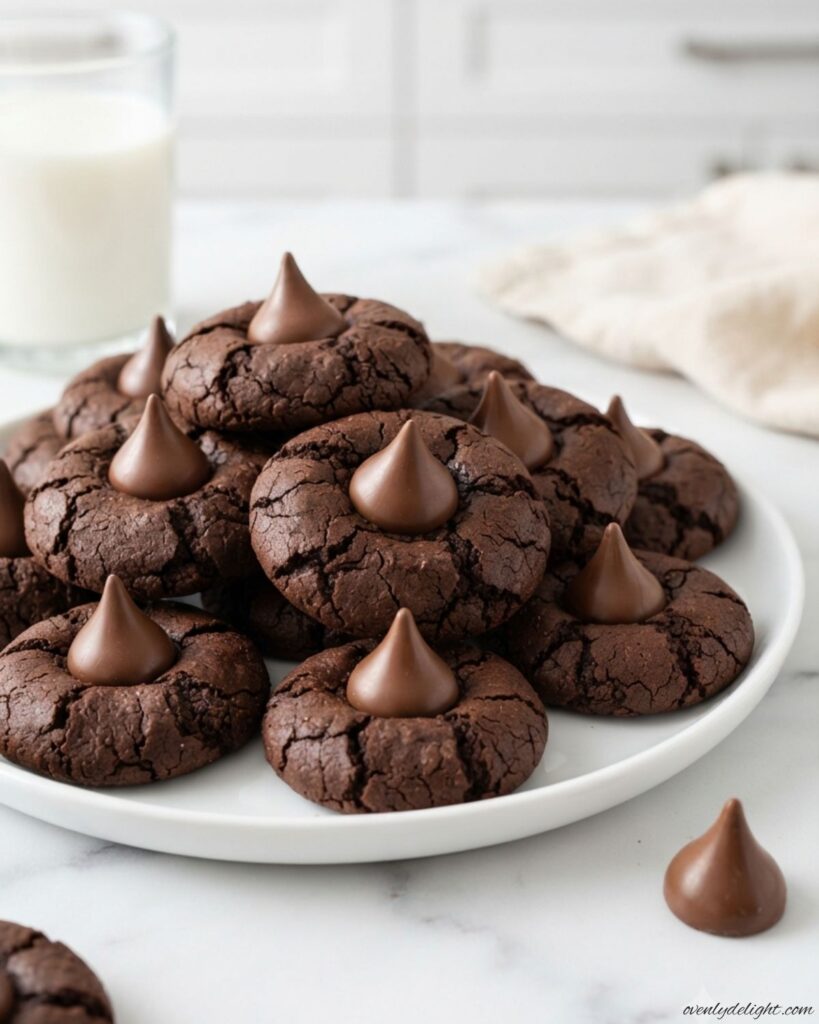
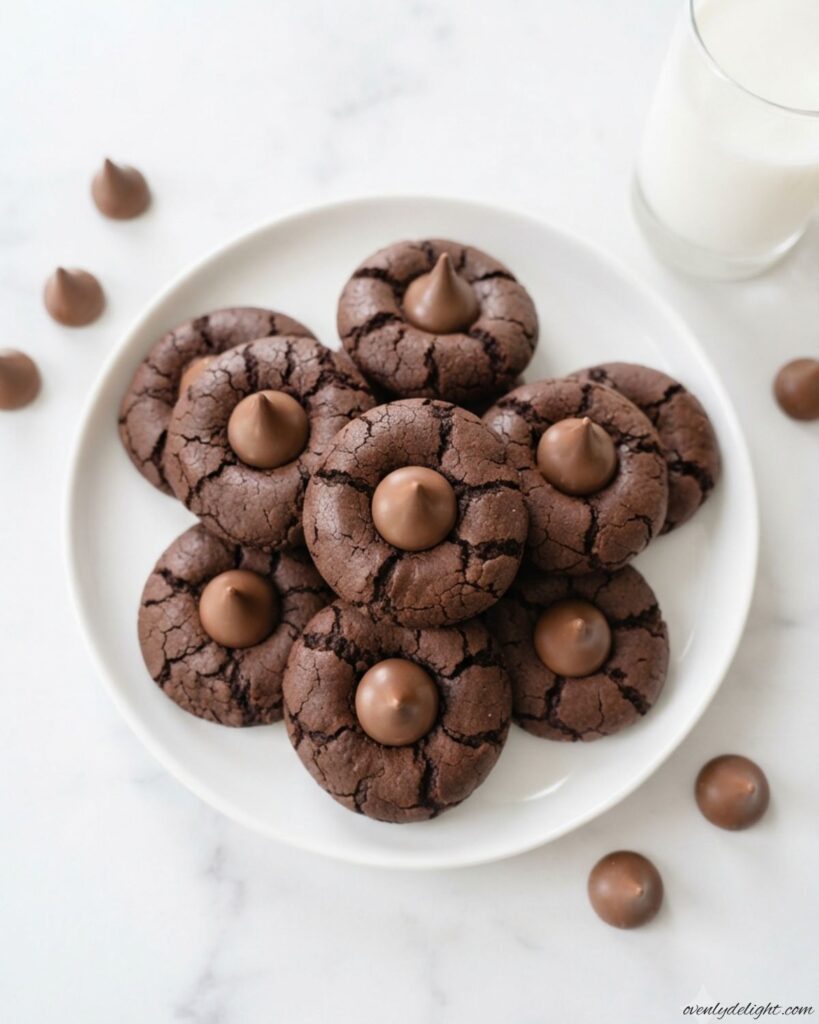
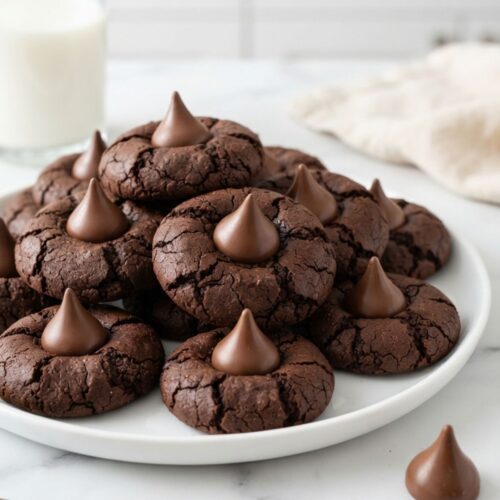
I love making these Chocolate Blossom Cookies whenever I want a simple homemade chocolate treat that everyone enjoys. With their soft, fudgy texture, rich cocoa flavor, and classic chocolate kiss topping, these cookies are the perfect balance of easy and delicious. This Chocolate Blossom Cookies recipe is quick to prepare and makes a beautiful addition to holiday cookie trays, family gatherings, or any day when you’re craving a sweet chocolate dessert.
Why You’ll Love This Recipe
- Rich chocolate flavor: Made with cocoa powder and simple pantry ingredients, these cookies have a deep, chocolatey taste that satisfies every sweet craving without being overly rich.
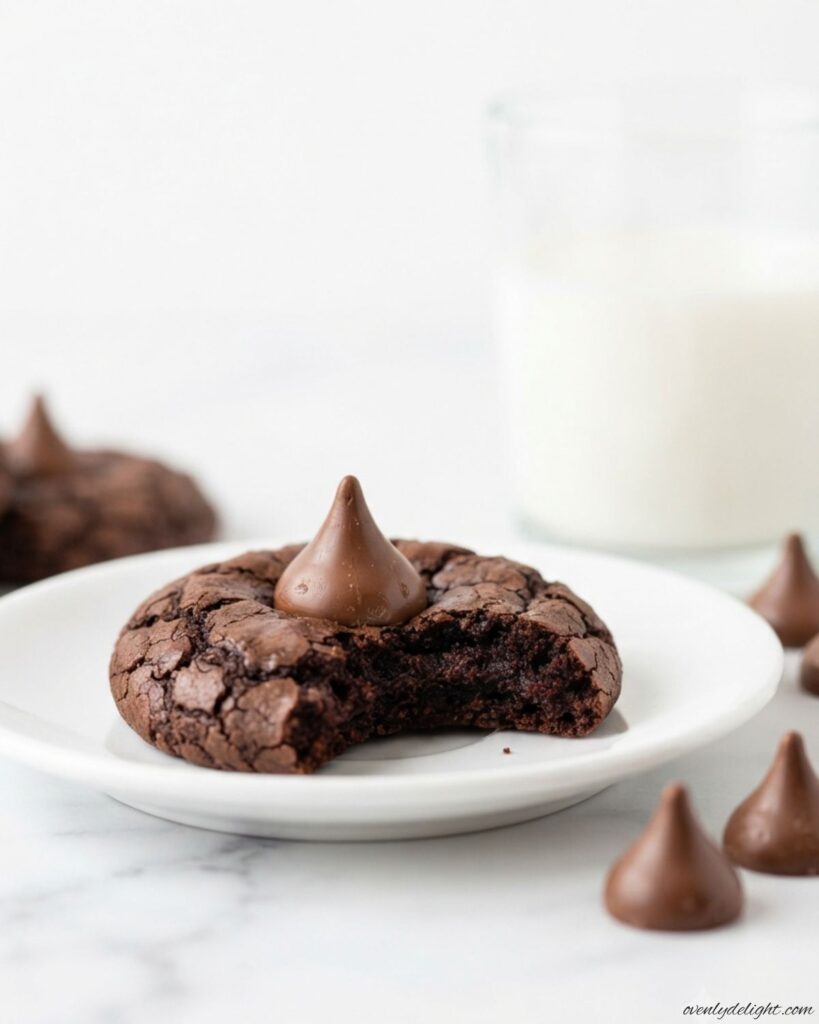
- Soft and fudgy texture: Each cookie has a soft, chewy center with slightly crisp edges, creating the perfect homemade texture that melts in your mouth with every bite.
- Simple ingredients: This beginner-friendly recipe uses easy-to-find baking ingredients and straightforward steps, making it a great choice for both new and experienced bakers.
- Beautiful chocolate topping: The classic chocolate kiss pressed into the center adds an extra layer of chocolate flavor and gives these cookies a pretty bakery-style finish.
- Perfect for any occasion: Whether you’re preparing a holiday dessert tray, bringing treats to a party, or enjoying a cozy homemade dessert with family, these cookies are always a delicious choice.
Ingredient Breakdown
- Chocolate Kisses (32 pieces): Unwrap the chocolate kisses before starting the recipe so they’re ready to press into the warm cookies right after baking.
- All-purpose flour (1 cup / 125g): Provides structure to the cookies. Measure carefully because too much flour can make them dry instead of soft and fudgy.
- Unsweetened cocoa powder (⅓ cup): Gives the cookies their rich chocolate flavor and deep color. Dutch-process cocoa can also be used for a darker taste.
- Baking soda (½ teaspoon): Helps the cookies rise slightly and creates a soft texture with a beautiful crackled surface.
- Salt (¼ teaspoon): Enhances the chocolate flavor and balances the sweetness.
- Unsalted butter (½ cup / 113g): Adds richness and creates a soft, tender cookie texture. Use softened butter for the best results.
- Brown sugar (¾ cup): Keeps the cookies moist and chewy while adding a warm caramel-like sweetness.
- Granulated sugar (½ cup for dough.): Adds sweetness and helps balance the cocoa flavor in the cookie dough.
- Egg (1 large): Helps bind the ingredients together and gives the cookies a soft texture.
- Vanilla extract (1 teaspoon): Adds extra depth and enhances the chocolate flavor.
- Granulated sugar (¼ cup, for rolling): Coats the cookie dough before baking and gives the cookies a lightly crisp, sparkly exterior.
How to Make Chocolate Blossom Cookies
Prepare the Baking Setup
Preheat your oven to 350°F (175°C) and line two baking sheets with parchment paper to prevent sticking and make cleanup easier. Unwrap all 32 chocolate Kisses before you begin so they are ready to add while the cookies are still warm from the oven.
Mix the Dry Ingredients
In a medium bowl, whisk together the all-purpose flour, cocoa powder, baking soda, and salt. Mixing these ingredients first helps distribute the cocoa and leavening evenly, giving the cookies a consistent chocolate flavor and texture.
Cream the Butter and Sugars
In a large mixing bowl, beat the softened butter, brown sugar, and ½ cup granulated sugar together until light and fluffy, about 2 minutes. This step helps create a smooth dough and gives the cookies a soft, tender texture.
Add the Wet Ingredients
Add the room-temperature egg and vanilla extract to the butter mixture. Beat until everything is fully combined and smooth, making sure the egg is evenly incorporated into the dough.
Make the Cookie Dough
Gradually add the dry ingredients to the wet mixture and mix on low speed until just combined. Avoid overmixing, as this can make the cookies less tender. The finished dough should be thick, soft, and fudgy.
Shape and Coat the Cookies
Add the ⅓ cup granulated sugar for rolling into a small bowl. Scoop the dough into 1-inch balls and roll each ball in the sugar until lightly coated. This creates a slightly crisp outer layer and gives the cookies a beautiful sparkling finish.
Arrange and Bake
Place the coated dough balls about 2 inches apart on the prepared baking sheets. Bake for 8–10 minutes, until the edges look set but the centers remain slightly soft. The cookies will continue to set as they cool.
Add the Chocolate Kiss Topping
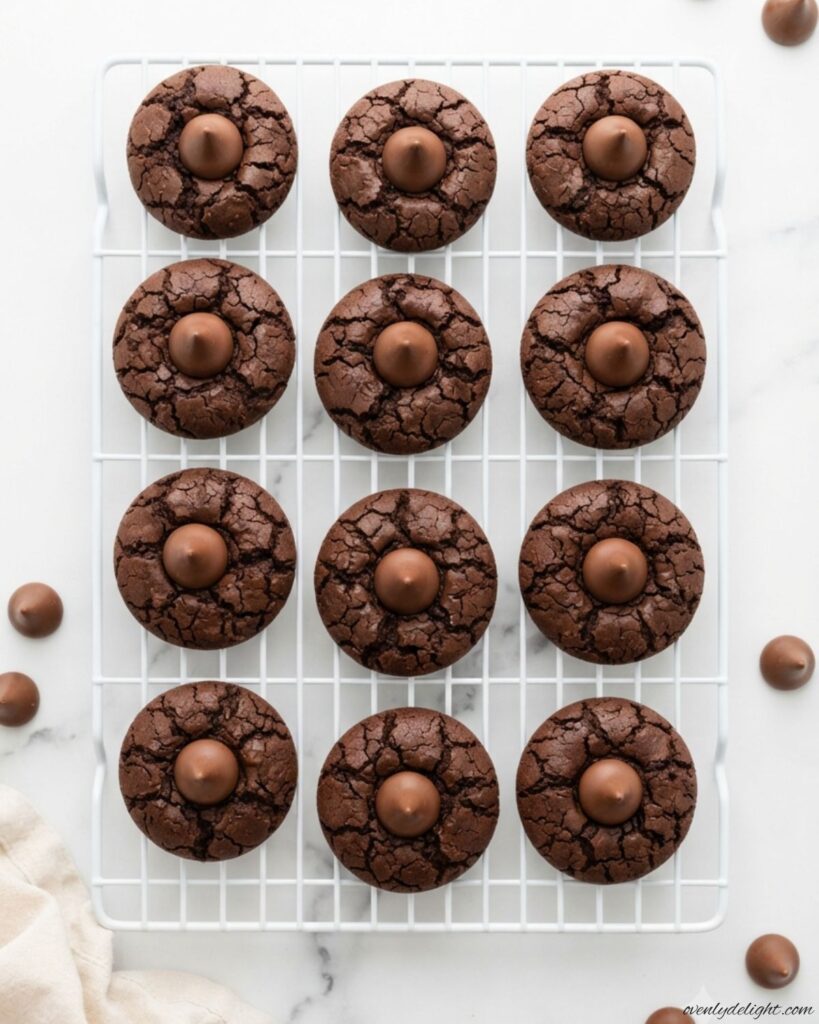
Remove the cookies from the oven and immediately press a chocolate Kiss into the center of each cookie while they are still warm. Press gently until the cookie cracks slightly around the edges, creating the classic blossom cookie look.
Cool Before Serving
Allow the cookies to cool on the baking sheet for about 5 minutes before transferring them to a wire rack. Let them cool completely so the chocolate topping can firm up and the cookies can reach their perfect soft texture.
Expert Tips for Perfect Results
- Keep the chocolate Kisses cold: Store the Kisses in the refrigerator until you’re ready to use them. Cold chocolate holds its shape better when pressed into warm cookies.
- Press gently: Avoid pushing the Kiss too firmly into the cookie. A gentle, steady press is enough to create the classic blossom shape without breaking the edges.
- Don’t overbake the cookies: Bake them toward the lower end of the recommended time. The cookies will continue to firm up as they cool, helping maintain their soft and fudgy texture.
- Chill the dough if needed: If your kitchen is warm, chill the rolled dough balls for about 10 minutes before baking. This helps the cookies hold their shape and prevents too much spreading.
- Make evenly sized dough balls: Roll the dough balls slightly smaller than you think you need because they will spread and puff while baking, creating the perfect size for the chocolate topping.
- Timing matters Add the chocolate Kiss while the cookies are warm but not extremely hot. This helps the candy stick without melting too quickly
- Enjoy the best texture: Following these simple tips will help you create soft, fudgy Chocolate Blossom Cookies with a beautiful finish every time.
Substitutions and Variations
- Try different chocolate toppings: You can replace milk chocolate Kisses with dark chocolate Kisses for a richer, more intense chocolate flavor. This option is perfect if you prefer cookies that are slightly less sweet but still packed with chocolate goodness.
- Use Dutch-process cocoa powder: Swapping natural cocoa powder with Dutch-process cocoa gives the cookies a darker color and a smoother, deeper chocolate taste. It’s a great choice if you love a more bakery-style chocolate flavor in your Chocolate Blossom Cookies.
- Make them gluten-free: Replace all-purpose flour with a 1:1 gluten-free baking flour blend. The cookies may have a slightly softer and more delicate texture, but they will still have a delicious fudgy center.
- Create a dairy-free option: For a dairy-free version, use plant-based butter and dairy-free chocolate Kisses. These simple swaps allow you to enjoy the same classic cookie flavor while avoiding dairy ingredients.
- Add extra texture: Instead of regular granulated sugar, roll the dough balls in turbinado sugar before baking. The larger sugar crystals create a crunchy outer coating that pairs beautifully with the soft chocolate cookie.
- Experiment with flavors: You can customize these cookies by trying different chocolate candies, adding a hint of espresso powder for a stronger chocolate taste, or mixing in small chocolate chips for extra richness.
- Make them your own: Small ingredient changes can completely change the flavor and texture while keeping the signature look of these Chocolate Blossom Cookies. Feel free to adjust the recipe based on your taste preferences and dietary needs.
How to Store Chocolate Blossom Cookies
Store at room temperature: Allow the cookies to cool completely before storing them. Place them in an airtight container and keep them at room temperature for up to 5 days. For the best texture, add a layer of parchment paper between each cookie layer to prevent the sugar coating and chocolate topping from sticking together.
Freeze baked cookies: These cookies freeze well, making them a great make-ahead dessert. Let the baked cookies cool completely, then arrange them in a single layer and freeze until firm. Transfer them to a freezer-safe bag or container, where they can stay fresh for up to 3 months. When ready to enjoy, thaw them at room temperature for about 20 minutes before serving.
Freeze the cookie dough: If you want fresh cookies later, you can freeze the prepared dough. Roll the dough into balls, coat them in sugar, and freeze them on a tray until solid. Once frozen, transfer the dough balls to a freezer bag. Bake directly from frozen, adding 1–2 extra minutes to the baking time, then press the chocolate Kiss into the center immediately after baking.
Keep the best texture: Proper storage helps maintain the soft, fudgy texture and rich chocolate flavor of these Chocolate Blossom Cookies. Whether stored fresh or frozen, they will still taste delicious whenever you’re ready to enjoy them.
Make ahead option: Preparing the dough in advance is a convenient way to have homemade Chocolate Blossom Cookies ready whenever you need a quick dessert for holidays, parties, or unexpected guests.
More Delicious Cookie Recipes to Try
- Banana Bread Chocolate Chip Cookies
- Sugar Cookies
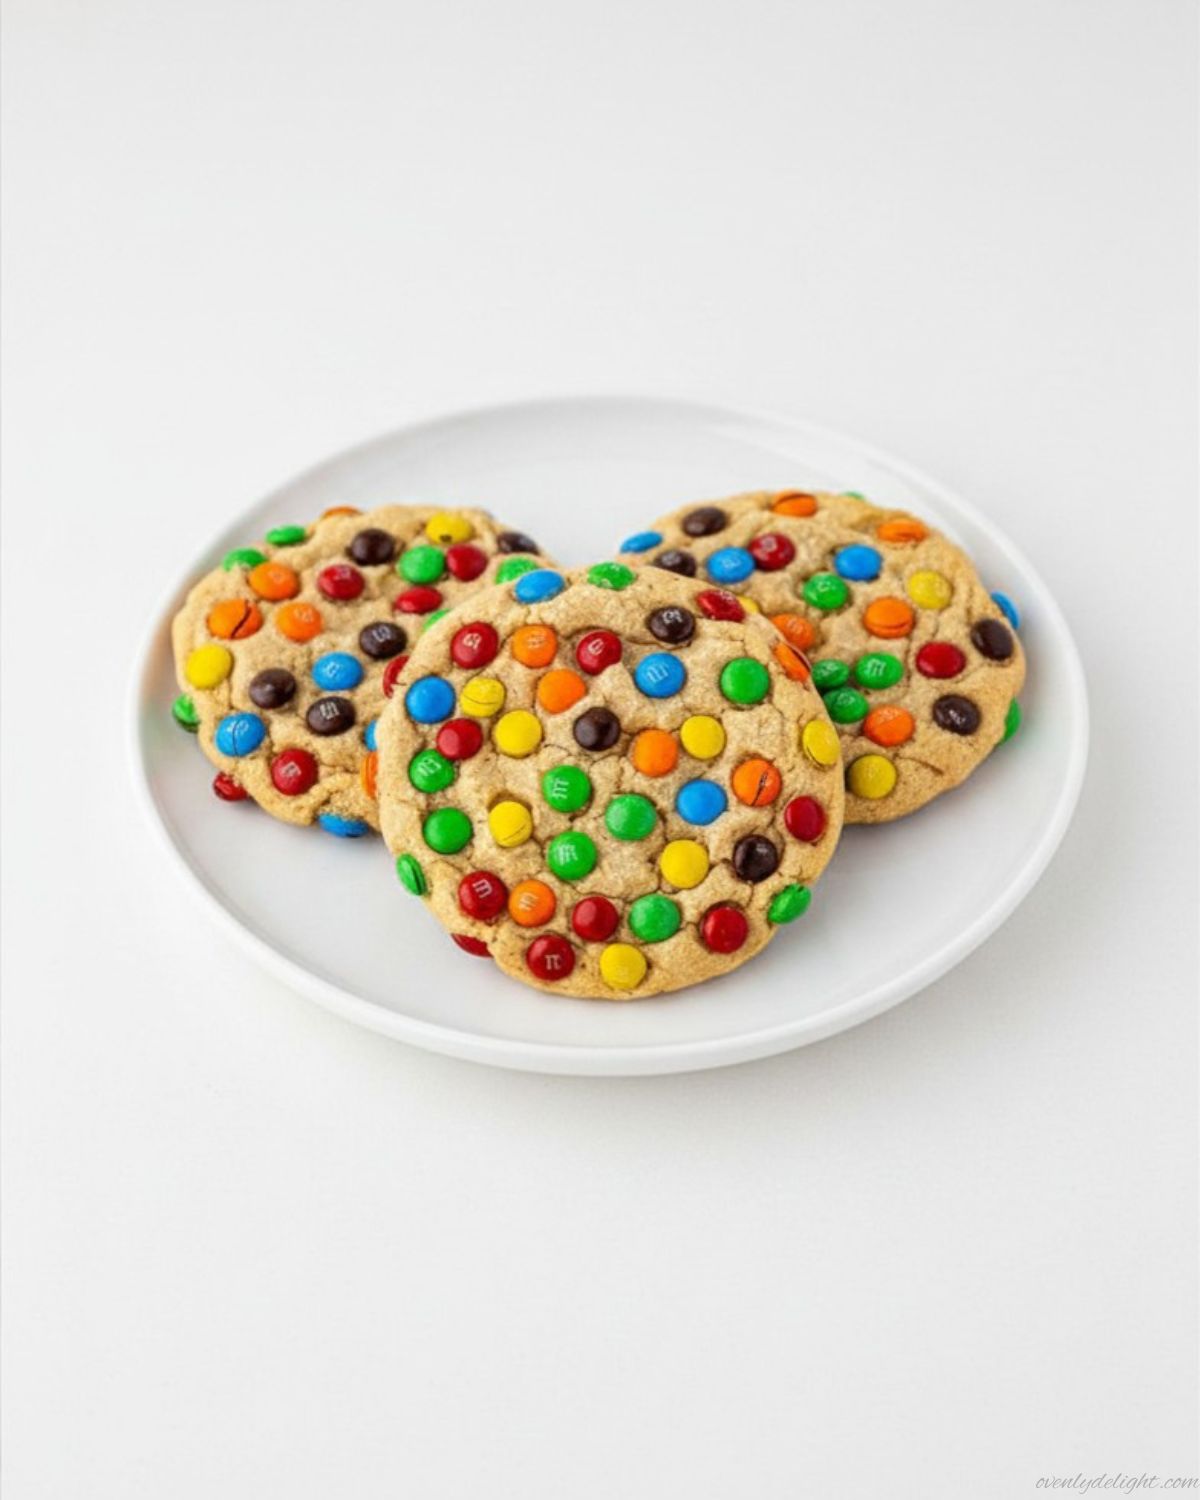
- Peanut Butter M&M Cookies
- Sourdough Chocolate Chip Cookies
- S’more Cookies
- Red Velvet Cookies
Frequently Asked Questions
Can I make Chocolate Blossom Cookies ahead of time?
Yes, you can prepare the cookie dough ahead of time and store it in the refrigerator for up to 3 days. Keep the dough covered, and let it sit at room temperature for about 10 minutes before shaping so it becomes easier to handle.
How do I keep the chocolate Kiss from melting?
To keep the chocolate Kiss shape intact, avoid pressing it too hard into the warm cookie. Let the cookies rest for a few seconds after baking, then gently press the chocolate into the center using light pressure.
Can I freeze Chocolate Blossom Cookies?
Yes, these cookies freeze beautifully. You can freeze baked cookies in an airtight container for up to 3 months, or freeze the prepared dough balls and bake them whenever you want fresh Chocolate Blossom Cookies.
Why are my cookies dry instead of soft and fudgy?
Dry cookies usually happen because of too much flour or overbaking. Measure the flour correctly and remove the cookies from the oven when the centers still look slightly soft. They will continue to set as they cool.
Can I use a different type of chocolate for the topping?
Absolutely. While traditional chocolate Kisses work perfectly, you can use dark chocolate Kisses or other chocolate candies for a different flavor. This simple change can give your Chocolate Blossom Cookies a richer or less sweet chocolate taste.
Why do my cookies crack when I add the chocolate Kiss?
A few cracks around the edges are normal and create the classic blossom cookie look. If the cookies crack too much, allow them to cool for a few extra seconds before adding the chocolate topping and press gently to avoid breaking the cookie.
Final Thoughts
These cookies are the perfect choice when you want a simple homemade dessert with rich chocolate flavor and a beautiful bakery-style finish. The combination of a soft, fudgy cookie, a light sugar coating, and a chocolate center makes them a treat everyone will enjoy. Whether you’re baking for a holiday gathering, sharing with family, or simply satisfying a chocolate craving, this Chocolate Blossom Cookies recipe is easy to follow and always delivers delicious results. Enjoy them fresh with a cup of coffee, tea, or your favorite drink for a sweet moment anytime.
Chocolate Blossom Cookies

Ingredients
- 32 chocolate Kisses
- 1 cup all-purpose flour 125g
- ½ cup unsweetened cocoa powder 45g
- ½ teaspoon baking soda
- ¼ teaspoon salt
- ½ cup unsalted butter softened (112g)
- ½ cup dark brown sugar 105g
- ½ cup granulated sugar 100g
- 1 large egg
- 1 teaspoon vanilla extract
- ⅓ cup granulated sugar for rolling (67g)
Instructions
- Preheat the oven to 350°F (175°C). Line two baking sheets with parchment paper and unwrap all chocolate Kisses.
- In a medium bowl, whisk together the flour, cocoa powder, baking soda, and salt until evenly combined.
- In a large bowl, beat the softened butter, brown sugar, and granulated sugar until light and fluffy, about 2 minutes.
- Add the egg and vanilla extract, then mix until smooth and fully combined.
- Gradually add the dry ingredients and mix on low speed until a soft dough forms.
- Scoop the dough into 1-inch balls and roll each ball in the remaining granulated sugar until coated.
- Place the dough balls about 2 inches apart on the prepared baking sheets.
- Bake for 8–10 minutes, until the edges are set and the centers still look slightly soft.
- Immediately press a chocolate Kiss into the center of each warm cookie.
- Let the cookies cool on the baking sheet for 5 minutes, then transfer them to a wire rack to cool completely.