If you’re anything like me, there’s always a jar of peanut butter sitting in the kitchen. Whenever I’m craving something homemade but don’t want to spend hours baking, these Peanut Butter Muffins are one of the first recipes I reach for.
They’re soft, fluffy, and packed with rich peanut butter flavor without being overly sweet. I usually enjoy one while it’s still warm with a cup of coffee, and if there are any left, they disappear by the next morning. The recipe comes together with simple pantry staples, so you don’t need anything fancy to make a batch.
Why You’ll Love These Peanut Butter Muffins
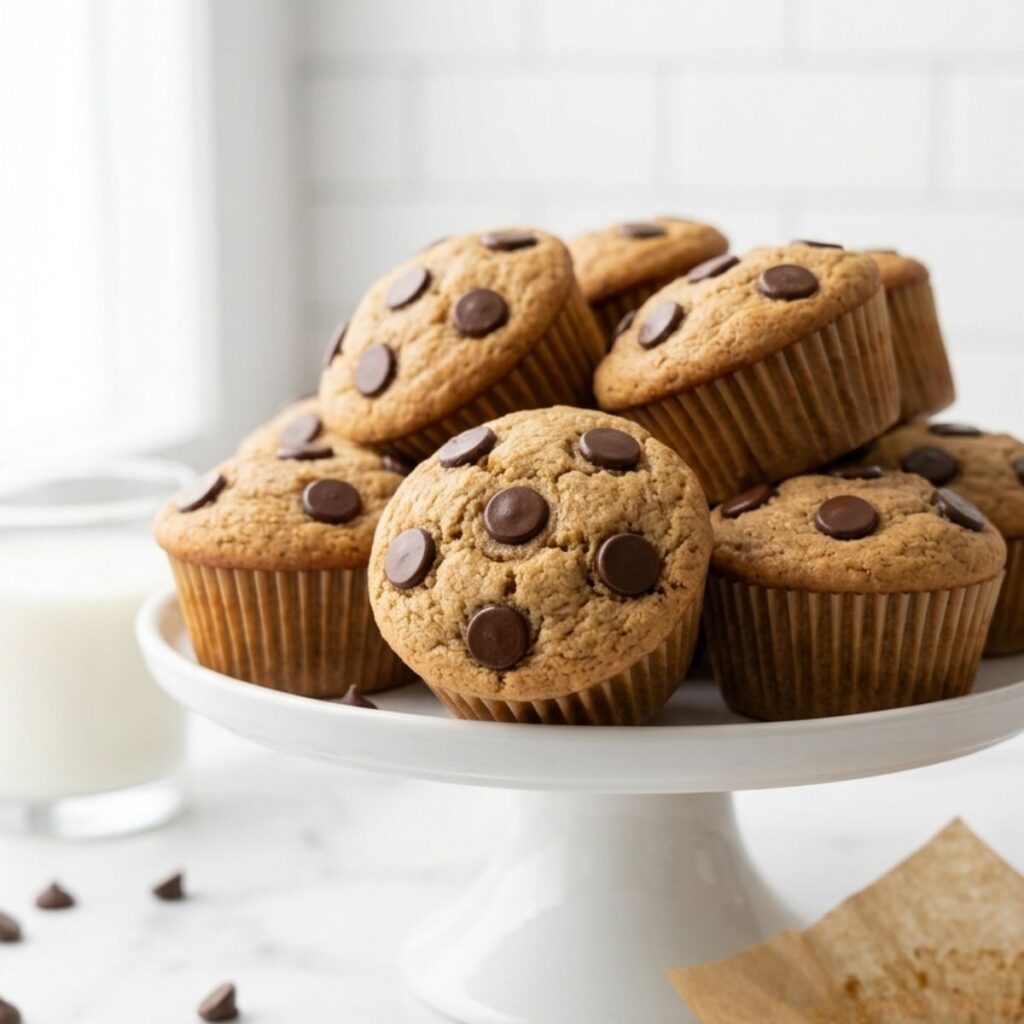
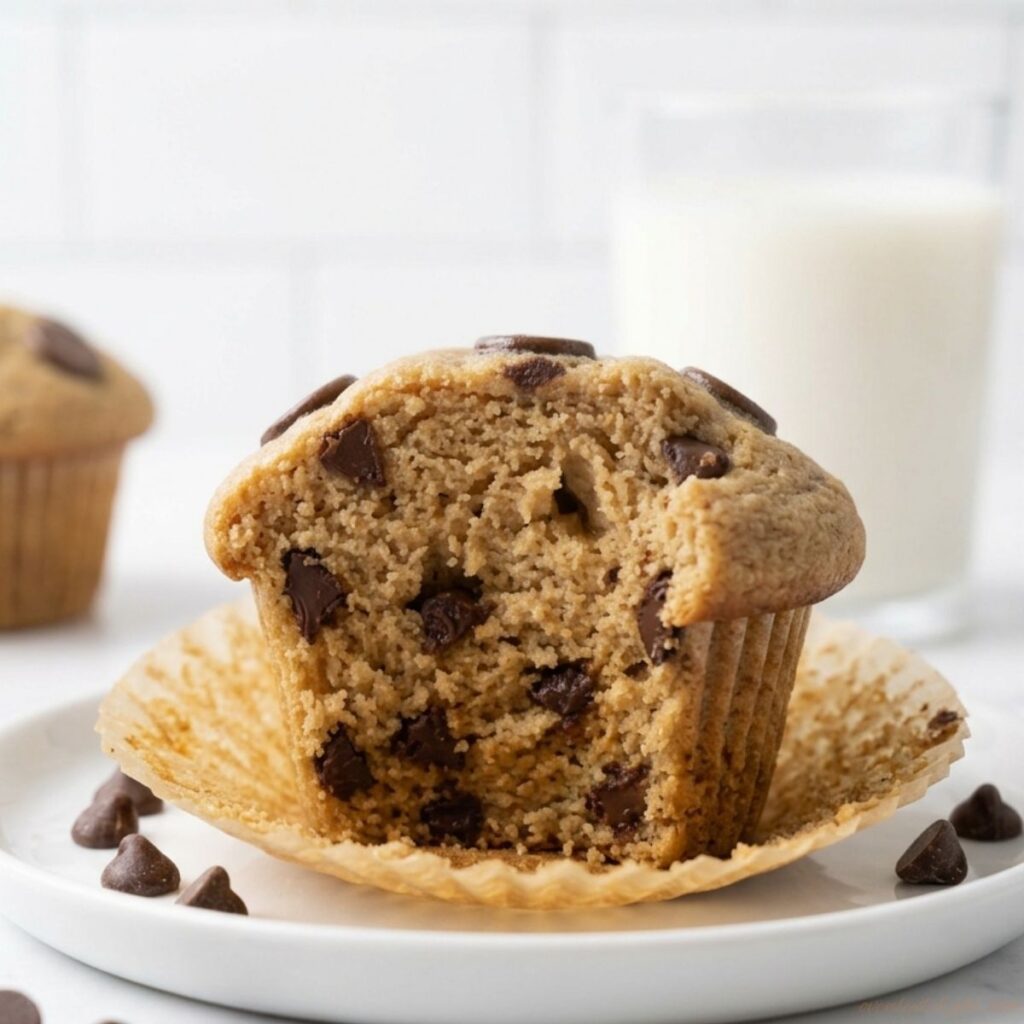
These Peanut Butter Muffins are the kind of treat you’ll want to keep on repeat. They’re incredibly soft with a tender crumb and just the right amount of peanut butter flavor, making them perfect for breakfast, an afternoon pick-me-up, or a late-night sweet craving.
What I love most is how effortless they are to make. There’s no fancy equipment or hard-to-find ingredients just a quick batter that’s ready for the oven in minutes. It’s the recipe I reach for when I want something homemade without spending half the day in the kitchen.
You can keep them simple or make them your own by folding in chocolate chips, chopped peanuts, or even a pinch of cinnamon. However you make them, they stay wonderfully moist, freeze beautifully, and taste just as delicious the next day.
Ingredients for This Peanut Butter Muffin Recipe
- All-purpose flour (1¾ cups / 219g) – Provides structure and keeps the muffins soft.
- Baking powder (2 teaspoons) – Helps the muffins rise with tall, fluffy tops.
- Salt (¼ teaspoon) – Balances the sweetness and enhances the peanut butter flavor.
- Vegetable or canola oil (½ cup / 120ml) – Keeps the muffins moist and tender.
- Light brown sugar (¾ cup / 158g) – Adds sweetness and extra moisture.
- Creamy peanut butter (¾ cup) – Gives the muffins their rich peanut butter flavor.
- Large eggs (2, room temperature) – Bind the ingredients and help the muffins rise.
- Vanilla extract (2 teaspoons) – Enhances the overall flavor.
- Buttermilk (1 cup / 240ml, room temperature) – Creates a soft, tender crumb.
- Chocolate chips (1 cup / 180g) – Add bursts of chocolate in every bite (optional but recommended).
How to Make Peanut Butter Muffins (step-bystep)
Step 1: Prepare the Oven and Muffin Pan
Preheat your oven to 425°F (220°C). Line a 12-cup muffin pan with paper liners or lightly grease each cup with nonstick spray. Starting with a hotter oven helps the muffins rise quickly and creates tall, bakery-style tops. After baking for 5 minutes, reduce the oven temperature to 375°F (190°C) without opening the oven door and continue baking until the muffins are golden and a toothpick inserted into the center comes out clean.
Step 2: Mix the Dry Ingredients
In a large mixing bowl, whisk together the all-purpose flour, baking powder, and salt until everything is well combined. This evenly distributes the baking powder throughout the flour, giving each muffin a light, fluffy texture.
Step 3: Whisk the Wet Ingredients
In a separate bowl, whisk together the vegetable oil, light brown sugar, creamy peanut butter, eggs, vanilla extract, and buttermilk until the mixture is smooth and creamy. Make sure the peanut butter is fully incorporated so every bite has rich peanut butter flavor.
Step 4: Combine the Batter
Pour the wet ingredients into the bowl of dry ingredients. Using a rubber spatula, gently fold the mixture together until no dry streaks of flour remain. The batter will be slightly thick with a few small lumps, and that’s exactly what you want. Avoid overmixing, as it can make the peanut butter muffins dense instead of soft and tender.
Step 5: Fold in the Chocolate Chips
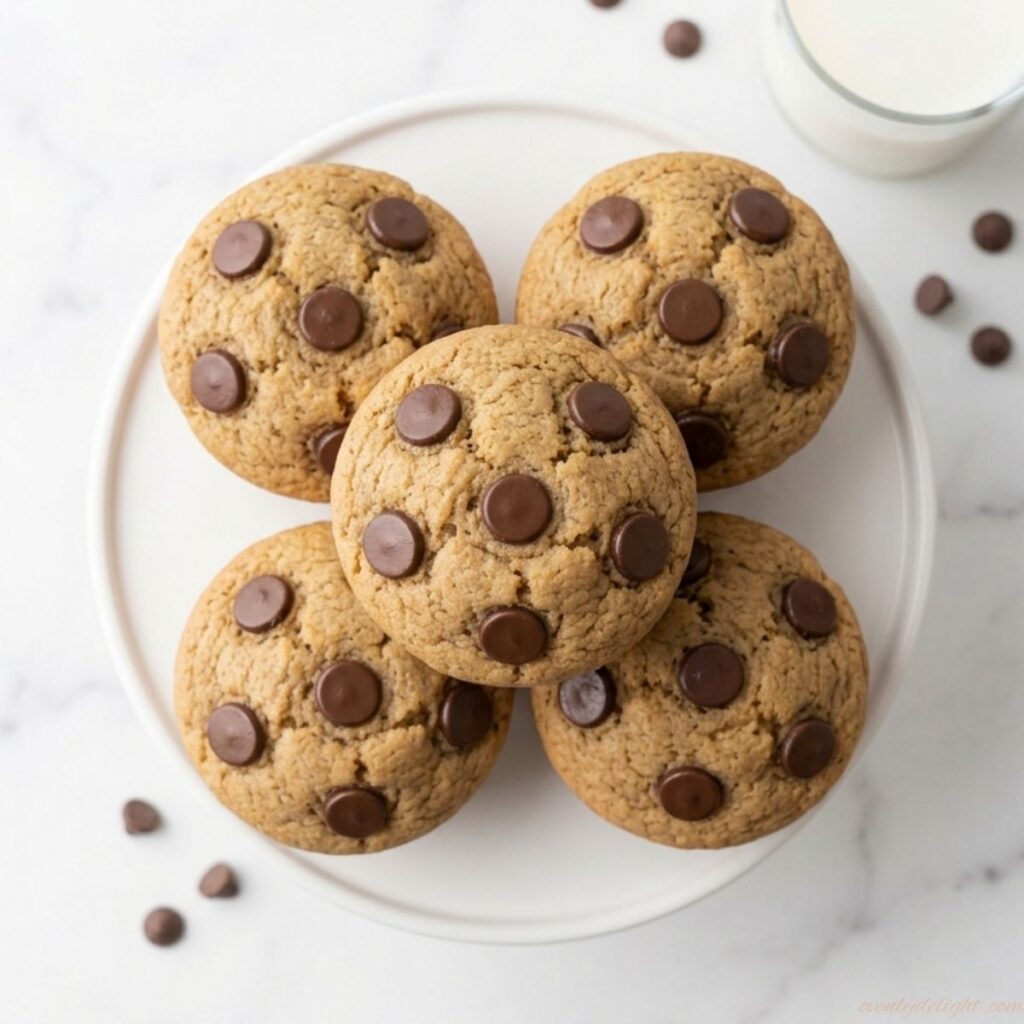
Add the chocolate chips and gently fold them into the batter until they’re evenly distributed. If you like, save a small handful to sprinkle over the tops before baking for a bakery-style look. You can also leave them out for classic peanut butter muffins.
Step 6: Fill the Muffin Cups
Divide the batter evenly among the prepared muffin cups, filling each about ¾ full. Using an ice cream scoop makes this step quick and helps all the muffins bake evenly. Smooth the tops slightly if needed, then add a few extra chocolate chips for a prettier finish.
Step 7: Bake the Peanut Butter Muffins
Place the pan on the center rack and bake for 18–22 minutes. The muffins are done when the tops are lightly golden, spring back when gently pressed, and a toothpick inserted into the center comes out clean or with a few moist crumbs. Be careful not to overbake, as this can dry out the muffins.
Step 8: Cool and Serve
Let the peanut butter muffins cool in the pan for about 5 minutes before transferring them to a wire rack to cool completely. They’re delicious served warm while the chocolate chips are still melty, but they also stay soft for several days when stored in an airtight container.
Expert Tips for Perfect Peanut Butter Muffins
Use regular peanut butter.
I recommend using a shelf-stable peanut butter like Jif or Skippy instead of natural peanut butter. Since natural peanut butter tends to separate, it can make the batter oily and change the texture of the muffins.
Measure the flour the right way.
Measure the flour the right way. Instead of scooping the flour straight from the bag, spoon it into your measuring cup and level it off with a knife. Accurate measuring helps prevent dry, dense muffins. If you need to convert cups, grams, or other baking measurements, use this Baking Measurement Converter for quick and accurate conversions.
Let your ingredients warm up a bit.
Cold eggs and buttermilk don’t mix as smoothly as room-temperature ingredients. If you have the time, let them sit on the counter for about 30 minutes before you start baking.
Use the hot oven trick.
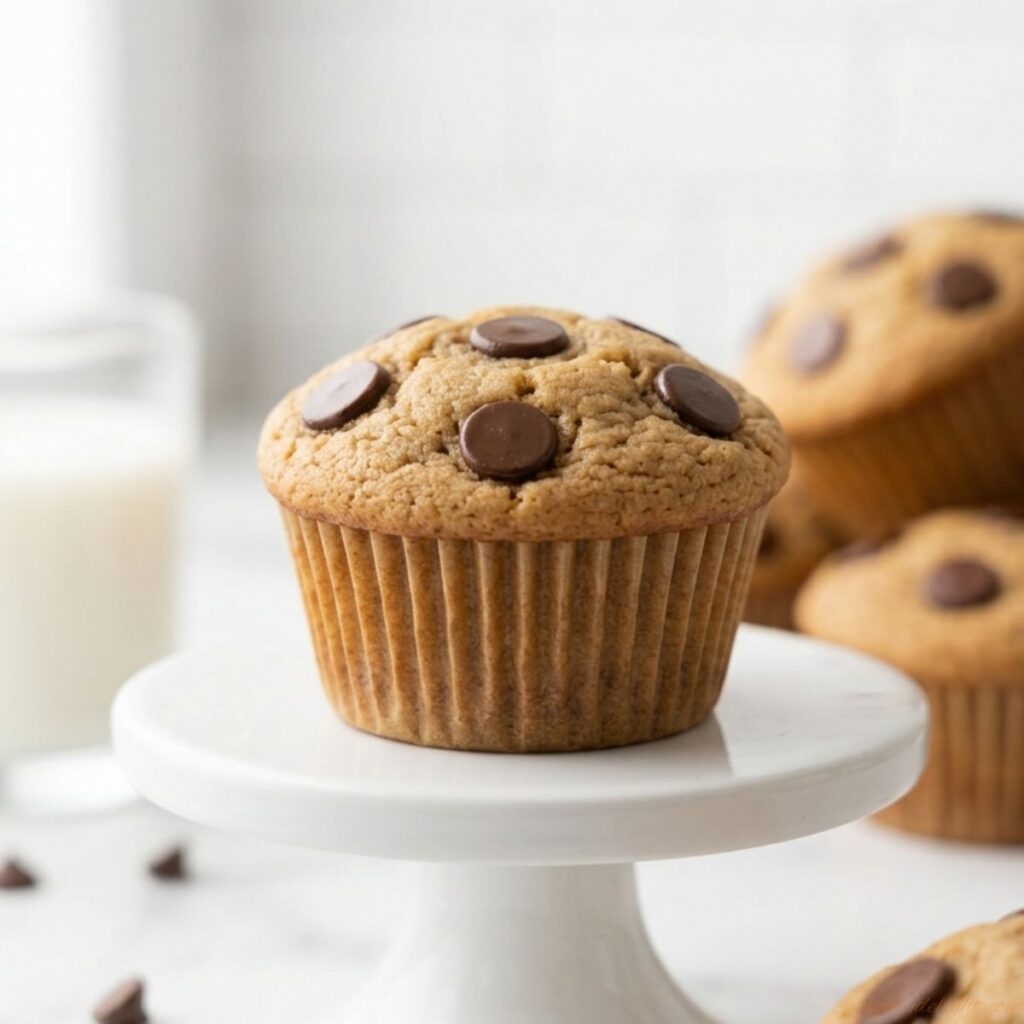
Start baking the muffins at 425°F (220°C) for the first 5 minutes, then lower the temperature to 375°F (190°C) without opening the oven door. This is one of my favorite tricks for getting those tall, bakery-style muffin tops.
Don’t overfill the muffin cups.
Fill each cup about three-quarters full. It gives the muffins enough room to rise nicely without spilling over the edges.
Move them to a wire rack.
After baking, let the muffins rest in the pan for about 5 minutes, then transfer them to a wire rack. If they stay in the pan too long, the trapped steam can make the bottoms a little soggy.
Save a few chocolate chips for the top.
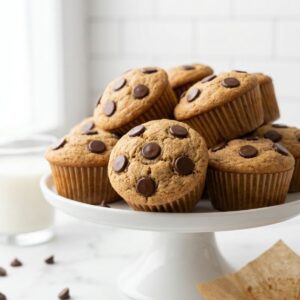
If you’re adding chocolate chips, press a few extra onto the batter just before baking. It makes the muffins look like they came straight from a bakery, and who doesn’t love a little extra chocolate?
Ingredient Substitutions
Swap the Oil
If you don’t have vegetable oil, use canola oil in the same amount. It produces the same soft, moist texture with a neutral flavor.
Make Your Own Buttermilk
No buttermilk? Mix 1 tablespoon of white vinegar or lemon juice with 1 cup of regular milk. Let it sit for 5 minutes before using. The muffins will still be soft and tender.
Use Dark Brown Sugar
You can replace light brown sugar with dark brown sugar for a deeper caramel flavor and slightly richer peanut butter muffins.
Make It Dairy-Free
For a dairy-free option, use 1 cup unsweetened oat milk mixed with 1 tablespoon of lemon juice instead of buttermilk. Let it sit for 5 minutes before adding it to the batter.
Make It Egg-Free
Replace each large egg with ¼ cup unsweetened applesauce. The muffins may not rise quite as much, but they’ll still be soft and delicious.
Make It Gluten-Free
Use 1¾ cups of a 1-to-1 gluten-free baking flour blend instead of all-purpose flour. This swap works well without changing the rest of the recipe.
How to Store Peanut Butter Muffins
Keep Them at Room Temperature
Once the muffins have cooled completely, place them in an airtight container with a paper towel on the bottom and another on top. The paper towels help absorb extra moisture, so the muffins stay soft instead of becoming sticky. They’ll stay fresh for about 3 to 4 days at room temperature.
Store Them in the Refrigerator
If you’d like them to last a little longer, keep the muffins in an airtight container in the refrigerator for up to 1 week. Before serving, let them sit at room temperature for a few minutes or warm one in the microwave for 10–15 seconds to bring back that soft texture.
Freeze for Later
These muffins freeze really well, which makes them perfect for meal prep. Wrap each muffin individually in plastic wrap or foil, then place them in a freezer-safe bag or container. They’ll keep well for up to 3 months.
Warm Before Enjoying
For the best texture, let frozen muffins thaw overnight in the refrigerator or on the counter for about an hour. A quick 15–20 seconds in the microwave makes them taste warm and freshly baked again.
Try More Muffin Recipes You’ll Love
- Lemon Poppy Seed Muffins
- Cinnamon Roll Muffins
- Coffee Cake Muffins
- Pumpkin Chocolate Chip Muffins
- Apple Cinnamon Crumb Muffins
- Pecan Pie Brown Sugar Muffins
- Banana Chocolate Chip Muffins
- Blueberry Muffins
- Strawberry Muffins
- Zucchini Chocolate Chip Muffins
Frequently Asked Questions
Can I use crunchy peanut butter instead of creamy?
Yes! Crunchy peanut butter works well in this peanut butter muffin recipe and adds small peanut pieces throughout the muffins. The texture will be slightly different, but they’ll still bake up soft and flavorful.
Why are my peanut butter muffins dense?
The most common reason is overmixing the batter. Stir just until the dry ingredients are incorporated. A few small lumps are perfectly fine and will help keep the muffins light and tender.
Can I make peanut butter chocolate chip muffins?
Absolutely! Simply fold 1 cup of chocolate chips into the batter. For a bakery-style look, sprinkle a few extra chocolate chips over the tops before baking.
What can I use instead of buttermilk?
Mix 1 tablespoon of white vinegar or lemon juice with 1 cup of regular milk and let it sit for 5 minutes. This homemade buttermilk works well and keeps the muffins soft and moist.
How do I know when the muffins are done?
Insert a toothpick into the center of a muffin. If it comes out clean or with a few moist crumbs, the muffins are ready. If you see wet batter, bake for another 1–2 minutes and check again.
Can I make peanut butter banana muffins?
Yes! Fold 1 mashed ripe banana into the batter and reduce the buttermilk to ¾ cup. The muffins will have extra moisture and a delicious banana flavor.
Why did my muffins sink in the middle?
This usually happens if the muffins are underbaked, the oven door is opened too early, or the batter is overmixed. Keep the oven door closed during the first 15 minutes of baking for the best rise.
Final Thoughts
There’s something so comforting about a batch of warm Peanut Butter Muffins fresh from the oven. They’re simple to make, full of rich peanut butter flavor, and perfect for those days when you want a homemade treat without spending hours in the kitchen.
If you bake these muffins, I’d love to know what you think! Did you keep them classic, or add chocolate chips, chopped peanuts, or another favorite mix-in? Leave a comment below and share your version. I always enjoy hearing how these recipes turn out in different kitchens. Happy baking!
Peanut Butter Muffins

Ingredients
- 1¾ cups 219g all-purpose flour
- 2 teaspoons baking powder
- ¼ teaspoon salt
- ½ cup 120ml vegetable or canola oil
- ¾ cup 158g light brown sugar
- ¾ cup creamy peanut butter
- 2 large eggs room temperature
- 2 teaspoons vanilla extract
- 1 cup 240ml buttermilk, room temperature
- 1 cup 180g chocolate chips (optional)
Instructions
- Preheat the oven to 425°F (220°C). Line a 12-cup muffin pan with paper liners or lightly grease it.
- In a large bowl, whisk together the flour, baking powder, and salt.
- In another bowl, whisk the oil, brown sugar, peanut butter, eggs, vanilla, and buttermilk until smooth.
- Add the wet ingredients to the dry ingredients and gently fold until just combined. Do not overmix.
- Fold in the chocolate chips if using.
- Divide the batter evenly among the muffin cups, filling each about ¾ full.
- Bake at 425°F (220°C) for 5 minutes, then reduce the oven temperature to 375°F (190°C) without opening the oven door. Continue baking for 13–17 minutes, or until a toothpick inserted into the center comes out clean.
- Cool the muffins in the pan for 5 minutes, then transfer them to a wire rack to cool completely.
Notes
- Use regular creamy peanut butter like Jif or Skippy for the best texture.
- Spoon and level the flour instead of scooping it directly from the bag.
- Avoid overmixing to keep the muffins soft and fluffy.
- Top with extra chocolate chips before baking for a bakery-style look.