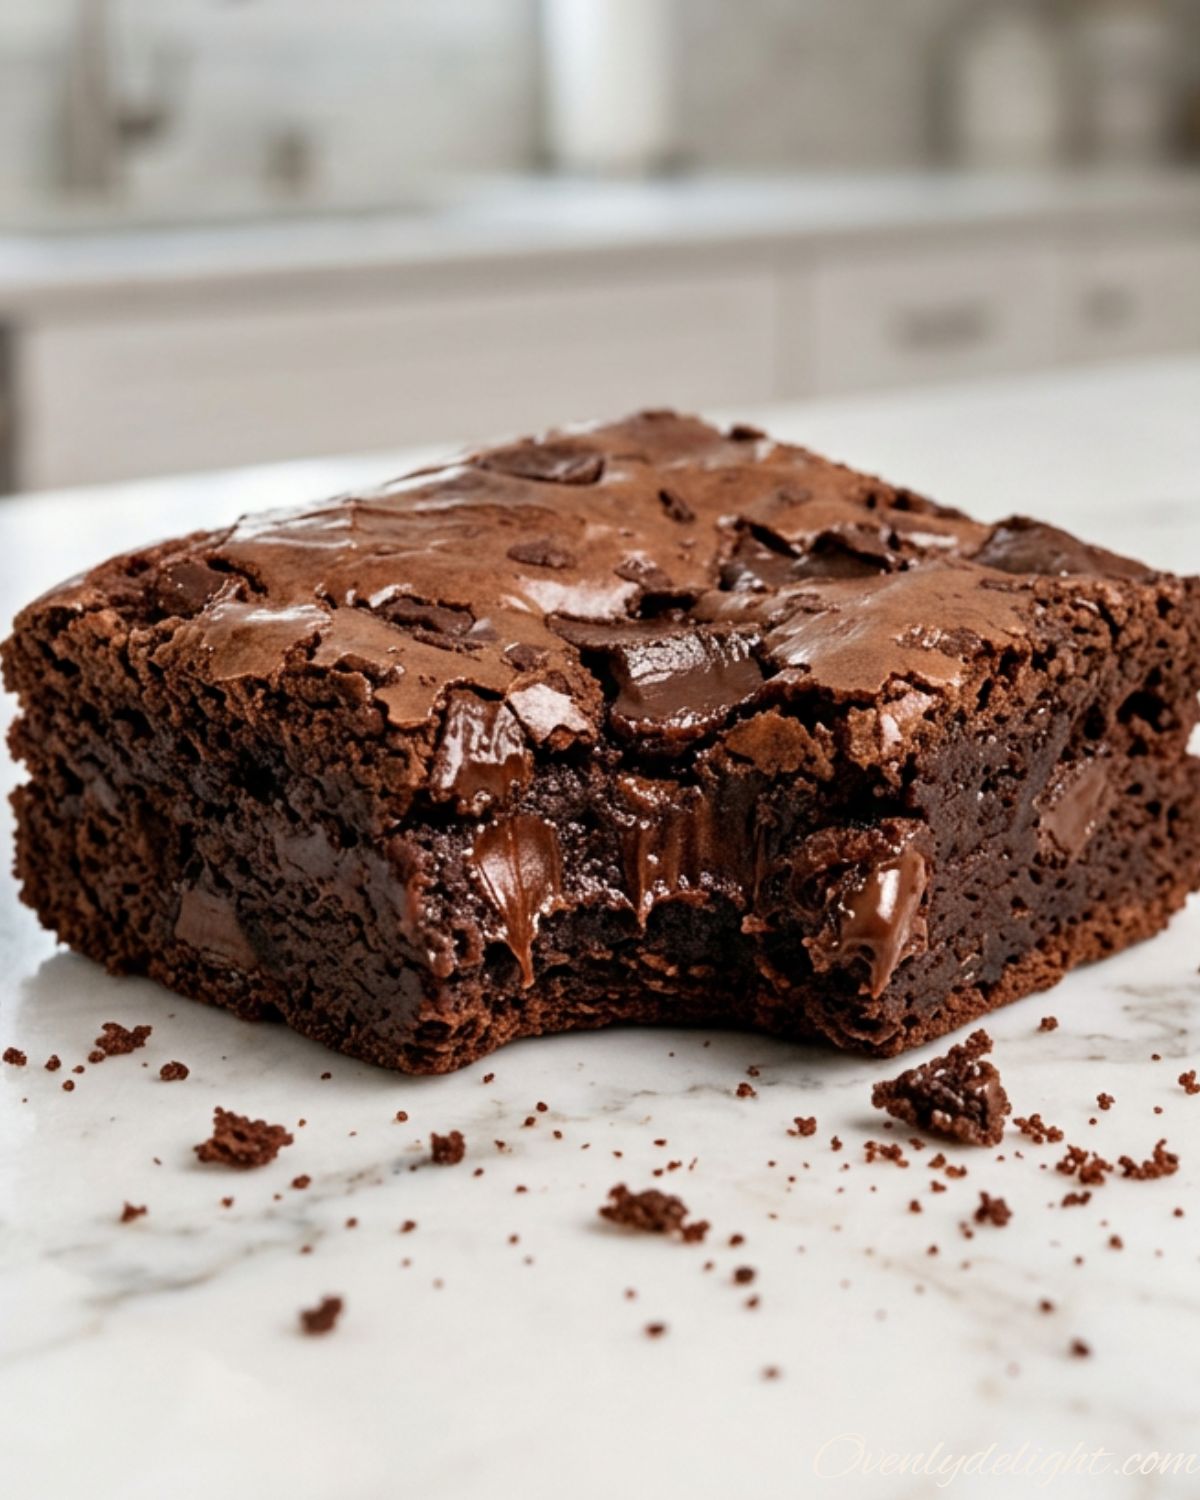
There’s something special about Brown Butter Brownies that makes them impossible to resist. The rich, nutty flavor of browned butter adds a deep caramel-like taste that takes classic brownies to a whole new level. Combined with a fudgy center, crackly top, and plenty of chocolate, every bite is rich, chewy, and incredibly satisfying.
I first made these brownies when I wanted something a little more special than a regular chocolate brownie, and they instantly became a favorite. Whether you’re baking for a family gathering, a holiday dessert table, or simply craving a homemade treat, these Brown Butter Brownies deliver bakery-style flavor with surprisingly simple ingredients.
Why You’ll Love Brown Butter Brownies
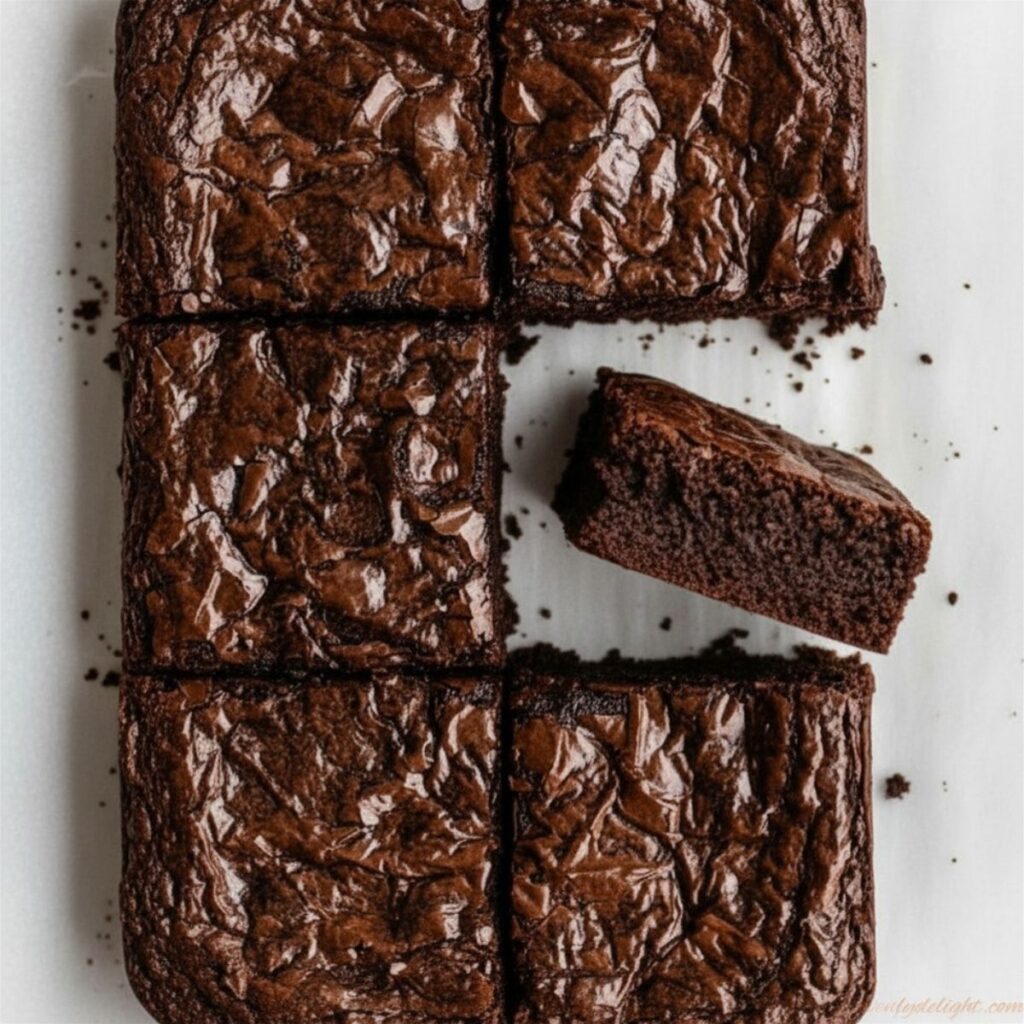
These Brown Butter Brownies are everything a brownie lover could want rich, fudgy, chewy, and packed with deep chocolate flavor. The browned butter adds a delicious nutty, caramel-like taste that makes them stand out from traditional brownies and gives them a bakery-style flavor with very little extra effort.
Another reason to love this recipe is how simple it is to make. You only need a handful of basic ingredients, and the recipe comes together quickly without any complicated steps. Whether you’re baking for a party, sharing with friends, or treating yourself to a homemade dessert, these brownies always impress.
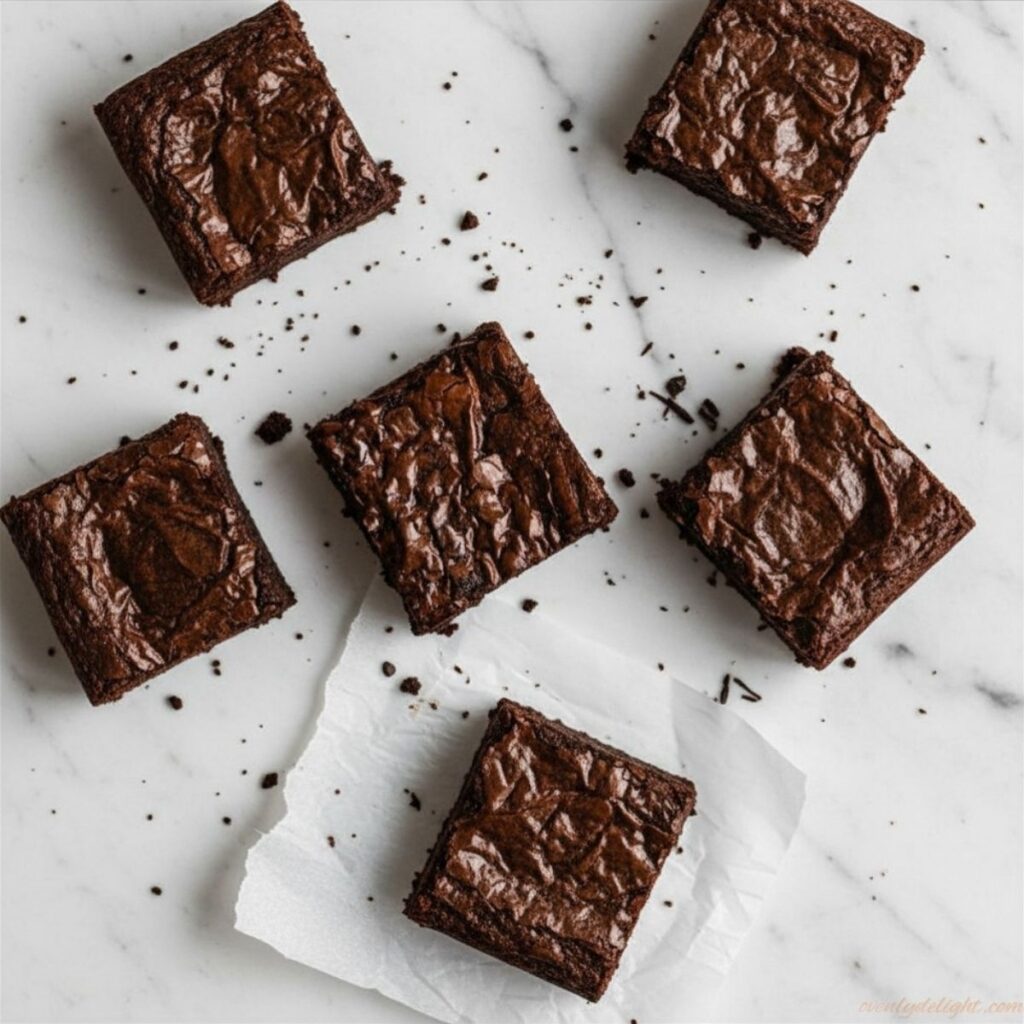
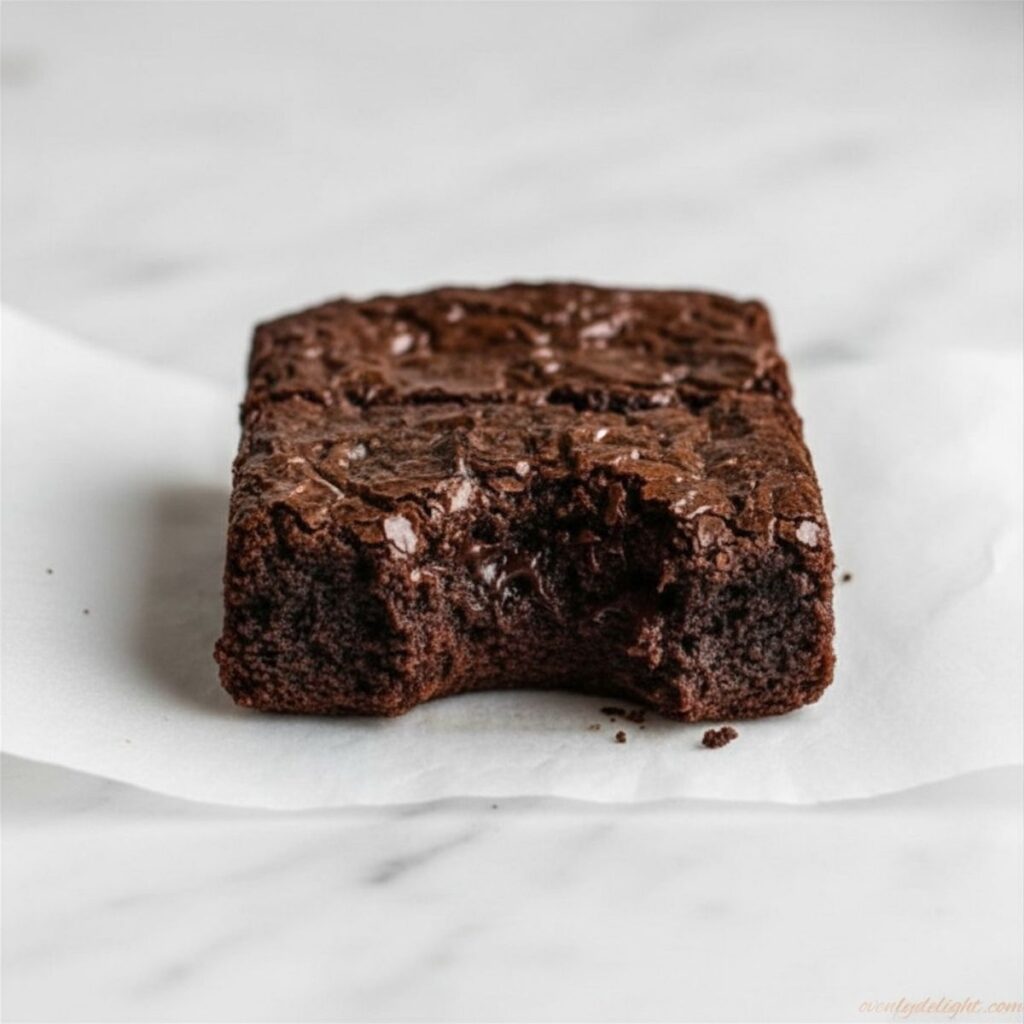
The texture is just as irresistible as the flavor. They have a crackly top, soft center, and perfectly chewy edges that keep everyone reaching for another piece. Plus, they stay fresh for days, making them a great make-ahead dessert for any occasion.
Ingredients You’ll Need for Brown Butter Brownies
Butter and Chocolate
- 1½ sticks (170g) unsalted butter
- 4 oz (113g) semisweet chocolate, chopped
Sugar and Wet Ingredients
- ½ cup (100g) granulated sugar
- ½ cup (100g) light brown sugar
- 3 large eggs, room temperature
- 1 teaspoon vanilla extract
Dry Ingredients
- ½ cup (64g) all-purpose flour
- ½ cup (43g) cocoa powder (Dutch Process preferred)
- ½ teaspoon instant espresso powder (optional)
- ½ teaspoon fine sea salt
Chocolate Mix-Ins
- 1 cup (170g) semisweet chocolate chips
How to Make Brown Butter Brownies (Step by Step)
Step 1: Preheat the Oven and Prepare Your Baking Pan
Start by preheating your oven to 350°F (175°C) and position the oven rack in the center. This helps the brownies bake evenly from top to bottom. Line an 8×8-inch light-colored metal baking pan with parchment paper, leaving some overhang on two sides so you can easily lift the brownies out later. If you use a dark metal pan, the edges may bake too quickly and become dry before the center is done, so a light metal pan works best for perfectly fudgy Brown Butter Brownies.
Step 2: Brown the Butter
Place the butter in a medium saucepan over medium heat. As it melts, keep stirring constantly. The butter will first melt completely, then become foamy, and finally start developing golden-brown specks at the bottom of the pan. You’ll also notice a rich, nutty aroma filling the kitchen. This process usually takes about 5 to 7 minutes. Once you see those brown bits and smell that toasted fragrance, immediately remove the pan from the heat. Browned butter can go from perfect to burnt very quickly, so stay nearby and keep an eye on it the entire time.
Step 3: Melt the Chocolate into the Browned Butter
While the butter is still hot, add the chopped semisweet chocolate directly to the saucepan. Stir gently until the chocolate melts completely and the mixture becomes smooth and glossy. The residual heat from the browned butter should be enough to melt the chocolate without any additional cooking. Once smooth, allow the mixture to cool for about 5 minutes. This small cooling period is important because adding eggs to a mixture that’s too hot can cause them to cook prematurely.
Step 4: Mix in the Sugars, Eggs, and Vanilla
Add the granulated sugar and brown sugar to the chocolate mixture and whisk until fully combined. Next, add the eggs one at a time, whisking well after each addition. Once all the eggs are incorporated, whisk vigorously for about one minute. This extra mixing helps dissolve some of the sugar and creates the shiny, crackly top that makes homemade brownies look bakery-quality. Finally, whisk in the vanilla extract until everything is smooth and well blended.
Step 5: Add the Dry Ingredients
Add the flour, cocoa powder, espresso powder, and salt directly to the bowl. Using a spatula, gently fold the dry ingredients into the wet mixture until just combined. Be careful not to overmix. The batter should look thick and rich, and it’s perfectly fine if a few tiny streaks of flour remain. Overmixing develops gluten, which can make brownies more cake-like instead of dense and fudgy.
Step 6: Fold in the Chocolate Chips and Bake
Add the chocolate chips and gently fold them throughout the batter so every bite has pockets of melted chocolate. Pour the batter into the prepared baking pan and spread it evenly with a spatula. Bake for 28 to 32 minutes. The edges should look set, while the center should still have a very slight jiggle when the pan is gently shaken. To test for doneness, insert a toothpick into the center. It should come out with a few moist crumbs attached, but not wet batter. A completely clean toothpick usually means the brownies are overbaked.
Step 7: Cool Completely and Slice
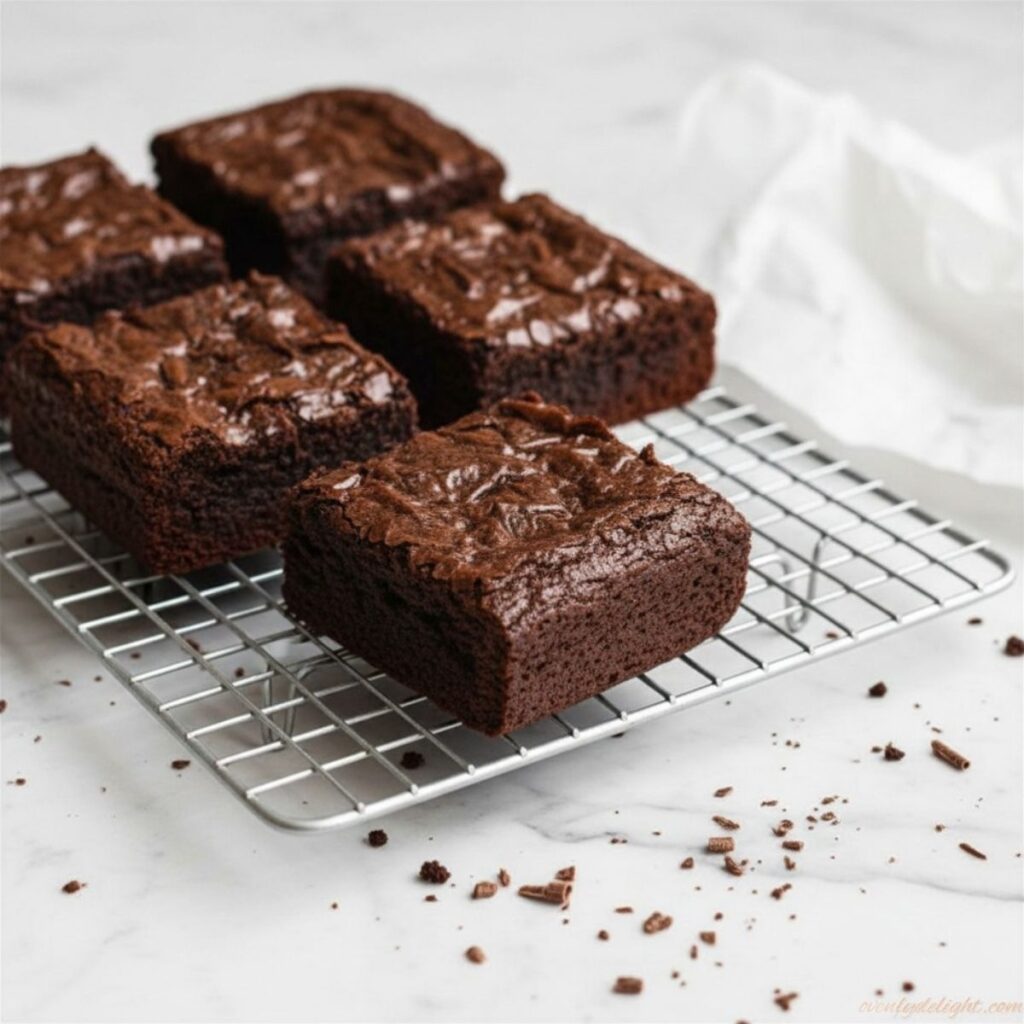
Once baked, remove the pan from the oven and place it on a wire rack. Allow the brownies to cool completely in the pan for at least one hour. This cooling time allows the center to set properly and makes slicing much easier. It may be tempting to cut into them right away, but patience pays off here. When fully cooled, use the parchment paper overhang to lift the brownies out of the pan, then slice into squares and enjoy your rich, fudgy Brown Butter Brownies.
Expert Tips for Perfect Brown Butter Brownies
Keep a Close Eye on the Butter
Brown butter can go from perfectly golden to burnt in less than a minute, so don’t leave the stove while it’s cooking. Using a light-colored saucepan makes it much easier to see the color change and spot the tiny brown specks forming at the bottom. As soon as you notice a rich, nutty aroma and golden-brown bits, remove the pan from the heat immediately. Those browned milk solids are what give Brown Butter Brownies their incredible flavor.
Let the Chocolate Mixture Cool Before Adding Eggs
After melting the chocolate into the browned butter, transfer the mixture to a large mixing bowl and let it cool for about 5 minutes. This step is important because hot chocolate can cook the eggs before they properly mix into the batter. A slightly cooled mixture creates a smoother batter and helps ensure the brownies bake with the perfect fudgy texture.
Whisk Thoroughly for a Shiny, Crinkly Top
One of the secrets to bakery-style brownies is properly whisking the eggs and sugars. Take your time and whisk vigorously for at least one full minute after adding the eggs. This helps create that beautiful glossy top that brownie lovers look for. It may seem like a small step, but it makes a noticeable difference in both appearance and texture.
Remove the Brownies at the Right Time
Overbaking is the fastest way to turn fudgy brownies into dry ones. The edges should look set, but the center should still have a slight jiggle when you gently shake the pan. Remember that brownies continue cooking from residual heat after they come out of the oven. A toothpick inserted into the center should come out with a few moist crumbs attached. If it comes out completely clean, the brownies are likely overbaked.
Use Dutch Process Cocoa for Richer Flavor
If available, Dutch Process cocoa powder is an excellent choice for Brown Butter Brownies. It creates a darker color and deeper chocolate flavor than natural cocoa powder. While natural cocoa still works well, Dutch Process cocoa gives the brownies a richer, more intense chocolate experience that many bakers prefer.
Don’t Skip the Espresso Powder
A small amount of espresso powder can dramatically enhance the chocolate flavor without making the brownies taste like coffee. It works quietly in the background, bringing out the richness of both the cocoa and the melted chocolate. Even just half a teaspoon can make the overall flavor more complex and chocolate-forward.
Ingredient Substitutions for Brown Butter Brownies
Butter Substitute
If you need a dairy-free option, you can replace the unsalted butter with vegan butter such as Miyoko’s or Earth Balance. Keep in mind that vegan butter may brown a little differently than regular butter and can burn more quickly, so watch it carefully while cooking.
Semisweet Chocolate Substitute
Bittersweet chocolate containing 60% to 70% cacao works wonderfully in this recipe and creates a deeper, more intense chocolate flavor with less sweetness. While milk chocolate can be used in a pinch, it tends to make the brownies much sweeter and slightly softer in texture.
All-Purpose Flour Substitute
For a gluten-free version, replace the all-purpose flour with a quality 1-to-1 gluten-free baking flour, such as Bob’s Red Mill 1-to-1 Gluten-Free Flour. The brownies may be a little softer, but they will still have a rich and fudgy texture.
Egg Substitute
To make vegan Brown Butter Brownies, replace the eggs with three flax eggs. For each flax egg, mix 1 tablespoon ground flaxseed with 3 tablespoons water and let it sit for a few minutes until thickened. The brownies will be slightly denser, and the signature shiny top may not develop, but they’ll still taste delicious.
Cocoa Powder Substitute
If you don’t have Dutch Process cocoa powder, natural unsweetened cocoa powder is an excellent alternative. It provides great chocolate flavor and works well in the recipe. Avoid using raw cacao powder, as it behaves differently during baking and may affect both texture and flavor.
Chocolate Chip Substitute
Chocolate chips can easily be swapped for other mix-ins. Chopped walnuts or pecans add a delicious crunch and pair beautifully with the nutty flavor of browned butter. Dark chocolate chunks are another great option if you want larger pockets of melted chocolate throughout the brownies.
How to Store Brown Butter Brownies
Room Temperature Storage
For the best texture, store Brown Butter Brownies at room temperature in an airtight container for up to 4 days. To prevent them from sticking together, place a sheet of wax paper or parchment paper between layers. This helps maintain their soft, fudgy texture while keeping them fresh.
Refrigerator Storage
If you want to extend their shelf life, you can store the brownies in the refrigerator for up to 1 week. Keep them in an airtight container to prevent them from drying out or absorbing fridge odors. Keep in mind that refrigeration makes brownies firmer. Before serving, let them sit at room temperature for about 20 minutes, or warm one in the microwave for about 15 seconds to restore their soft, gooey texture.
Freezer Storage
Brown Butter Brownies also freeze very well. Wrap each brownie square individually in plastic wrap, then place them in a zip-top freezer bag. They can be frozen for up to 3 months without losing flavor. When you’re ready to enjoy them, thaw overnight in the refrigerator or leave them on the counter for about 30 minutes.
Reheating Tips
To bring back that fresh-from-the-oven taste, warm a brownie in the microwave for 20 to 25 seconds. This makes them soft, melty, and extra indulgent. For an even better dessert, serve warm brownies with a scoop of vanilla ice cream for a rich and comforting treat.
Try More Brownie Recipes
Frequently Asked Questions About Brown Butter Brownies
Can I double this brown butter brownie recipe for a 9×13 pan?
Yes, you can easily double this recipe and bake it in a 9×13-inch pan. Simply double all ingredients exactly as written. The baking time will increase to about 35 to 40 minutes, but start checking around the 33-minute mark to avoid overbaking. The brownies are done when a toothpick inserted in the center comes out with moist crumbs, not wet batter.
Why did my brownies turn out cakey instead of fudgy?
Cakey brownies usually happen for two reasons: too much flour or overmixing the batter. Always measure flour correctly by spooning it into the cup and leveling it off instead of scooping, which can pack in too much. Also, once you add the dry ingredients, fold gently and avoid vigorous mixing to keep the texture dense and fudgy.
Can I use salted butter instead of unsalted butter?
Yes, salted butter can be used, but you should skip the extra salt in the recipe. While the brownies will still taste good, using unsalted butter gives you better control over the final flavor. This allows the sea salt in the recipe to enhance the chocolate more precisely.
How do I know when brown butter brownies are done?
The edges should look set and slightly pull away from the pan, while the center should still have a gentle jiggle. It should not look liquid, but more like soft set gelatin. A toothpick inserted in the center should come out with moist, fudgy crumbs. If it comes out completely clean, the brownies are likely overbaked.
Can I make the brownie batter ahead of time?
Yes, you can prepare the batter ahead of time and refrigerate it in the baking pan, covered tightly, overnight. Before baking, let it sit at room temperature for about 30 minutes. The baking time remains the same, and this method works especially well when planning ahead for events or gatherings.
Why is my brownie top not shiny and crinkly?
A shiny, crinkly top comes from properly whisking the eggs and sugar together. This step is very important. After adding the eggs, whisk vigorously for about one full minute until the mixture becomes slightly lighter in color. This helps create that signature glossy brownie crust.
Final Thoughts
Brown Butter Brownies are one of those recipes that take something familiar and turn it into something truly special. Once you try browning the butter and smell that deep, nutty aroma mixing with melted chocolate, you’ll understand why this simple step makes such a big difference. It only takes a few extra minutes, but it completely transforms the flavor into something rich, warm, and bakery-style.
These brownies are consistently a crowd favorite and have become one of the most requested desserts for gatherings, bake sales, and family occasions. They’re fudgy, chocolatey, and deeply satisfying in every bite. If you try this recipe, take your time with each step and enjoy the process the results are absolutely worth it.
Brown Butter Brownies

Ingredients
- 1½ sticks 170g unsalted butter
- 4 oz 113g semisweet chocolate, chopped
- ½ cup 100g granulated sugar
- ½ cup 100g light brown sugar
- 3 large eggs room temperature
- 1 tsp vanilla extract
- ½ cup 64g all-purpose flour
- ½ cup 43g cocoa powder
- ½ tsp instant espresso powder optional
- ½ tsp fine sea salt
- 1 cup 170g semisweet chocolate chips
Instructions
- Preheat oven to 350°F (175°C) and line an 8×8-inch pan with parchment paper.
- Brown the butter until golden and nutty, stirring constantly to prevent burning.
- Stir chopped chocolate into the hot browned butter until fully melted and smooth, then let it cool slightly.
- Whisk in both sugars, then add eggs one at a time along with vanilla until the mixture looks glossy.
- Fold in flour, cocoa powder, espresso powder, and salt until just combined—do not overmix.
- Add chocolate chips and gently mix, then pour batter into the prepared pan.
- Bake for 28–32 minutes until edges are set and the center is slightly soft.
- Cool completely before slicing for clean, fudgy squares.
Notes
- Browning the butter is key don’t rush this step, as it builds the signature nutty flavor.
- Always let the chocolate-butter mixture cool slightly before adding eggs to avoid scrambling.
- Whisking eggs and sugar well is what creates the shiny, crinkly top.
- Do not overmix after adding dry ingredients, or the brownies will turn cakey instead of fudgy.
- Slightly underbaking is better than overbaking for the perfect gooey texture.
- Brownies continue to set as they cool, so always let them rest before slicing for clean edges.