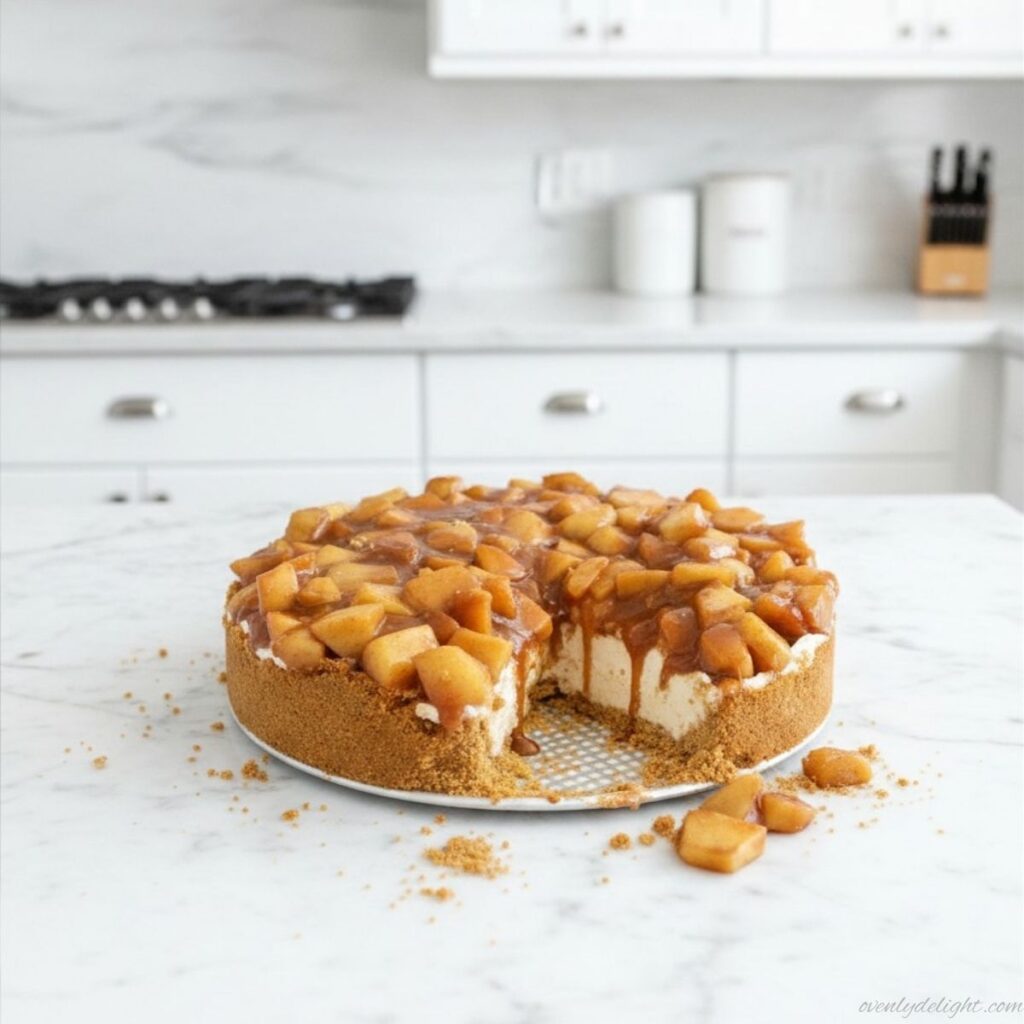
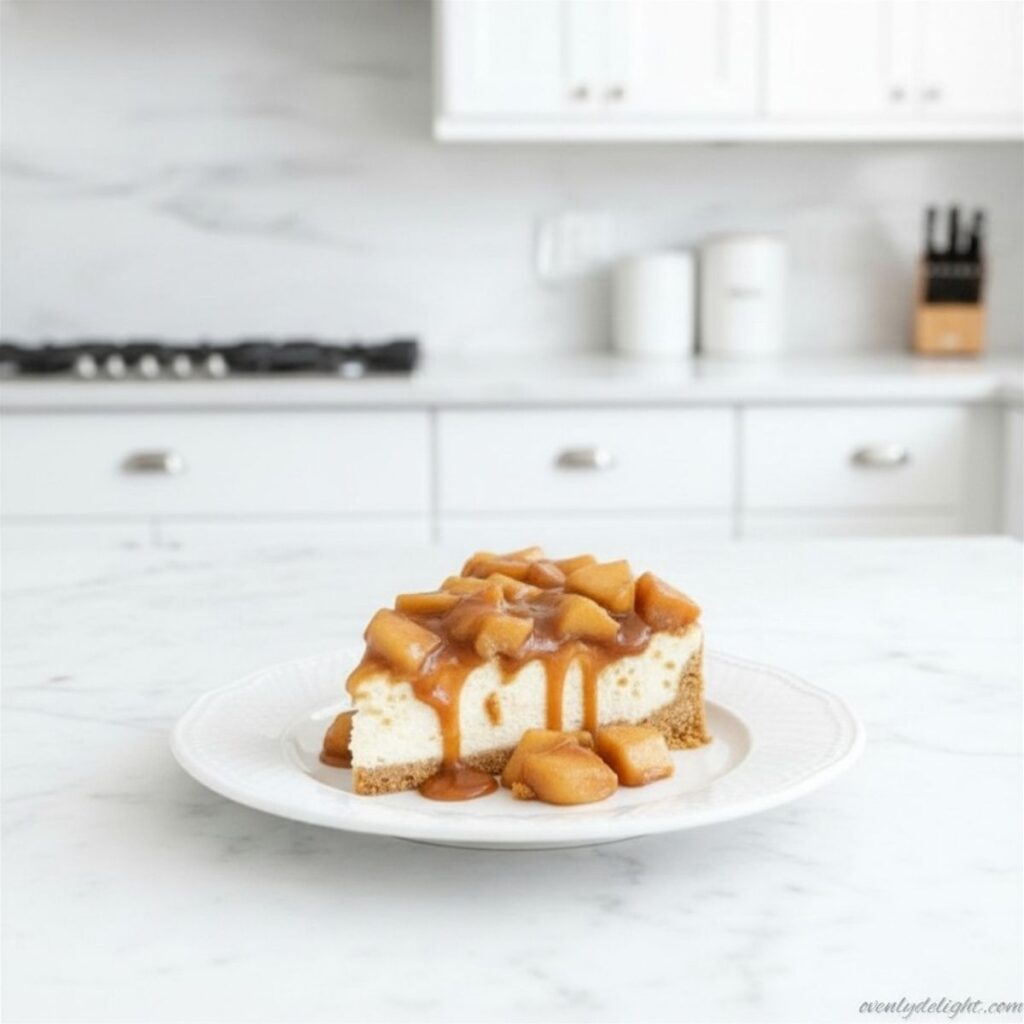
I first made this No Bake Apple Cheesecake on a warm afternoon when I wanted something cozy and comforting without turning on the oven. I had a few apples sitting on the counter and a craving for cheesecake, so I decided to combine the two. The result was even better than I expected creamy, smooth cheesecake layered with sweet cinnamon apples and a buttery crust.
Since then, this dessert has become one of my favorite make-ahead treats for family gatherings and holidays. It brings together all the flavors of classic apple pie and cheesecake in one easy, no-bake recipe that’s simple enough for beginners but impressive enough for special occasions.
Why You’ll Love This Recipe
If you love easy desserts that look impressive, this No Bake Apple Cheesecake is for you. I actually came up with this recipe on a busy day when I wanted to make something special but didn’t have the energy to turn on the oven. I remember thinking I might mess it up because no-bake desserts can be tricky, but I had a few apples sitting in the fridge and decided to just try it anyway. It took me only 20 minutes to put everything together, and then I just hoped for the best while it chilled.
What surprised me most was how perfectly it set. The creamy filling turned out smooth and sliceable, and the cinnamon apples added that cozy apple pie flavor I was craving. Since that day, this No Bake Apple Cheesecake has become my go-to dessert for last-minute gatherings and lazy weekends. It feels fancy, but it’s honestly one of the easiest recipes I’ve ever made.
Ingredients for Easy No Bake Apple Cheesecake
For the Crust
- 2 ½ cups graham cracker crumbs
- ¼ cup light brown sugar packed
- 9 tablespoons unsalted butter melted
- ½ teaspoon
For the Cheesecake Filling
- ½ cup heavy whipping cream
- 20 ounces cream cheese softened
- ½ cup powdered sugar
- ½ cup sour cream
- 1 tsp vanilla extract
- 21 ounces apple pie filling
How to Make No Bake Apple Cheesecake (Step by Step)
1. Make the Perfect Graham Cracker Crust (Base Layer)
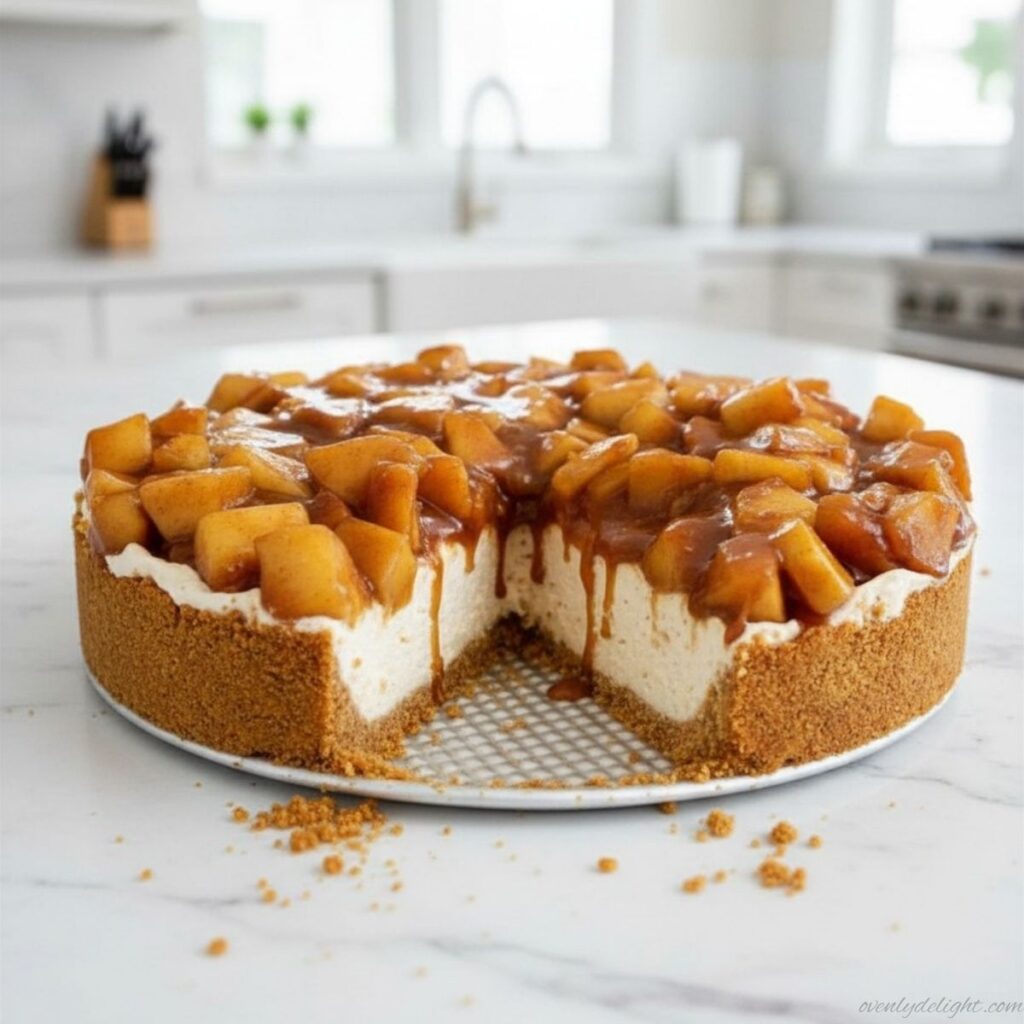
Start by mixing graham cracker crumbs, sugar, and melted butter in a bowl until the texture looks like wet sand. It should hold together when you press it between your fingers. Now pour this mixture into a 9-inch springform pan and press it down firmly. Take your time here use the bottom of a glass or measuring cup to really pack it tight, especially around the edges. A well-pressed crust is the secret to clean, sturdy slices later that don’t fall apart.
2. Chill the Crust for a Firm Base
Once your crust is ready, place it in the freezer for about 15 minutes. This step might feel small, but it makes a big difference. The butter firms up and locks everything in place, so when you add the creamy filling later, the crust stays solid instead of crumbling. Think of it as setting the foundation of your cheesecake.
3. Beat Cream Cheese Until Smooth and Creamy
In a large mixing bowl, add softened cream cheese and beat it for about 2 minutes until it becomes completely smooth. Don’t rush this step lumps here will show up in your final cheesecake. Make sure to scrape down the sides of the bowl so everything mixes evenly. The goal is a silky, creamy base that feels light and smooth with no graininess at all.
4. Add Sugar, Vanilla & Warm Cinnamon Flavor
Now add powdered sugar, vanilla extract, and a little cinnamon into the cream cheese mixture. Mix until everything becomes soft, creamy, and slightly fluffy. At this stage, your kitchen will already start smelling amazing sweet, warm, and comforting, like dessert is on its way.
5. Whip the Cream to Stiff Peaks
In a separate bowl, whip cold heavy cream until stiff peaks form. This means when you lift the whisk, the cream should hold its shape and not fall. Be careful not to under-whip it this step is what gives your cheesecake that light, airy texture instead of making it dense or heavy.
6. Gently Fold for a Light Cheesecake Texture
Now add the whipped cream into the cream cheese mixture in three parts. Use a spatula and gently fold it in. Don’t stir fast or aggressively just slow folding motions. This keeps all the air inside and gives you that fluffy, melt-in-your-mouth cheesecake texture.
7. Fill the Pan and Chill Until Set
Spread the cheesecake filling evenly over your chilled crust. Smooth the top with a spatula so it looks nice and even. Cover it and refrigerate for at least 4 hours, but overnight is even better. This waiting time is what transforms it from a soft mixture into a perfectly set, sliceable cheesecake.
8. Cook the Cinnamon Apple Topping
Peel and dice your apples, then cook them in a pan with butter, brown sugar, cinnamon, and a pinch of nutmeg over medium heat for about 8–10 minutes. Once the apples soften, add a cornstarch slurry and cook for another 1–2 minutes until the mixture turns thick and glossy. Let it cool completely before using this is important so it doesn’t melt your cheesecake.
9. Top, Slice & Serve Like a Pro
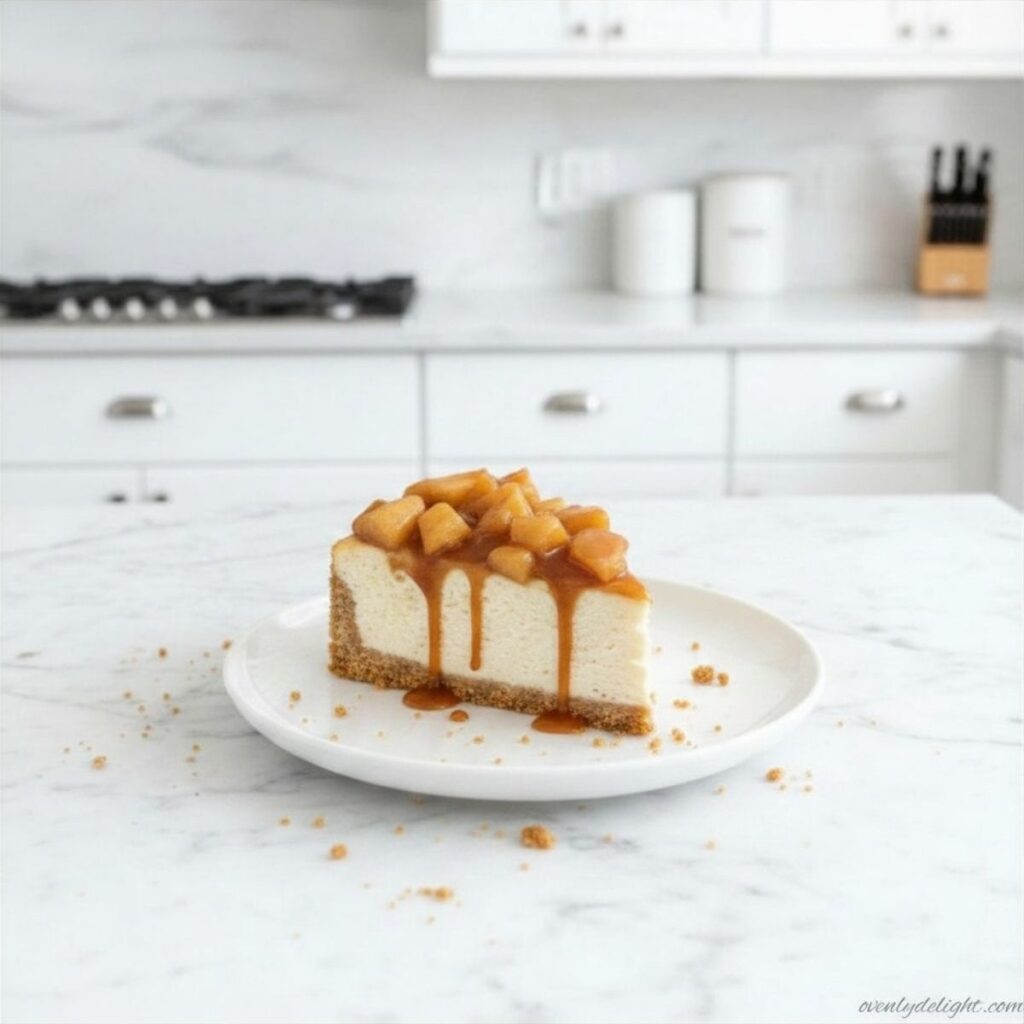
Once your cheesecake is fully set and the apple topping is completely cool, spoon it generously over the top. For clean, bakery-style slices, dip your knife in hot water, wipe it clean, and then cut. Repeat between each slice for perfect edges every time.
Expert Tips for Perfect No Bake Apple Cheesecake
1. Always use room temperature cream cheese
Cold cream cheese is the number one reason for lumps. Let it soften properly so your filling becomes silky smooth with no grainy texture.
2. Don’t overwhip the cream
Whip until stiff peaks only. If you go beyond that, the cream can turn grainy and the cheesecake won’t hold its light, airy texture.
3. Pack the crust tightly
A loose crust will crumble when slicing. Press it firmly using a spoon or glass so it stays solid and clean when served.
4. Cool everything before assembling
Make sure the apple topping is completely cool before adding it on top. Warm apples can melt the cheesecake layer and ruin the structure.
5. Chill longer for best results
Minimum 4 hours works, but overnight chilling gives the best firm, sliceable texture and stronger flavor.
6. Clean slicing trick
Dip your knife in hot water, wipe it clean, and cut. Repeat for every slice to get sharp bakery-style edges.
7. Balance sweetness smartly
Apples vary in sweetness, so taste your filling and topping before final assembly and adjust sugar if needed.
8. Use a Baking Measurement Converter for accuracy
For perfect results every time, especially if you’re scaling the recipe up or down, use a Baking Measurement Converter to avoid mistakes in butter, sugar, or cream ratios. Even small measurement errors can change the texture of a no-bake cheesecake.
Ingredient Substitutions for No Bake Apple Cheesecake
Crust Substitutions
Digestive biscuits or vanilla wafers can replace graham crackers, giving a slightly different flavor but still a firm, buttery crust. For a gluten-free option, use gluten-free graham crackers like Pamela’s. Brands like Honey Maid or Keebler also work well for consistent results.
Filling Substitutions
Cool Whip (thawed) can replace heavy whipping cream for a softer texture—just fold it in gently. Greek yogurt can replace up to half of the cream cheese for a lighter, slightly tangy filling that still stays creamy.
Apple Topping Substitutions
Maple syrup can replace brown sugar for a deeper natural sweetness. Use a little less liquid and reduce cornstarch slightly to keep the topping thick.
Extra Tip
King Arthur gluten-free flour can be used for homemade crust variations, making this cheesecake easy to adjust for dietary needs without losing flavor.
How to Store No Bake Apple Cheesecake
Refrigerator Storage
Keep the cheesecake covered in the refrigerator for up to 5 days. You can store it in the springform pan or transfer slices into an airtight container. If stacking slices, place parchment paper between layers to prevent sticking.
Freezer Storage
For longer storage, freeze the cheesecake (without the apple topping) for up to 1 month. Wrap it tightly in plastic wrap, then foil, to protect it from freezer burn. Add the apple topping after thawing for the best texture and taste.
Thawing Instructions
When ready to serve, thaw the cheesecake overnight in the refrigerator. Avoid thawing at room temperature, as it can make the filling too soft.
Important Tip
Do not leave the cheesecake at room temperature for too long, as the creamy filling can lose its structure and become runny.
Try More No-Bake Dessert
Frequently Asked Questions
Can I make this no bake apple cheesecake ahead of time?
Yes! In fact, it’s best made ahead. Prepare the cheesecake the night before so it has enough time to set properly. Add the apple topping a few hours before serving for the freshest taste and best texture.
Why is my no bake cheesecake not setting?
This usually happens when the heavy cream isn’t whipped to stiff peaks. If it’s under-whipped, the filling won’t have enough structure and will stay soft even after chilling.
Can I make this no bake apple cheesecake ahead of time?
Yes! In fact, it’s best made ahead. Prepare the cheesecake the night before so it has enough time to set properly. Add the apple topping a few hours before serving for the freshest taste and best texture.
How long does no bake apple cheesecake last in the fridge?
It stays fresh for up to 5 days when covered and stored properly in the refrigerator. The crust may soften slightly over time, but the filling remains creamy.
Can I freeze no bake apple cheesecake?
Yes, but only without the apple topping. Wrap it tightly and freeze for up to 1 month. Thaw overnight in the fridge and add fresh apple topping before serving.
What size pan should I use?
A 9-inch springform pan works best. It helps the cheesecake set properly and makes it easy to remove clean, beautiful slices.
Can I use canned apple pie filling instead of homemade?
Yes, you can. It’s a quick shortcut when you’re short on time, though the flavor will be sweeter and the texture softer than homemade apple topping.
Final Thoughts
This No Bake Apple Cheesecake is one of those desserts that feels special without being complicated. It brings together a creamy cheesecake layer, a buttery crust, and warm cinnamon apples in a way that tastes like comfort in every bite.
What I love most is how stress-free it is—no oven, no complicated steps, just simple ingredients that come together beautifully after a little chilling time. It’s perfect for holidays, gatherings, or anytime you want an impressive dessert with minimal effort.
No Bake Apple Cheesecake

Ingredients
For the crust:
- 2 ½ cups graham cracker crumbs
- ¼ cup light brown sugar packed
- 9 tablespoons unsalted butter melted
- ½ teaspoon
For the filling
- ½ cup heavy whipping cream
- 20 ounces cream cheese softened
- ½ cup powdered sugar
- ½ cup sour cream
- 1 tsp vanilla extract
- 21 ounces apple pie filling
Instructions
- In a large bowl, mix graham cracker crumbs, brown sugar, melted butter, and cinnamon until fully combined and the texture looks like wet sand.
- Firmly press the mixture into an 8 to 10-inch springform pan, including the sides, using the bottom of a glass or measuring cup to pack it tightly.
- Place the crust in the freezer while preparing the filling.
- Beat heavy whipping cream until stiff peaks form, then set aside.
- In another bowl, beat cream cheese for 2 to 3 minutes until light, smooth, and fluffy.
- Add powdered sugar and beat until no lumps remain.
- Mix in sour cream and vanilla extract until well combined.
- Gently fold in half of the apple pie filling.
- Pour the mixture over the chilled crust and smooth the top evenly.
- Add the remaining apple pie filling on top and lightly press it into place.
- Cover and refrigerate for at least 8 hours or overnight until fully set.
- Remove the springform pan ring, slice, and serve.
- Optional: Pipe whipped cream on top and sprinkle with apple pie spice before serving.