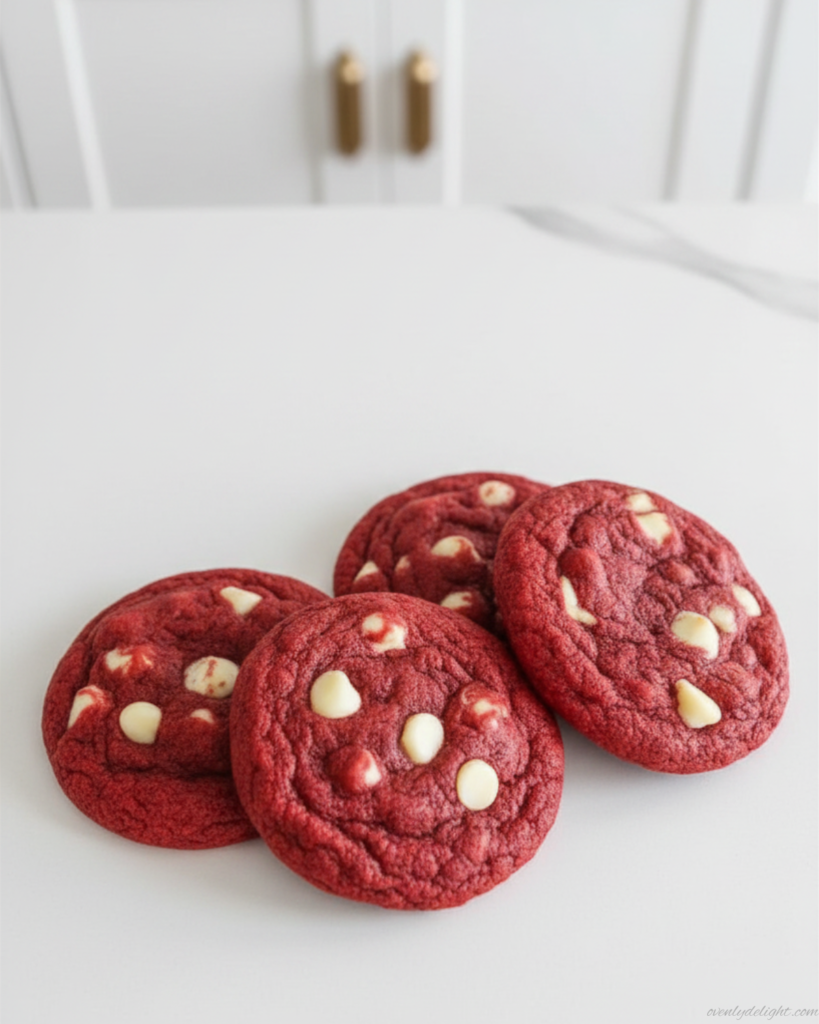
I didn’t plan to fall in love with red velvet cookies. Honestly, I just wanted to use up some basic baking ingredients one evening when I was craving something sweet. The dough looked a bit unusual at first that deep red color made me think I might have done something wrong. But I still baked them anyway. When I took the first bite, warm and soft straight from the tray, I was actually surprised how good they turned out. Since then, these cookies have become one of those simple recipes I keep going back to without even thinking.
Why You’ll Love These Soft Red Velvet Cookies
These cookies are made in just one bowl and you don’t even need a mixer, which already makes life easier. From start to finish, they take about 12 minutes in the oven, so they’re perfect when you want something quick but homemade.
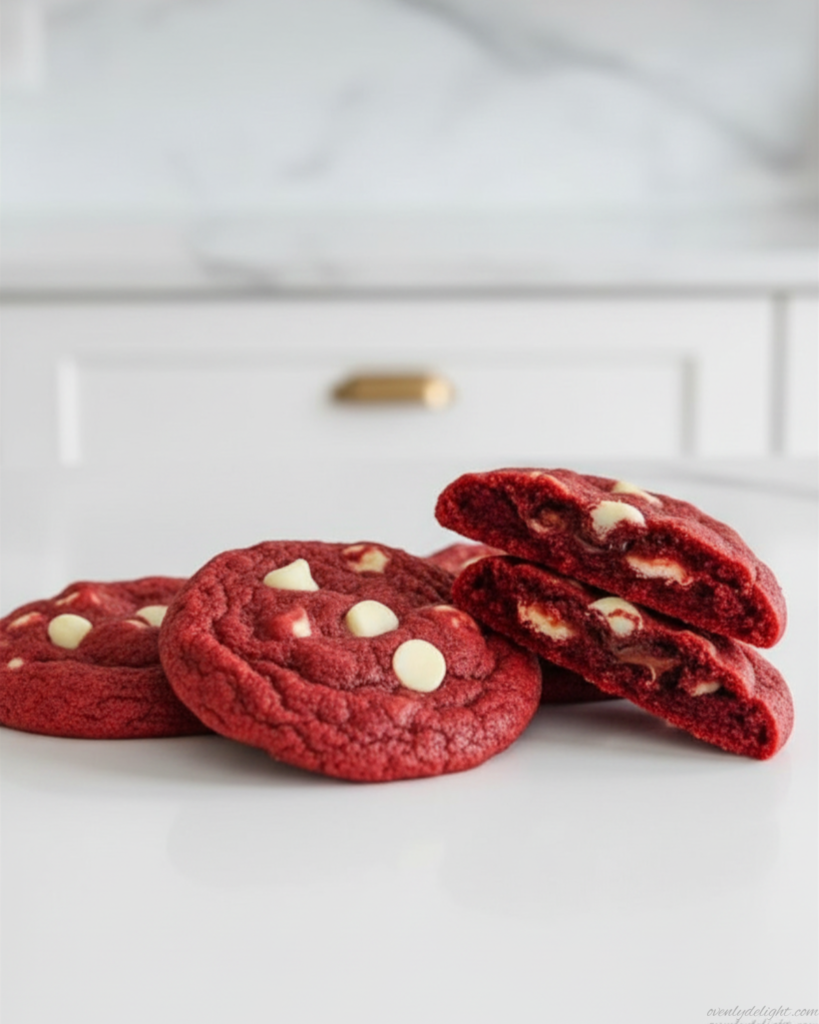
What makes them really special is the texture the brown sugar keeps the centers soft and tender for days, so they don’t dry out like most homemade cookies tend to do.
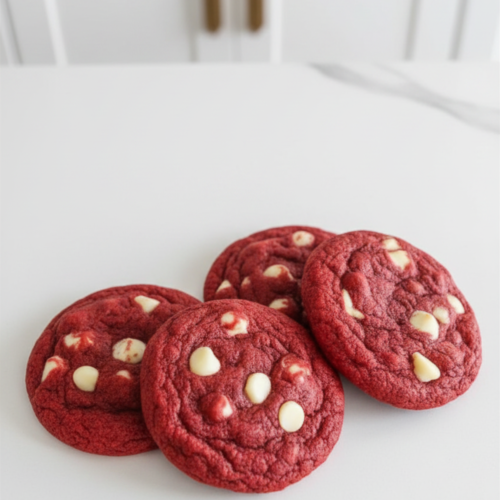
They’re rich, but not overly sweet. The cocoa gives a light chocolate flavor in the background, and the white chocolate chips melt into little creamy pockets that feel almost like a soft cream cheese swirl in every bite. This recipe makes about 20 cookies, which is perfect for sharing, gifting, or adding to a holiday cookie tray.
Ingredients for Chewy Red Velvet Cookies
Dry Ingredients
- 1 and 2/3 cups (210g) all-purpose flour – Spoon and level it instead of scooping so the dough doesn’t turn dry or heavy.
- 1/4 cup (21g) unsweetened cocoa powder – Gives that classic red velvet flavor with a light chocolate touch, not overly rich.
- 1 teaspoon baking soda – Helps the cookies rise and spread just enough while keeping the centers thick.
- 1/4 teaspoon salt – Balances sweetness and enhances both flavor and color.
Wet Ingredients
- 1/2 cup (113g) unsalted butter, softened – Creamed properly, it creates a soft and smooth cookie base.
- 3/4 cup (150g) brown sugar, packed – The key to keeping these cookies soft and chewy for days.
- 1/4 cup (50g) granulated sugar – Adds a slight crisp edge to balance the soft center.
- 1 large egg (room temperature) – Helps bind everything and adds structure.
- 1 tablespoon milk (buttermilk works best) – Buttermilk adds a subtle tang that makes red velvet flavor more balanced.
- 2 teaspoons vanilla extract – Brings warmth and rounds out the cocoa flavor.
- 3/4 teaspoon gel red food coloring – Gives that deep red velvet look without changing the dough texture.
For Topping
- 1 cup (180g) white or semi-sweet chocolate chips – Melt into creamy pockets that make every bite extra soft and rich. Add a few extra on top before baking for that bakery-style finish.
How to Make Red Velvet Cookies (Step by Step)
Whisk the dry ingredients
Take a medium bowl and add your flour, cocoa powder, baking soda, and salt. Whisk everything together really well so the cocoa is evenly mixed and there are no lumps. This step helps you get an even chocolate flavor in every bite. Once mixed, set it aside.
Cream the butter and sugars
In a large mixing bowl, add softened butter, brown sugar, and granulated sugar. Using a hand mixer or stand mixer, beat them together for about 2 minutes until the mixture becomes light, fluffy, and a bit pale in color. This step is important because it creates air in the dough, which makes your cookies soft instead of dense.
Add the wet ingredients
Now add the egg, milk (or buttermilk), vanilla extract, and red food coloring into the same bowl. Mix everything until fully combined. Make sure the color looks smooth and evenly red throughout the dough scrape down the sides of the bowl so nothing is left unmixed.
Combine wet and dry ingredients
Slowly add your dry ingredients into the wet mixture. Mix on low speed or fold gently with a spatula until just combined. Be careful here do not overmix. As soon as you don’t see dry flour anymore, stop mixing. Overmixing can make the cookies tough instead of soft and chewy.
Fold in the chocolate chips
Add the white chocolate chips and gently fold them into the dough using a spatula or wooden spoon. Try not to overwork the dough. You just want the chips evenly spread so every cookie has creamy bites of chocolate.
Chill the dough
Cover the bowl with plastic wrap and place it in the refrigerator for at least 45 minutes. If you have time, you can chill it longer (even up to 3 days). This step is very important because it helps the cookies stay thick and prevents them from spreading too much in the oven.
Preheat and portion the dough
When you’re ready to bake, preheat your oven to 350°F (177°C). Take the chilled dough and scoop it into small balls, about 1.5 tablespoons each. Place them on the baking tray, leaving at least 3 inches of space between each cookie so they have room to spread.
Bake the cookies
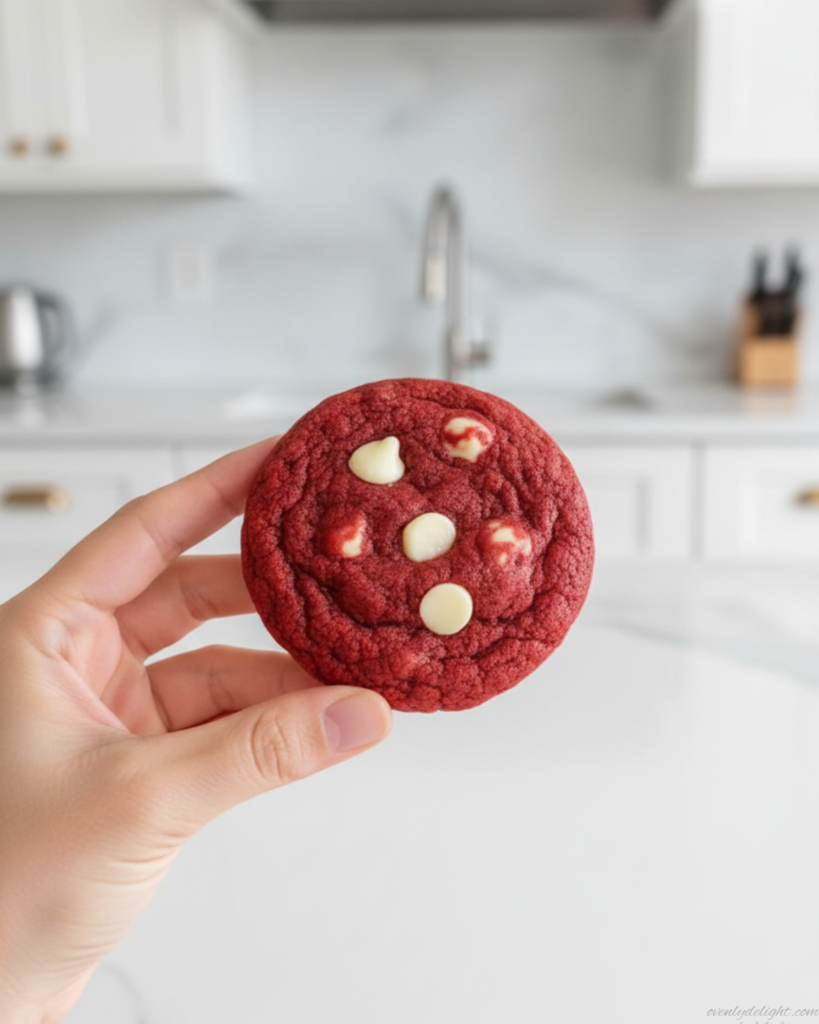
Bake for 11–12 minutes. Keep an eye on them the edges should look set, but the centers should still look slightly soft. That’s exactly what you want for chewy cookies. If you like, press a few extra chocolate chips on top right after baking for that bakery-style look.
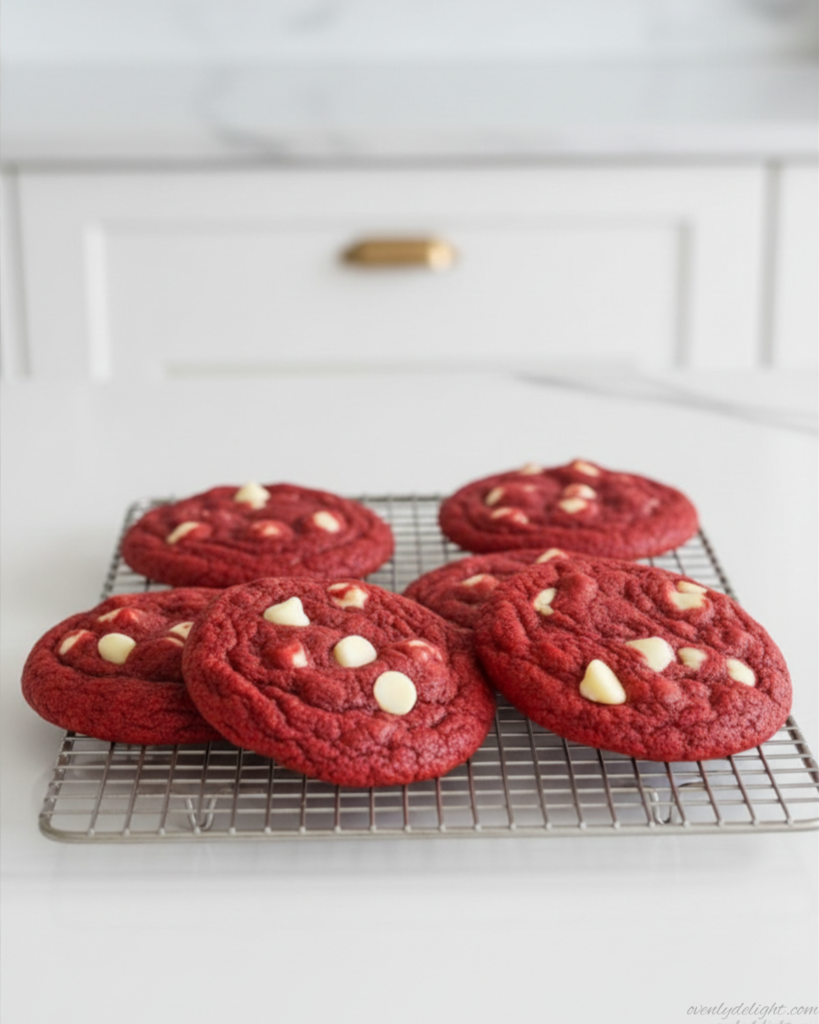
Cool completely
Let the cookies sit on the baking tray for about 5 minutes after removing them from the oven. This helps them firm up slightly. Then transfer them to a wire rack to cool completely. Don’t worry if they feel soft at first they will set as they cool.
Expert Tips for Perfect Bakery-Style Red Velvet Cookies
Don’t skip the chilling step
After ruining two batches by skipping this step, I learned that chilled dough is non-negotiable. If the dough is warm, the cookies spread too quickly in the oven and turn into thin, crispy discs instead of staying thick and soft.
Measure cocoa powder correctly
Always spoon the cocoa powder into your measuring cup and level it off. The first time I scooped it directly from the container, I used too much, which made the cookies dry and the chocolate flavor overpowering.
Use gel food coloring
Gel coloring works much better than liquid. I tried liquid coloring once and had to use so much of it just to get a red color, which made the dough sticky and harder to handle.
Don’t flatten the dough balls
It might feel natural to press them down, but don’t. These cookies spread on their own in the oven. Flattening them beforehand usually leads to thin and crisp cookies instead of soft and chewy ones.
Chill dough balls if your kitchen is warm
If your kitchen is warm or humid, place the scooped dough balls in the fridge for about 10 minutes before baking. This helps the cookies hold their shape and prevents them from spreading too fast.
Don’t overbake the cookies
For extra-soft centers, take the cookies out of the oven as soon as the edges look set. The middle might still look slightly underbaked or glossy, but that’s perfect they will finish setting as they cool on the tray.
Store them properly
Storage makes a big difference. Keep the cookies in an airtight container at room temperature. This keeps them soft for days, while leaving them uncovered will make them stale much faster.
Ingredient Substitutions
Buttermilk substitute
If you don’t have buttermilk, you can use 1 tablespoon of regular milk mixed with a few drops of lemon juice or white vinegar. Let it sit for a minute before adding it to the batter. The cookies will still be soft and rich, just with a slightly less tangy flavor.
Chocolate chip alternatives
Instead of white chocolate chips, you can use semi-sweet or dark chocolate chips, or even chopped pecans for a nutty twist. The flavor will be a bit more classic chocolate-style, but still delicious and balanced.
Eggless option
For an egg-free version, replace the egg with 1/4 cup unsweetened applesauce or a flax egg (1 tablespoon ground flaxseed + 3 tablespoons water, rested for 5 minutes). Both options help bind the dough while keeping the cookies soft.
Dairy-free version
To make these cookies dairy-free, use a plant-based butter (like Earth Balance) and swap the milk with oat milk or almond milk. The texture stays soft, and the flavor is still rich and enjoyable.
Gluten-free option
You can replace all-purpose flour with a 1:1 gluten-free baking blend, such as Bob’s Red Mill 1-to-1 Baking Flour. The cookies will still hold together, but expect a slightly more delicate texture.
Cocoa powder options
Natural cocoa powder works best for classic red velvet flavor, but Dutch-process cocoa can also be used if needed. It will give a deeper color and a slightly smoother, less tangy chocolate taste.
How to Store Homemade Red Velvet Cookies
Room temperature storage
Store the cookies in an airtight container at room temperature for up to 4 days. For extra softness, you can add a small slice of plain bread inside the container. The cookies absorb a little moisture from the bread, which helps keep them soft and chewy.
Refrigerator storage
If you want them to last a bit longer, keep the cookies in a sealed container in the refrigerator for up to 1 week. However, keep in mind that the texture is always best at room temperature, so let them sit out for a few minutes before eating.
Freezing baked cookies
Yes, red velvet cookies freeze really well. Place the completely cooled cookies in a single layer on a tray first. Once frozen, transfer them to a freezer-safe bag or container. They can be stored for up to 3 months without losing flavor.
Reheating tip
To bring back that fresh-from-the-oven softness, warm the cookies in the microwave for 10–12 seconds. This works for both frozen and day-old cookies and instantly makes them soft and gooey again.
Try More Cookies Recipes
- Banana Bread Chocolate Chip Cookies
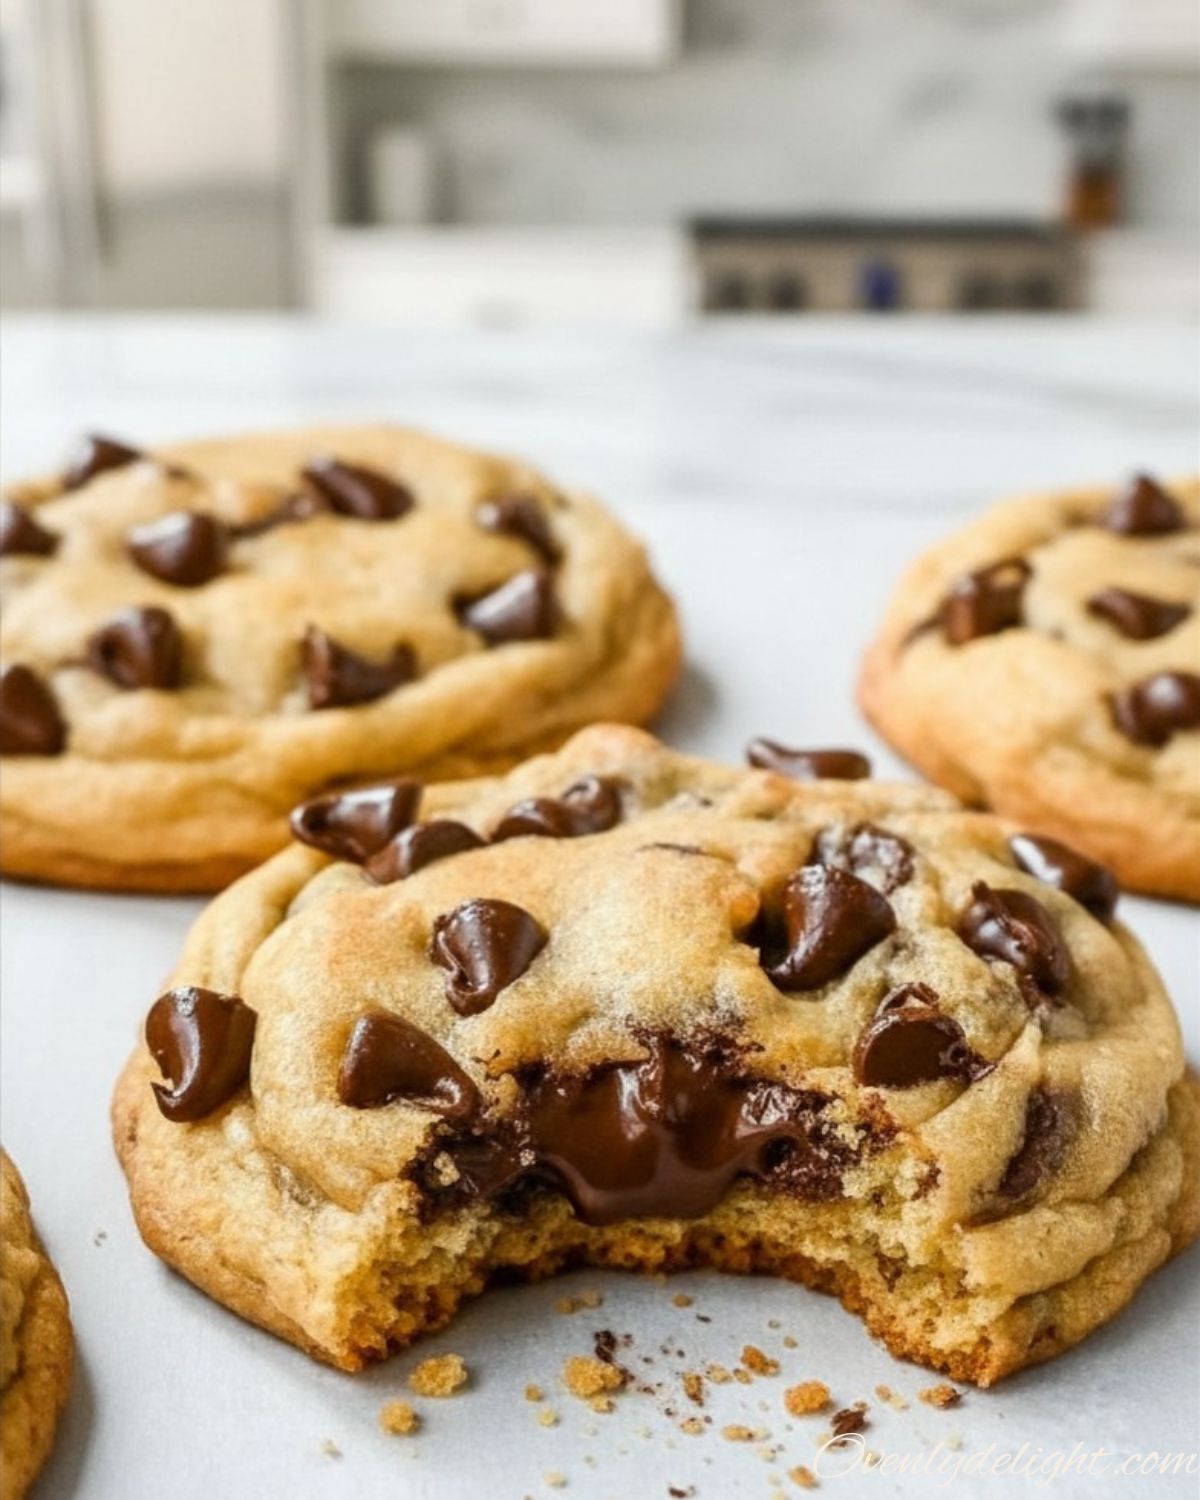
- Chocolate Chip Cookies
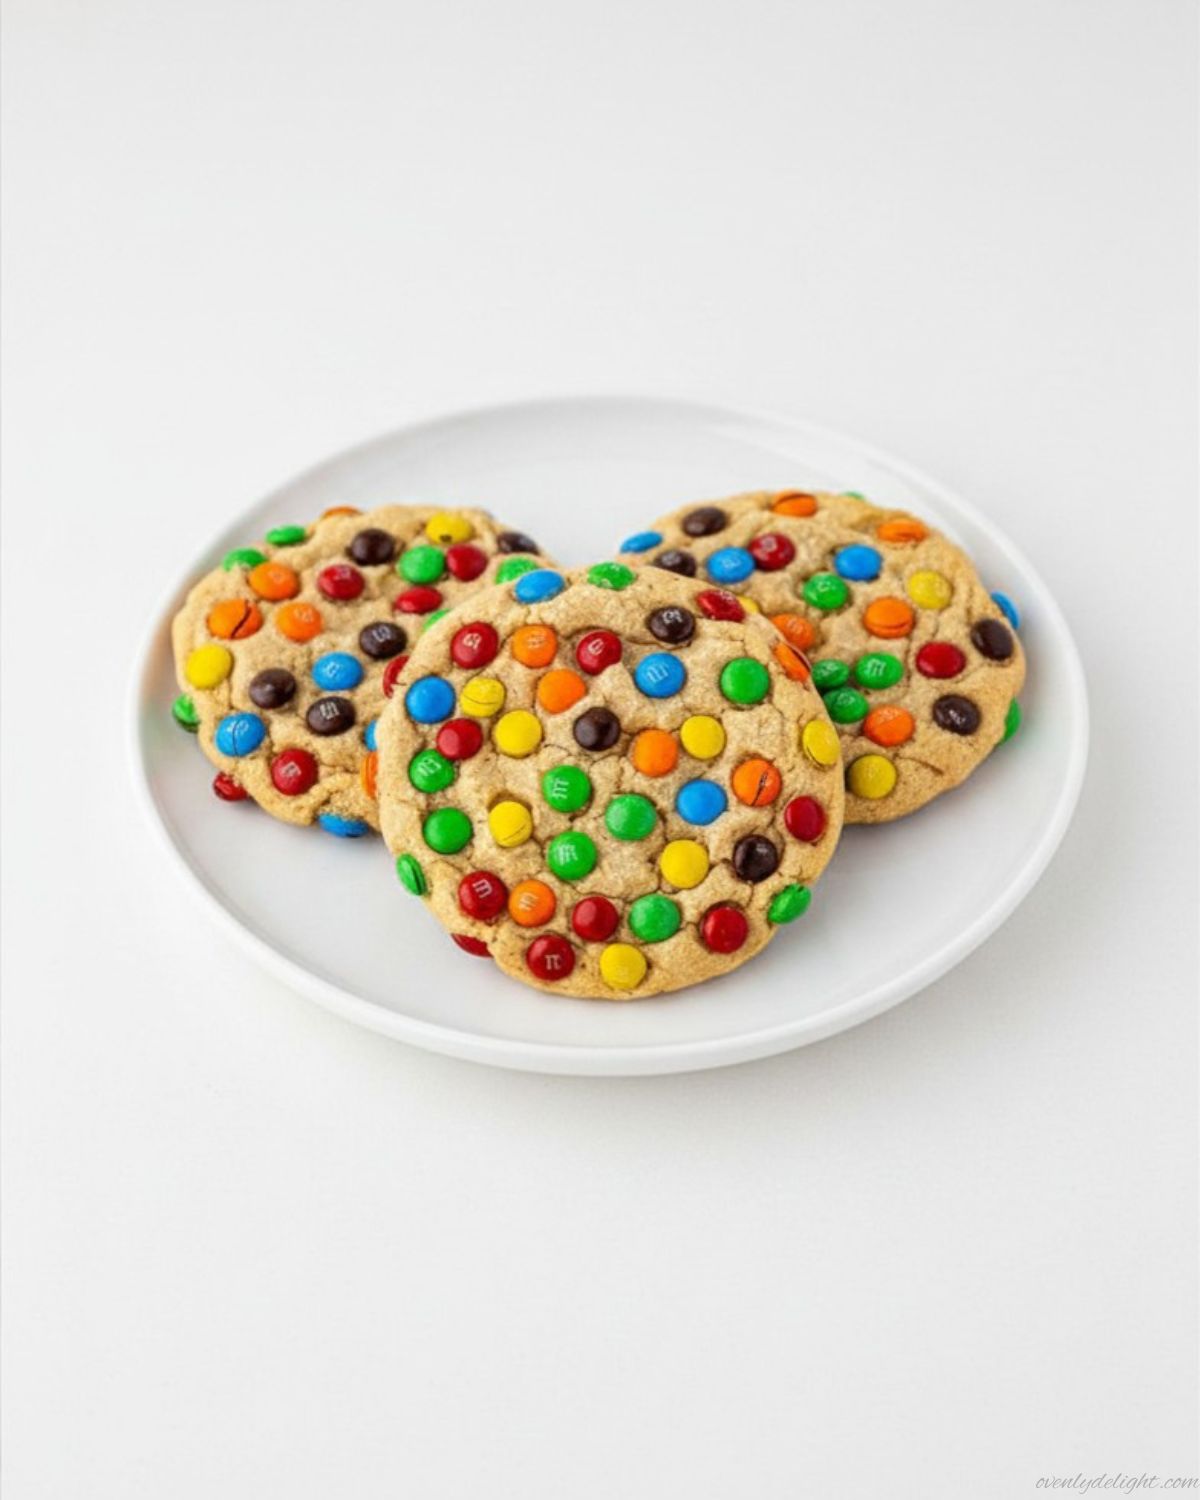
- Peanut Butter M&M Cookies
- Sourdough Chocolate Chip Cookies
- sugar cookies
- S’mores Cookies
Frequently Asked Questions
How do I make easy red velvet cookies without cake mix?
Just follow the recipe above no cake mix needed. Cocoa powder, baking soda, butter, and gel food coloring create the same classic red velvet flavor and color from scratch in about 30 minutes total.
Why are my red velvet cookies dry?
This usually happens because of too much flour or overbaking. Always spoon and level your flour instead of scooping it directly, and remove the cookies from the oven while the centers still look slightly soft. They will continue to set as they cool.
How do I keep red velvet cookies soft for days?
Use brown sugar for moisture, avoid overbaking, and store them in an airtight container at room temperature. Adding a slice of bread inside the container also helps keep them soft for longer.
How long do red velvet cookies last?
At room temperature in an airtight container, they stay soft for about 4 days. In the refrigerator, they last up to 1 week, although the texture becomes slightly firmer when chilled.
What happens if I use liquid food coloring instead of gel?
You’ll need a larger amount of liquid coloring to achieve a deep red, which can make the dough slightly wet and sticky. If you only have liquid coloring, reduce the milk slightly to balance the extra liquid.
Can I add a cream cheese filling to these cookies?
Yes. For a cream cheese version, place a small frozen disc of sweetened cream cheese in the center of each dough ball and seal the dough around it before baking.
Final Thoughts
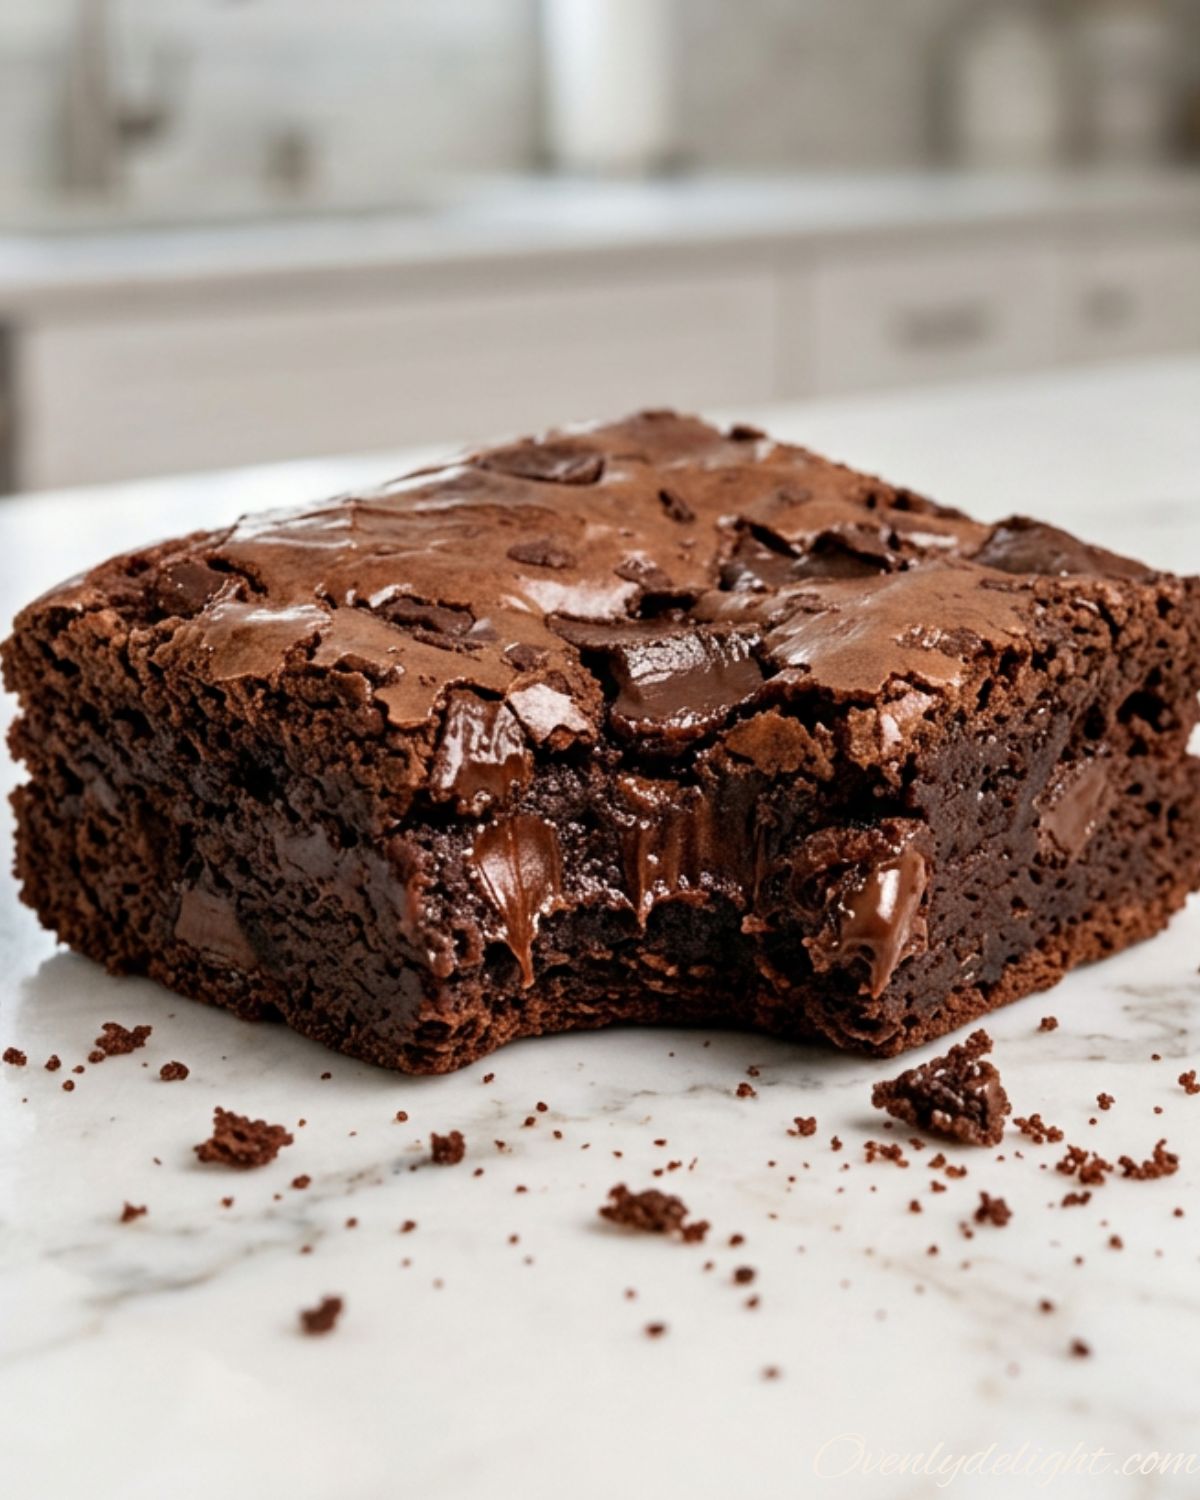
I make these cookies every time we’re decorating for Valentine’s Day, and my kids have started calling them “brownie cookies” because of the rich cocoa aroma. The real secret to this soft and chewy cookie recipe is simple: chilled dough, good cocoa powder, and careful baking without overdoing it. If you try this recipe, feel free to leave a comment and share how it turned out.
Soft & Chewy Red Velvet Cookies
Ingredients
- 1 and 2/3 cups 210g all-purpose flour
- 1/4 cup 21g unsweetened cocoa powder
- 1 teaspoon baking soda
- 1/4 teaspoon salt
- 1/2 cup 113g unsalted butter, softened
- 3/4 cup 150g brown sugar, packed
- 1/4 cup 50g granulated sugar
- 1 large egg room temperature
- 1 tablespoon milk or buttermilk
- 2 teaspoons vanilla extract
- 3/4 teaspoon gel red food coloring
Add-ins
- 1 cup 180g white chocolate chips (plus extra for topping)
Instructions
- In a bowl, whisk together flour, cocoa powder, baking soda, and salt. Set aside.
- Beat butter, brown sugar, and granulated sugar until light and fluffy (about 2 minutes).
- Mix in egg, milk, vanilla extract, and red food coloring until smooth and evenly colored.
- Add dry ingredients into wet mixture and mix just until dough forms. Do not overmix.
- Gently fold in white chocolate chips.
- Cover and refrigerate for at least 45 minutes.
- Preheat oven to 350°F (177°C). Scoop dough into 1.5-tablespoon balls and place on baking tray.
- Bake for 11–12 minutes until edges are set but centers are soft.
- Let cookies cool on tray for 5 minutes, then transfer to wire rack.