I first made these on a quiet evening when I was craving something sweet but didn’t want anything too complicated. I had a basic chocolate chip cookie dough ready, but I decided to take a little extra time and brown the butter just to see how it would turn out. Honestly, I didn’t expect much difference at first, but the moment the cookies came out of the oven, the smell alone changed my mind completely. The whole kitchen filled with this warm, caramel-like aroma that felt so comforting.
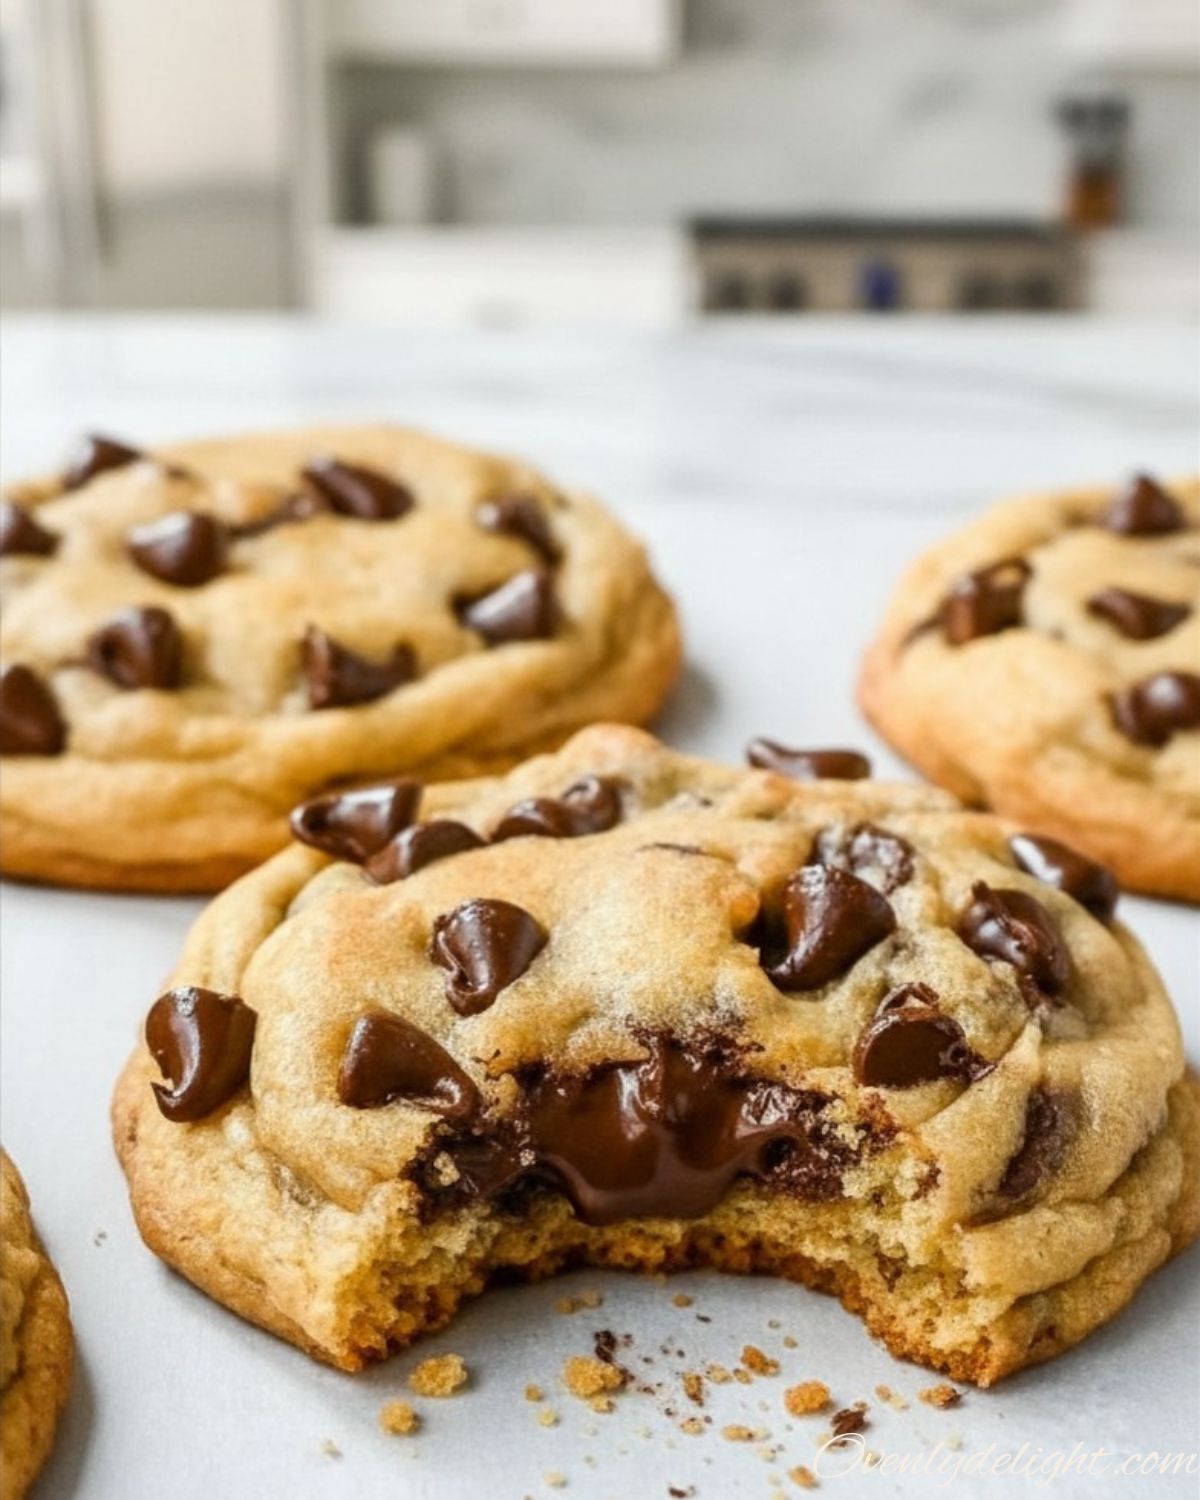
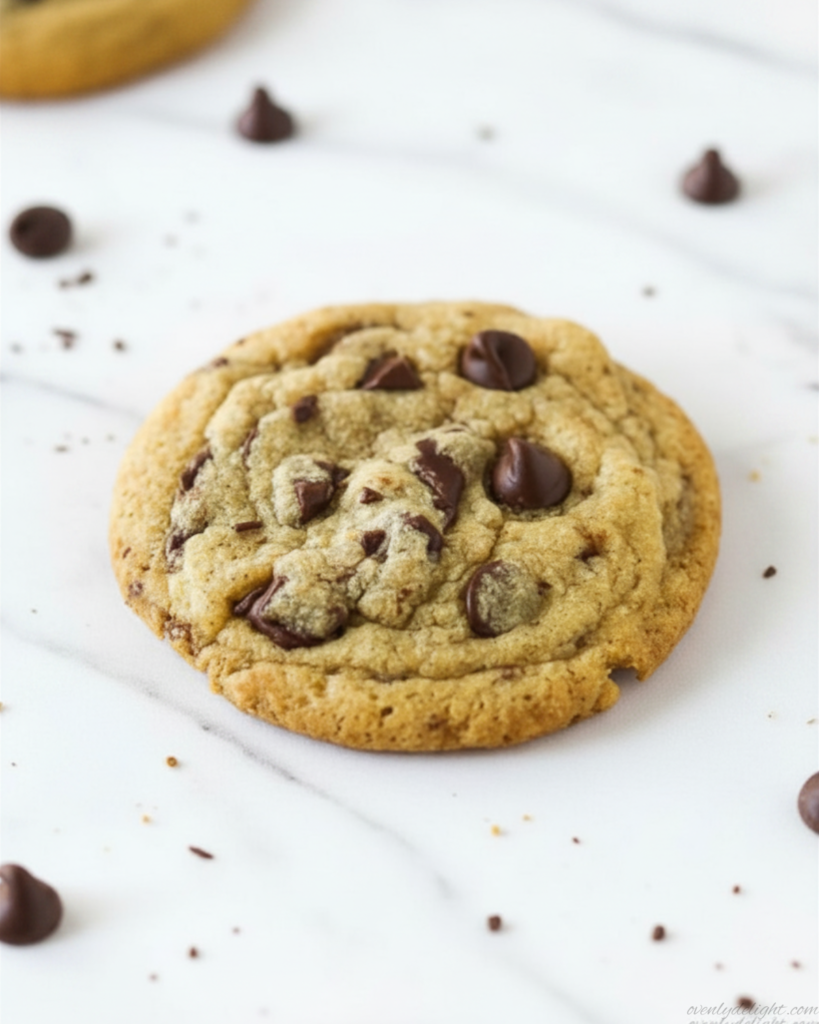
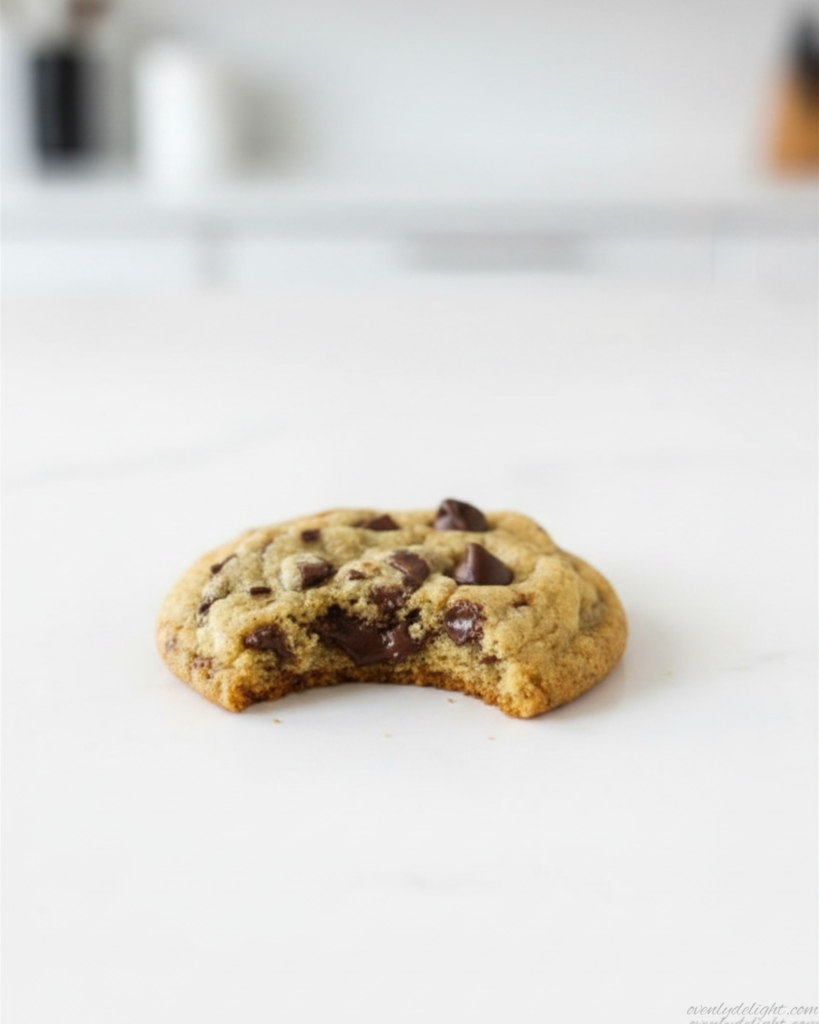
When I took the first bite, it was soft in the center with slightly crisp edges and melted chocolate in every bite. It tasted like a bakery cookie, but better because it felt homemade and fresh. Since then, this recipe has become one of those “go-to” bakes whenever I want something simple but impressive especially when friends or family are around.
These cookies are the kind that disappear quickly from the plate, especially when served warm.
Why You’ll Love These Brown Butter Chocolate Chip Cookies
These cookies are simple to make, but they taste like something straight from a bakery. You only need one pan to brown the butter and one bowl to mix the dough, so there’s not a lot of mess or stress involved. The hardest part is waiting but even that is worth it.
Browning the butter takes just a few extra minutes, but it completely transforms the flavor. It adds a rich, nutty depth that makes these cookies taste warm, cozy, and extra special.
The dough chills for about 6 hours, and that little bit of patience makes a big difference. It helps the cookies bake up thick, soft in the center, and slightly crisp around the edges. With two types of chocolate in every bite, they’re gooey, rich, and perfectly balanced.
This recipe makes around 30 bakery-style cookies that turn out amazing even if it’s your first time baking them. Simple steps, big flavor, and a result that always feels worth the wait.
Ingredients for Brown Butter Chocolate Chip Cookies
Dry Ingredients
⦁ 2 1/4 cups (293g) all-purpose flour spoon and level it into the cup so the dough doesn’t turn out dry or crumbly.
⦁ 1 teaspoon baking soda gives the cookies their rise and helps create those crispy edges, chewy center cookies are known for.
⦁ 1/2 teaspoon salt balances the sweetness and brings out the nutty brown butter flavor in these cookies.
Wet Ingredients
⦁ 1 1/4 cups (280g) unsalted butter browned on the stovetop until golden and fragrant; this is the star of the recipe, so don’t rush it.
⦁ 3/4 cup (168g) packed light brown sugar adds moisture and that deep caramel note that pairs perfectly with browned butter.
⦁ 1/4 cup (52g) sugar adds a touch of crispness to the edges.
⦁ 2 large eggs bind the dough and add richness; let them come to room temperature so they mix in smoothly.
⦁ 2 teaspoons vanilla extract enhances the toasted, nutty flavor from the brown butter.
For the Chocolate
⦁ 4 ounces (113g) semi-sweet chocolate, chopped the chopped chunks melt into gooey pockets throughout the dough.
⦁ 1 cup (169g) semisweet chocolate chips for chocolate chip cookies with browned butter, using both chopped chocolate and chips gives you texture variety in every bite.
How to Make Brown Butter Chocolate Chip Cookies (Step by Step)

This is a simple, beginner-friendly guide on how to make brown butter chocolate chip cookies from scratch. Follow each step carefully for soft, chewy, bakery-style cookies with rich flavor. Before you begin, set your oven rack to the middle position and line two baking sheets with parchment paper so everything is ready when the dough is done.
1. Brown the butter
Add the butter to a medium saucepan over medium heat. Stir constantly as it melts and continues cooking. After a few minutes, it will start turning golden and release a nutty, caramel-like aroma. This usually takes about 5–8 minutes. Stay close to the stove because it can burn very quickly at the end. Once it turns golden brown, remove it from the heat immediately.
2. Cool the butter slightly
Pour the browned butter into a heat-safe bowl, making sure to scrape in all the browned bits at the bottom of the pan because that’s where most of the flavor is. Let it cool for about 10 minutes so it’s warm but not hot. This step is important so it doesn’t cook the eggs in the next step.
3. Mix dry ingredients
In a separate bowl, whisk together the flour, baking soda, and salt. This helps distribute everything evenly so your cookies bake properly without any uneven texture.
4. Mix wet ingredients
Add the brown sugar and white sugar into the slightly cooled brown butter. Whisk until everything is well combined and smooth. Then add the eggs and vanilla extract and mix again until the mixture looks creamy and fully blended.
5. Combine wet and dry
Add the dry ingredients into the wet mixture. Stir gently just until a soft dough forms and you no longer see dry flour. Be careful not to overmix, as that can make the cookies dense instead of soft and chewy.
6. Add the chocolate
Fold in the chopped chocolate and chocolate chips using a spatula or spoon. Mix just enough so the chocolate is evenly spread throughout the dough.
7. Chill the dough
Cover the bowl tightly and refrigerate the dough for at least 6 hours, or up to 3 days. This resting time helps the flavors develop and keeps the cookies thick and chewy instead of flat.
8. Preheat and shape
When ready to bake, preheat your oven to 350°F (177°C). Scoop the chilled dough into small balls (about 1.5 tablespoons each) and place them on the prepared baking sheets, leaving about 3 inches of space between each cookie.
9. Bake
Bake for 8–9 minutes, or until the edges are lightly golden and set while the centers still look soft. Don’t overbake—they will continue to cook slightly after coming out of the oven.
10. Cool
Let the cookies rest on the baking sheet for about 5 minutes so they can set properly. Then transfer them to a wire rack to cool completely. This helps them hold their shape while staying soft inside.
Expert Tips for Perfect Bakery-Style Cookies

Use a light-colored saucepan for browning butter
After burning a full batch of butter the first time I tried this, I learned to always use a light-colored saucepan. It makes it much easier to see the color change clearly, so you can catch that perfect golden-brown stage before it turns too dark or burns.
Cool the browned butter before adding eggs
Don’t skip cooling the browned butter before mixing in the eggs. I rushed this step once and ended up with small scrambled bits of egg throughout the dough, which ruined the smooth texture. Let it cool properly so everything blends evenly.
Chill the dough for best texture
If you’re short on time, you can bake it right away, but I’ve tested both ways and the difference is huge. The 6-hour chill helps the dough firm up, improves flavor, and gives thicker, chewier cookies that don’t spread too thin.
Measure flour accurately
Use a kitchen scale if possible. The first time I measured by cups alone, I added about 20g extra flour and the cookies turned out dry and cakey instead of soft and chewy. Accurate measuring makes a big difference.
Don’t discard the browned bits
Those little brown bits stuck at the bottom of the pan are full of flavor. I used to throw them away, but now I always scrape them into the dough because they add a deep, nutty taste that makes the cookies richer.
Slightly underbake for gooey centers
For the best bakery-style texture, remove the cookies when the edges are set but the centers still look slightly soft. They continue baking on the tray and finish with a perfect chewy, gooey middle.
Let dough soften if too firm
After chilling, the dough can become hard to scoop. Just leave it at room temperature for 10–15 minutes before portioning so it becomes easier to handle without affecting texture.
Ingredient Substitutions
Chocolate options
Instead of semi-sweet chocolate chips, you can use dark chocolate chunks or milk chocolate chips. Dark chocolate gives a richer, slightly less sweet flavor, while milk chocolate makes the cookies sweeter and creamier. Both melt beautifully into gooey pockets inside the cookies.
Sugar swap
Instead of light brown sugar, use dark brown sugar for a deeper molasses flavor. It also adds extra moisture, making the cookies even chewier and enhancing the taste of browned butter.
Dairy-free option
For a dairy-free version, use a plant-based butter like Earth Balance and brown it the same way. It won’t develop quite as deep a nutty flavor as regular butter, but it still gives a warm, toasted taste.
Gluten-free option
All-purpose flour can be swapped 1:1 with a measure-for-measure gluten-free baking blend (such as King Arthur Gluten Free Measure for Measure Flour). The cookies may spread a little less but will still stay soft.
Vanilla substitute
If you’re out of vanilla extract, use vanilla bean paste in the same amount. It adds a stronger vanilla flavor along with tiny specks throughout the dough.
Nut add-in option
For extra crunch, fold in ½ cup of chopped toasted pecans or walnuts with the chocolate. It adds a nutty texture that pairs perfectly with the brown butter base.
How to Store Homemade Brown Butter Chocolate Chip Cookies
These cookies stay soft and chewy for days if you store them the right way. Keeping them properly sealed helps lock in moisture and maintain that bakery-style texture.
Room temperature storage
Store cookies in an airtight container at room temperature for up to 5 days. For extra softness, you can add a slice of bread inside the container it helps keep the cookies moist and prevents them from drying out.
Refrigerator storage
If you want them to last a bit longer, keep them in a sealed container in the refrigerator for up to 1 week. The texture is slightly firmer when cold, so it’s best to bring them back to room temperature before eating for the softest bite.
Freezing baked cookies or dough
You can freeze fully baked, cooled cookies in a single layer, then transfer them to a freezer-safe bag or container. They stay fresh for up to 3 months.
You can also freeze unbaked cookie dough balls for up to 3 months. When baking from frozen, just add 1–2 extra minutes to the baking time.
Reheat tip
For that fresh-from-the-oven taste, warm cookies in the microwave for 10–15 seconds. This brings back their softness and makes the chocolate slightly melty again.
Try More Cookies Recipes
- Banana Bread Chocolate Chip Cookies
- Sugar Cookies
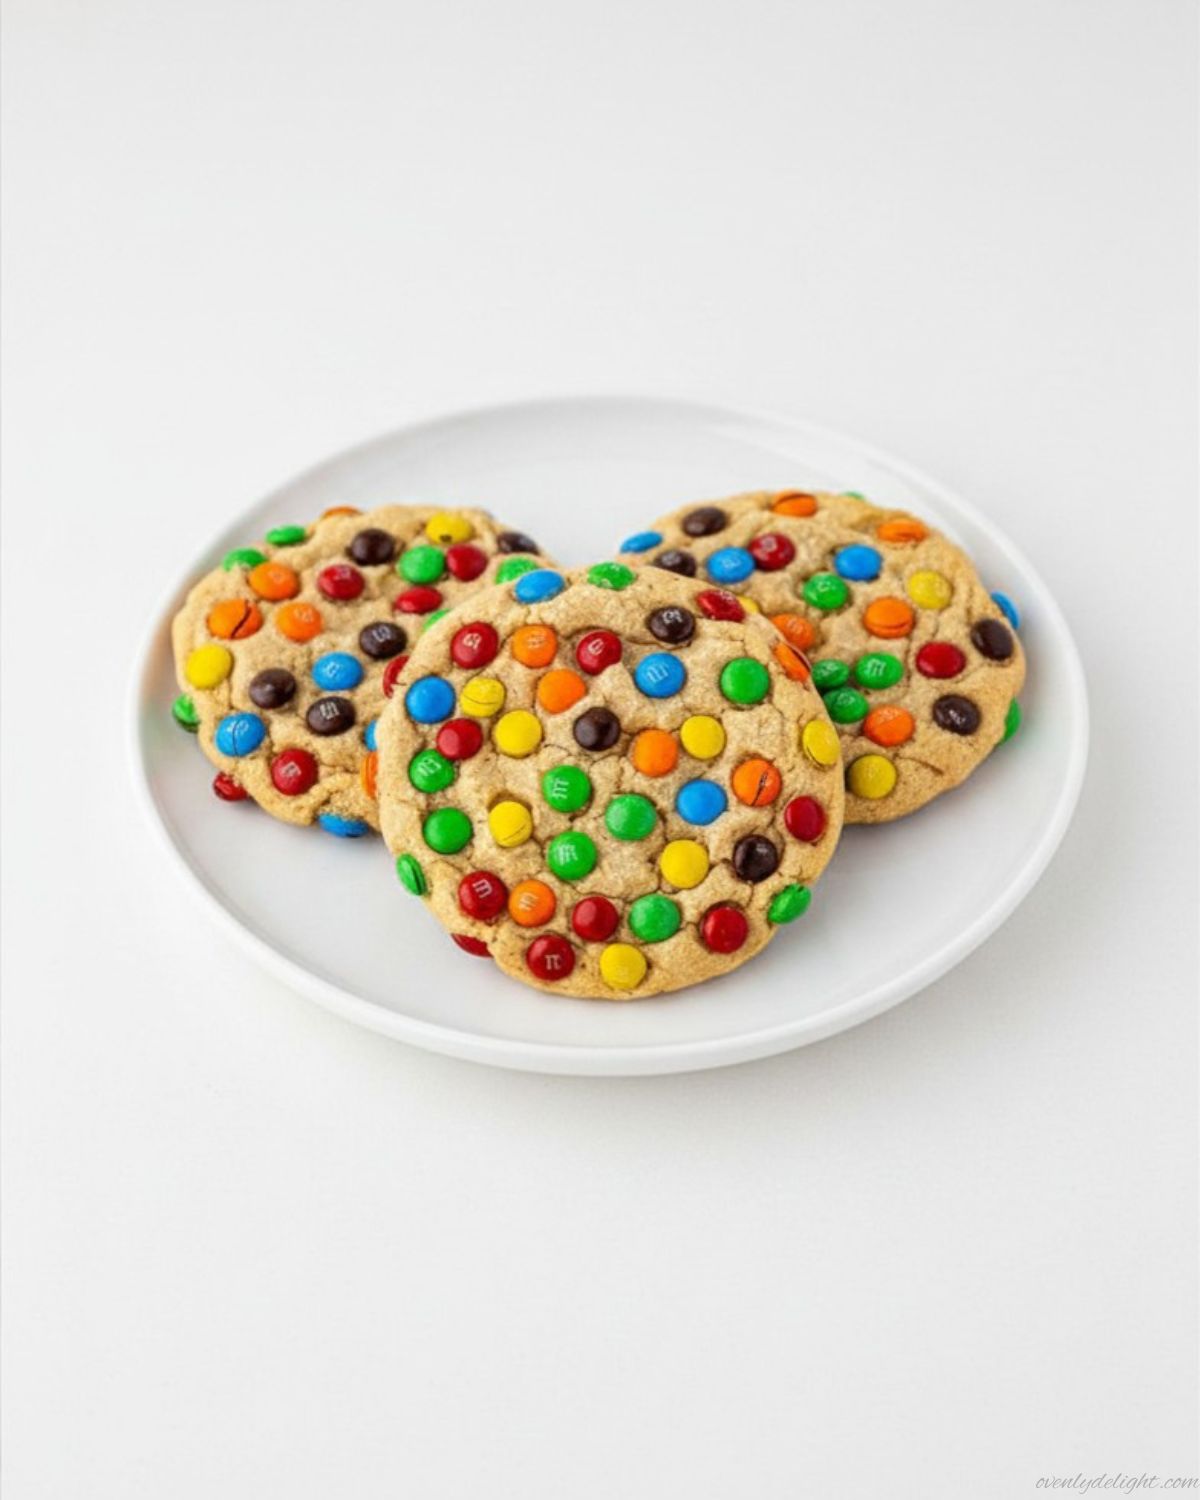
- Peanut Butter M&M Cookies
- Sourdough Chocolate Chip Cookies
- S’more Cookies
- Red Velvet Cookies
- Chocolate chip cookies
Frequently Asked Questions
How do I make brown butter chocolate chip cookies without burning the butter?
Use a light-colored saucepan so you can watch the color change, and stir constantly over medium heat. Remove it from the heat the second it turns golden brown and smells nutty it darkens fast after that.
Can I skip the 6-hour chill time?
You can, but the cookies will spread more and have a thinner, crispier texture rather than the thick, chewy center this recipe is known for. If you’re short on time, even 1-2 hours in the fridge helps.
Why did my cookies turn out flat?
This usually happens when the dough wasn’t chilled long enough or the butter was too warm when mixed in. Make sure the brown butter has cooled before mixing, and chill the full dough for at least 6 hours.
Can I freeze the cookie dough?
Yes. Scoop the chilled dough into balls, freeze them on a tray until solid, then store in a freezer bag for up to 3 months. Bake straight from frozen, adding 1-2 extra minutes to the bake time.
How long do these cookies stay soft?
Stored in an airtight container at room temperature, they stay soft and chewy for about 5 days. Adding a slice of bread to the container can extend that even further.
What’s the difference between regular butter and brown butter in this recipe?
Browning the butter toasts the milk solids, creating a nutty, caramel-like flavor that regular melted or softened butter simply doesn’t have. It’s the main thing that sets this recipe apart from a standard chocolate chip cookie.
Can I use salted butter instead of unsalted?
Yes, but reduce the added salt to about 1/4 teaspoon to avoid an overly salty result, since salted butter brands vary in how much salt they contain.
Why is my dough too hard to scoop after chilling?
Cold brown butter dough firms up significantly in the fridge. Let it sit at room temperature for 10-15 minutes before scooping, or use a sturdy cookie scoop for easier portioning.
Final Thoughts
I make these cookies whenever I want to impress someone without much extra effort, because the brown butter step does all the heavy lifting. My husband still asks for “the brown butter ones” by name, and that’s about the highest compliment a cookie can get in our house. What makes this recipe work is simple: toasted butter, two kinds of chocolate, and a long chill that’s the whole formula for the best chocolate chip cookies with brown butter you’ll make.
If you try this recipe, leave a comment and let me know how it turned out, or share your cookie tray on Instagram.
Brown Butter Chocolate Chip Cookies
Ingredients
Dry Ingredients:
- 2 1/4 cups 293g all-purpose flour
- 1 tsp baking soda
- 1/2 tsp salt
Wet Ingredients:
- 1 1/4 cups 280g unsalted butter (browned)
- 3/4 cup 168g light brown sugar
- 1/4 cup 52g white sugar
- 2 large eggs
- 2 tsp vanilla extract
Chocolate:
- 4 oz 113g semi-sweet chocolate (chopped)
- 1 cup 169g chocolate chips
Instructions
- Brown butter in a pan over medium heat until golden and nutty. Cool for 10 minutes.
- Whisk flour, baking soda, and salt in a bowl. Set aside.
- Mix browned butter with brown sugar and white sugar.
- Add eggs and vanilla, mix until smooth.
- Add dry ingredients and mix until just combined.
- Fold in chocolate chunks and chips.
- Chill dough for at least 6 hours.
- Preheat oven to 350°F (177°C).
- Scoop dough into balls and bake for 8–9 minutes.
- Cool on tray for 5 minutes, then transfer to rack.